I am loving the industrial feel of this cement vanity mirror. It is really pretty simple but looks so neat on your vanity!
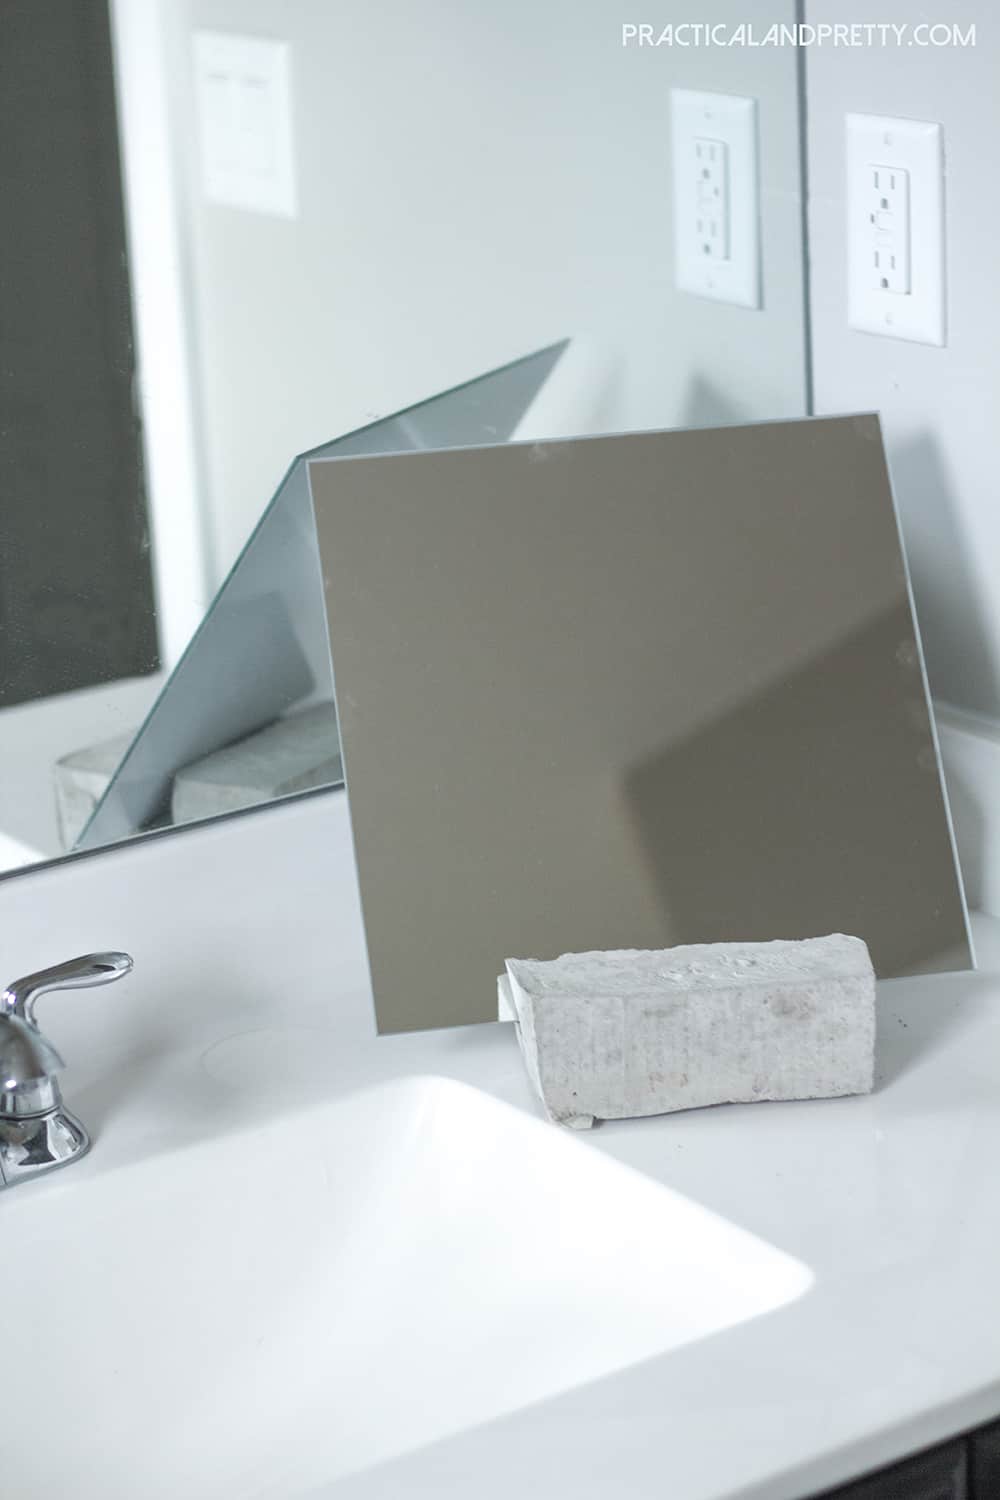
I got a 4 pack mirrors from IKEA and really wanted to leave one in tact but didn’t want to just lean it against the wall. It could so easily fall! This vanity mirror ended up being really simple but looks really neat too.
This won’t require hardly any materials and is super inexpensive at the end of the day. I love doing DIYs with cement; I think you will too.
What you need:
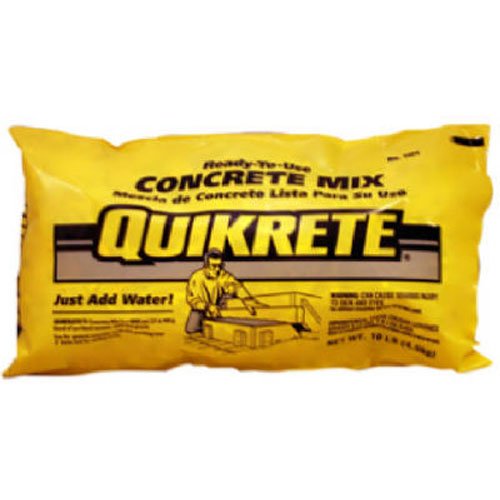
- Quik-crete or other fast setting cement
- Cardboard (or ideally a box already in the shape you’d like it!)
- Strong tape
- Water
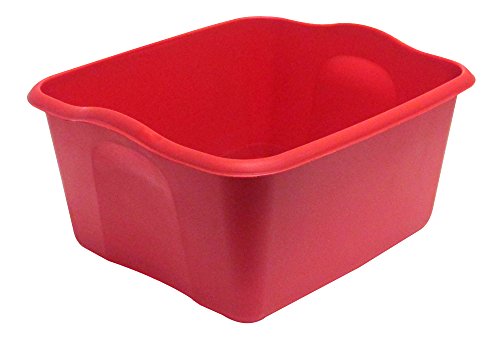
- Mixing bowl
- Large spoon
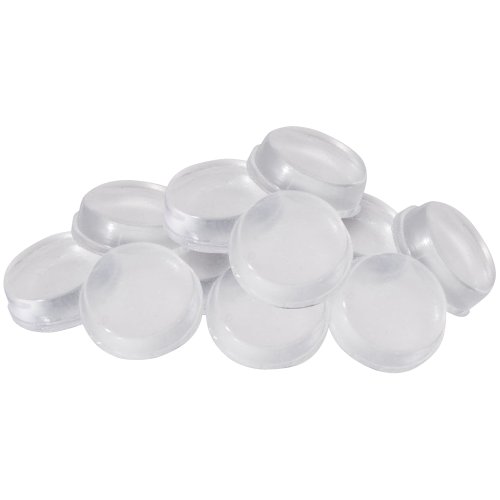
- Rubber bumpers
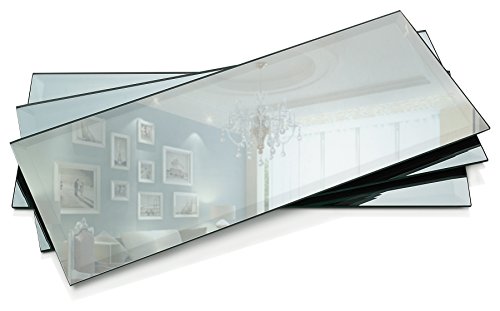
- Small mirror (I bought the 4 pack from IKEA here. I have 3 other mirrors to play with now!)
Shop this Post!
These are affiliate links. I will get a small commission if you purchase through these links
Check PriceCheck PriceCheck PriceCheck Price
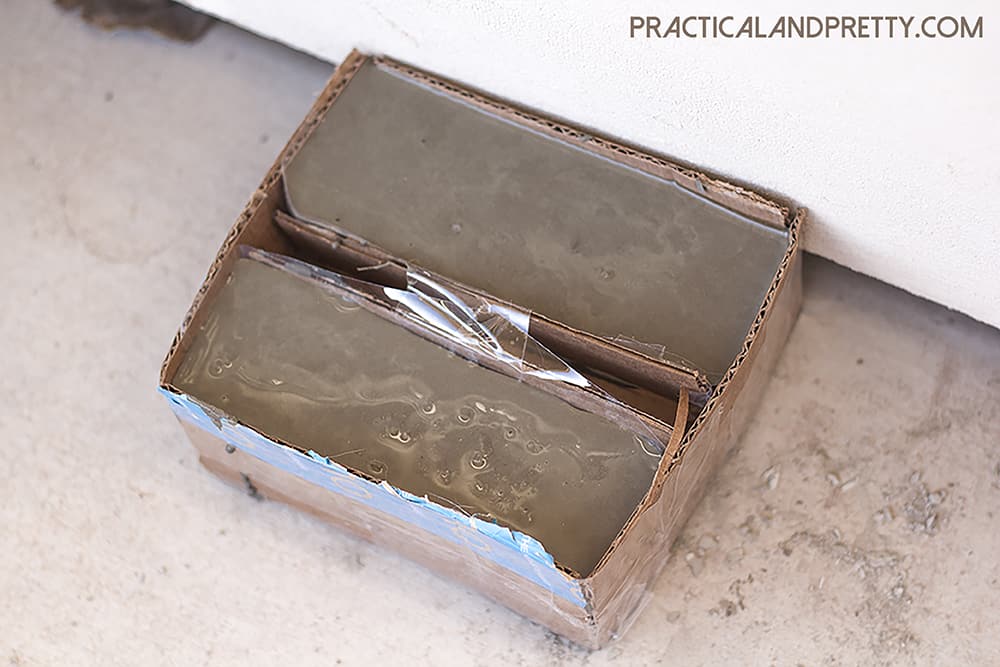
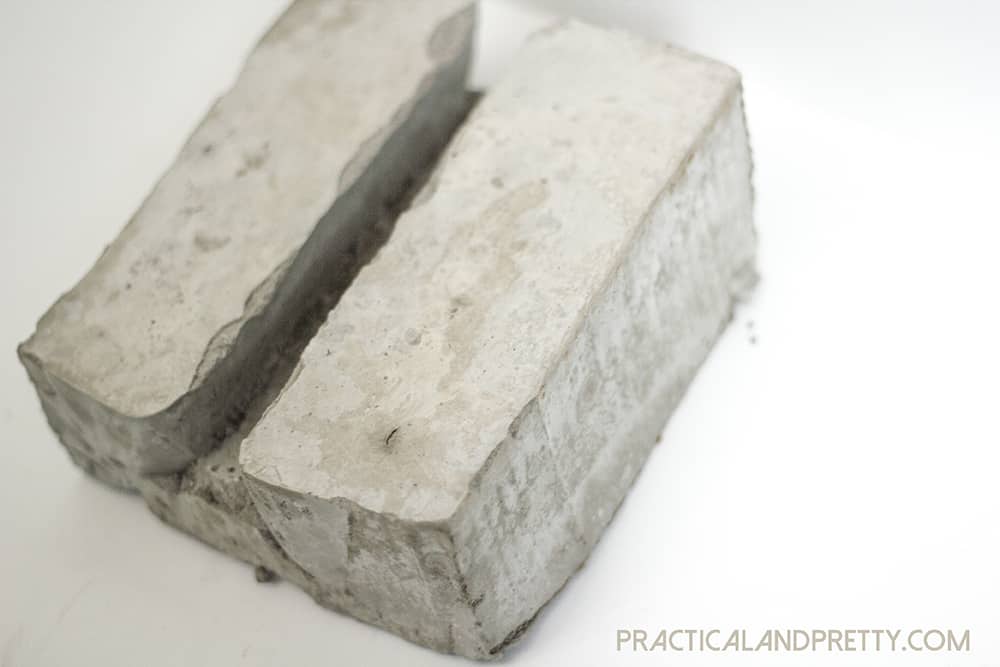
Start by creating your form with cardboard and packing tape. I made mine a rectangle about 5×7 inches. You’ll also need to create a little mold in the center where your mirror will sit.

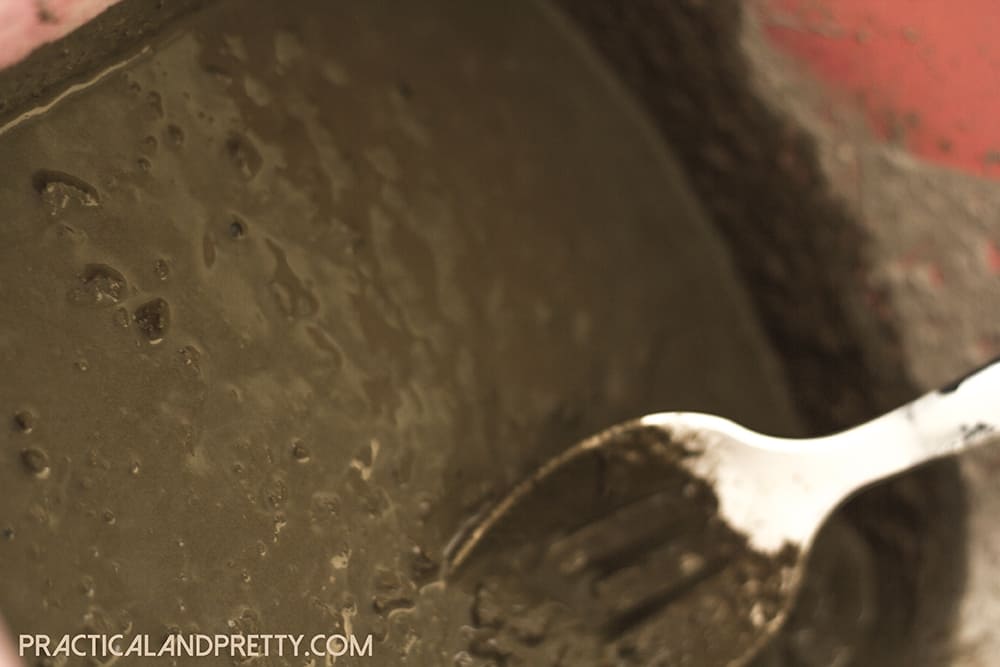
Then you’ll mix your concrete. My mold was pretty big so I probably used about 6 cups of cement. Mix in your water until the cement is about the consistency of brownie batter.

Put your cement in the mold and let it set for at least 24 hours. The longer you wait the better!
Remove the cardboard and you’ll be left with your little vanity stand. You can sand off the rough edges or spray paint it whatever color you’d like. I really liked the industrial feel of the cement but I may go back and spray it black! At this stage, I also added some little rubber pads to the bottom so it wouldn’t damage the surface of the counter.
I really love the look of this mirror and it was seriously SO simple! If you have a vanity area in your bedroom or bathroom this would be a perfect solution for being able to see a little closer while you’re doing your makeup or hair.
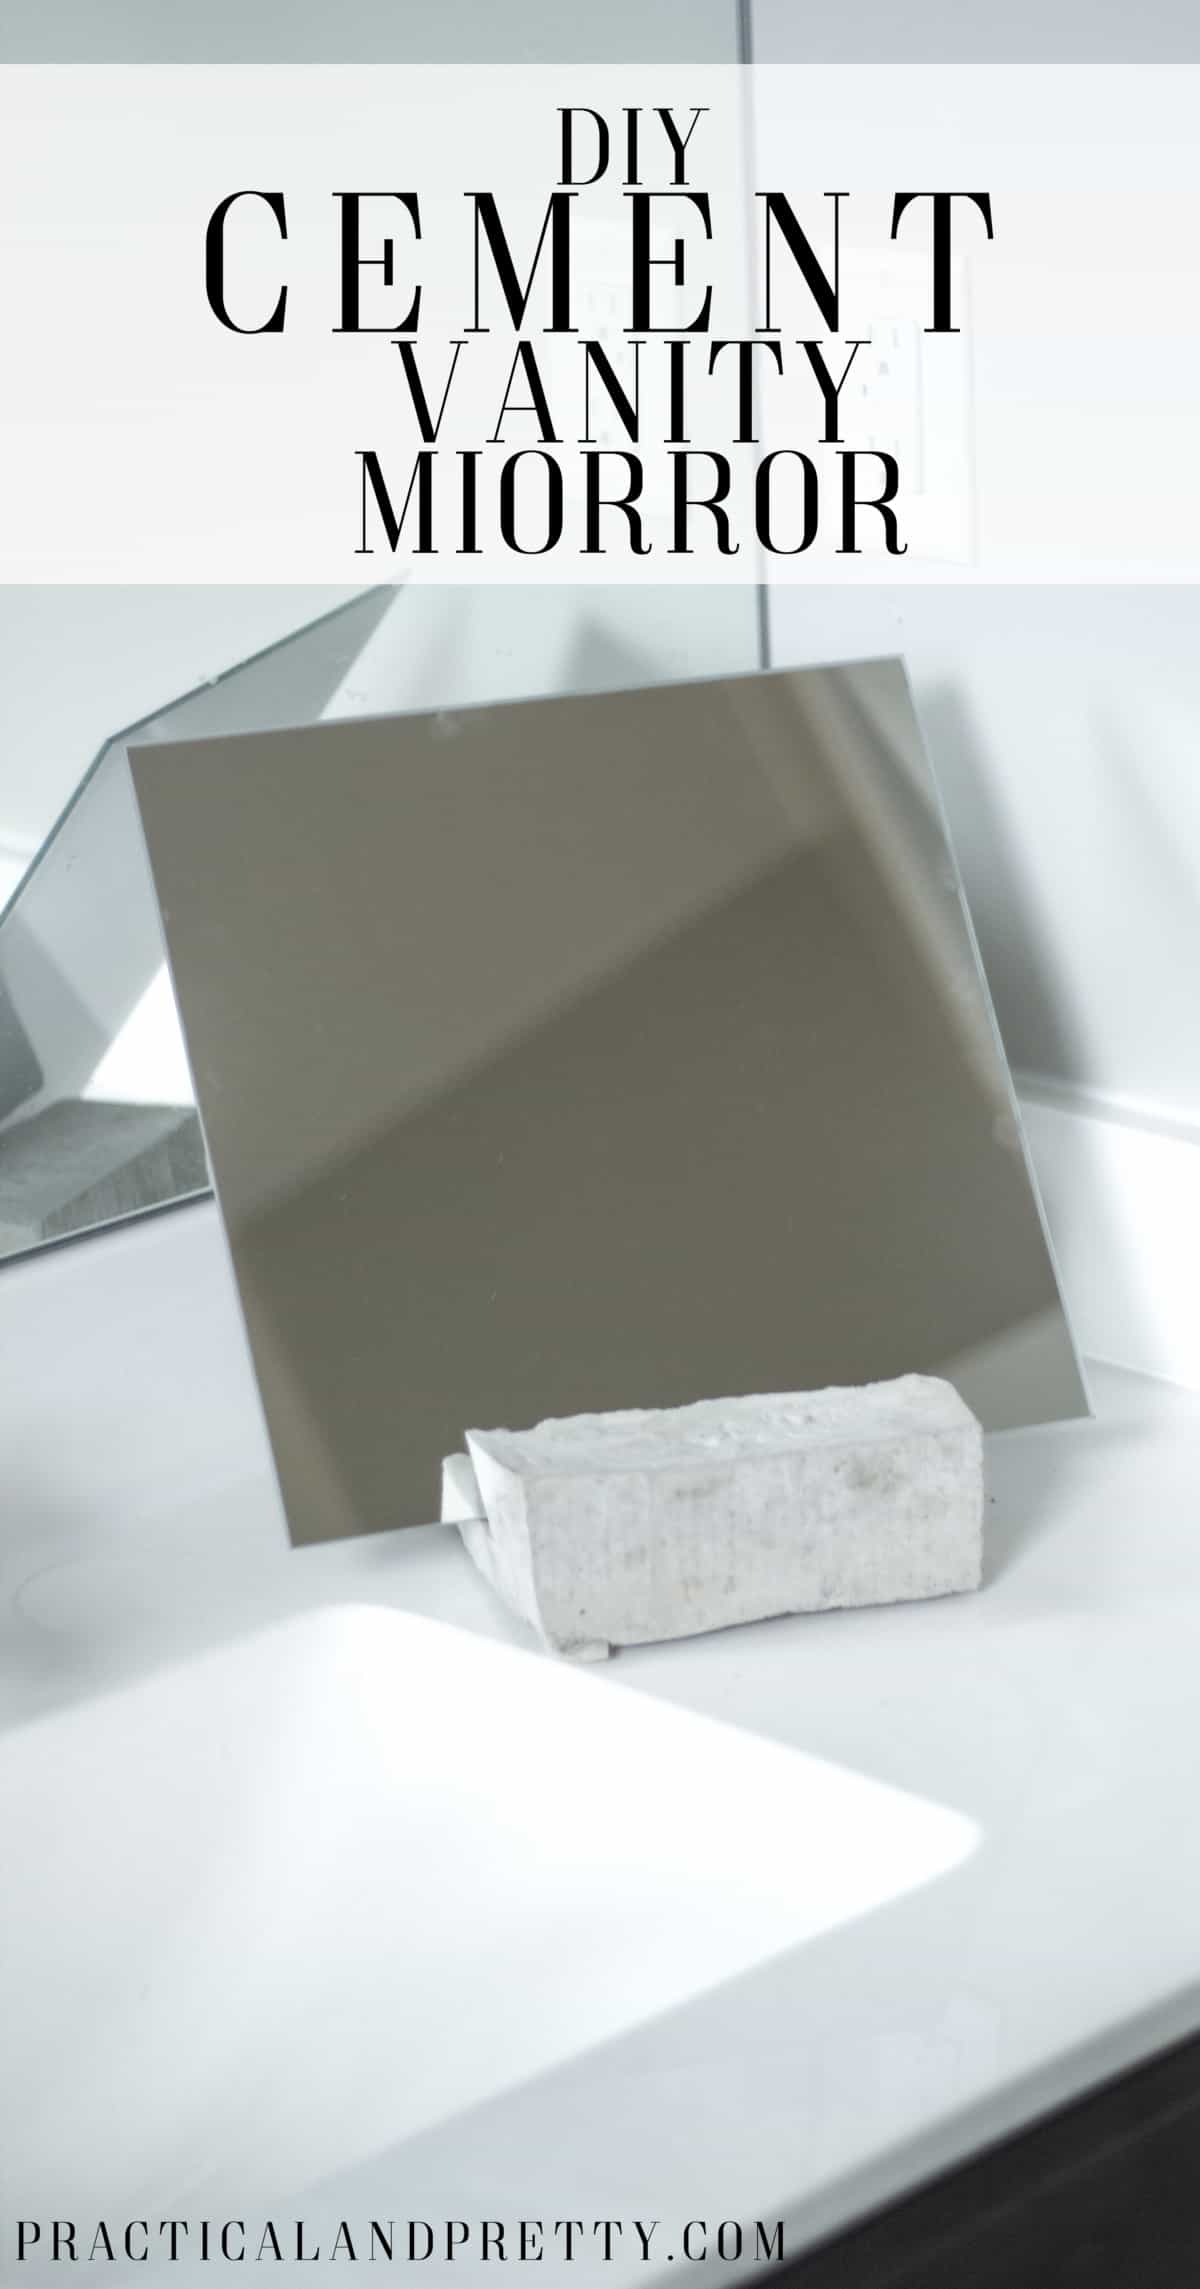
What do you think? Isn’t that so simple? I love this little mirror and I think it adds a cool industrial touch to my bathroom.
Now you can do your makeup up close and personal. Good thing I tell you all about the best mascara from the drugstore here.
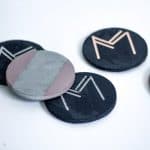
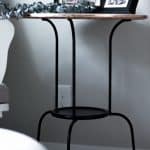
If you liked this post you may also like these cement coasters, this DIY marble top side table, and this DIY copper mobile.
 |
 |
 |