• Skip to main content
  • Skip to primary sidebar
  • Skip to footer

Practical and Pretty logo

  • HOME
  • DYEING
  • DIY
  • PARTIES
  • CRICUT
  • SHOP
  • ABOUT
  • CART
You are here: Home / DIY / DIY TV Tray with Plywood

April 1, 2017

DIY TV Tray with Plywood

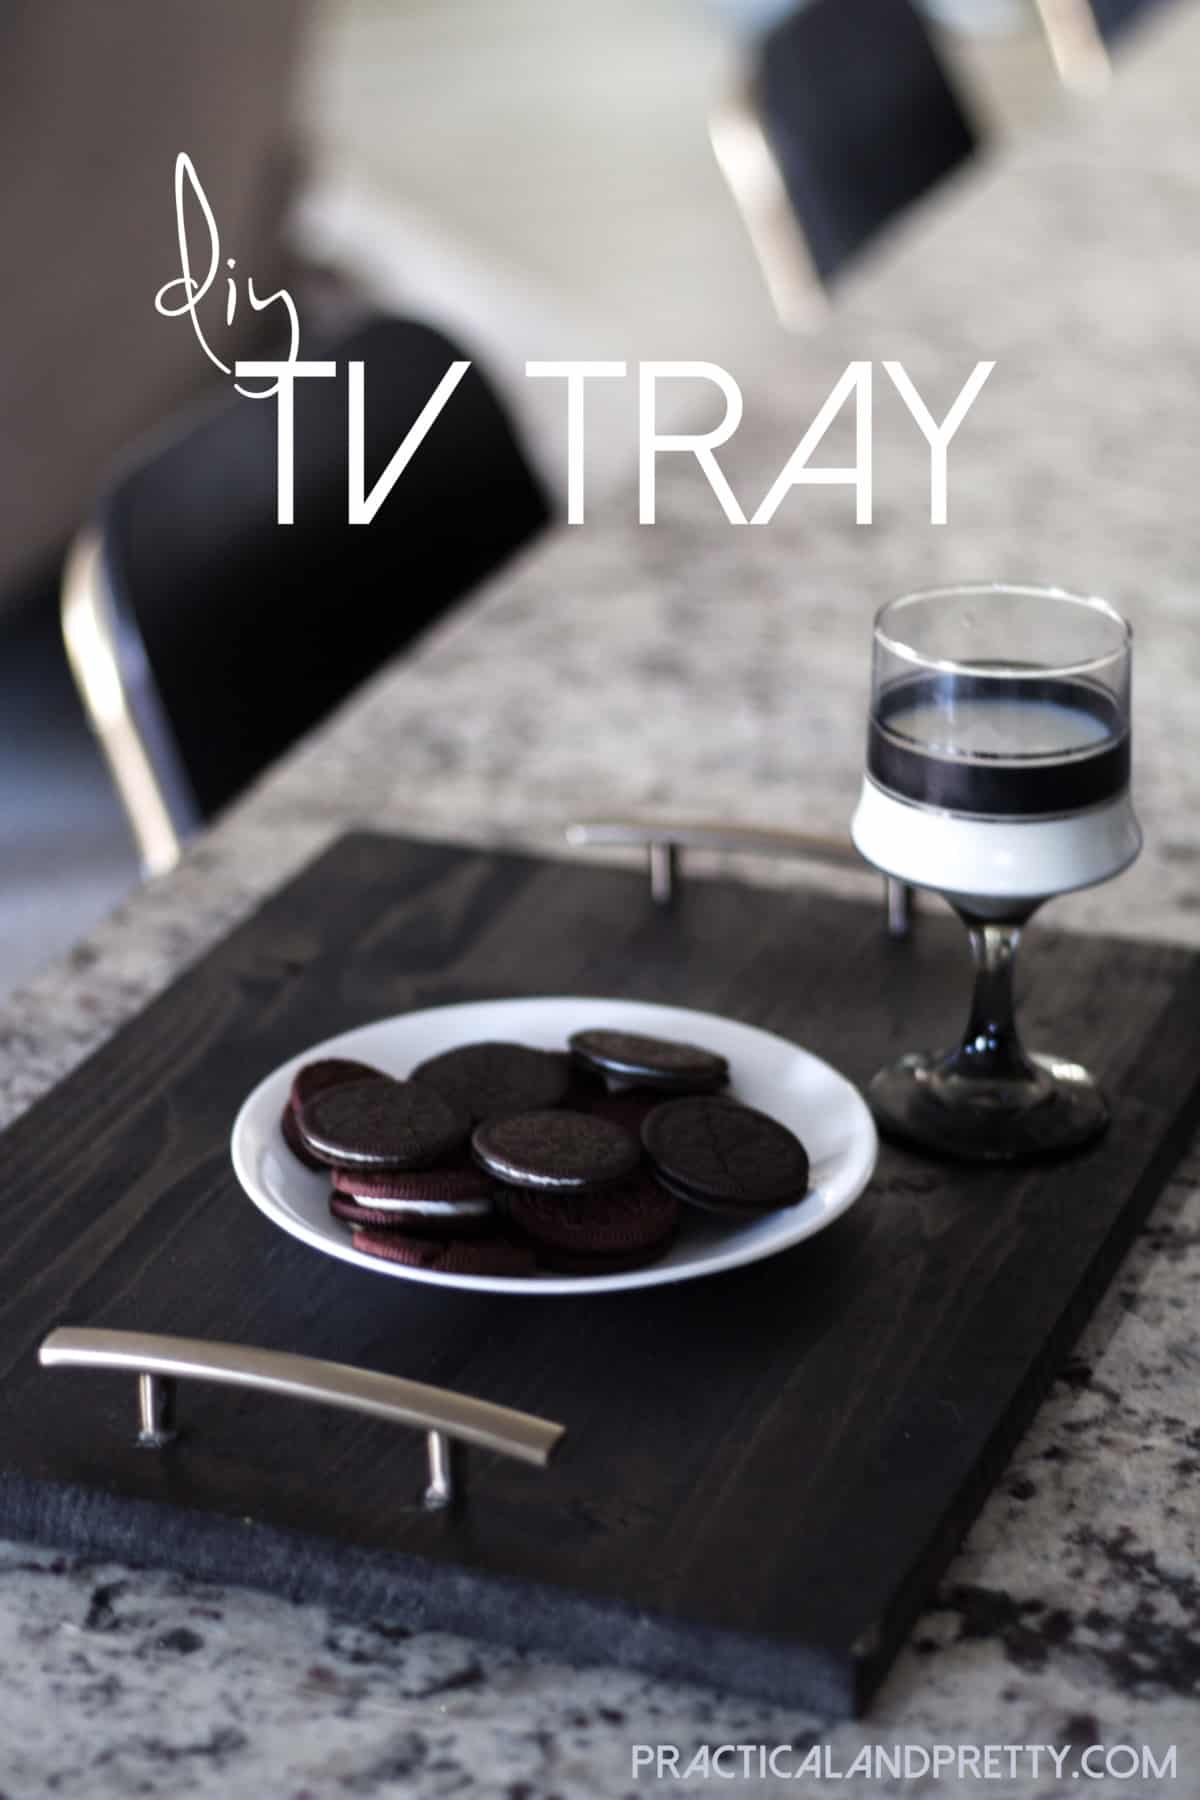
This is a super simple DIY TV tray. All you need is some plywood, stain and cabinet pulls. Check out the video explaining how to do it too!

You may be interested in this DIY High Incline treadmill too! Or just peruse all the rest of my DIYs here. Thanks for joining me!

I’m so stoked to be sharing this DIY with you today because I did it as a part of a challenge! This was my first challenge ever and I had so much fun. My family has a beautiful dining area, but it’s currently a craft area right now. Also let’s be honest, we’ve never eaten a meal at that table. We routinely sit on the floor and eat off the coffee table in the living room. I would prefer to not eat in the living room at all, but the fact is it’s my house and I can do what I want. That’s why I decided to do a DIY TV tray so we could at least have something designated to eat on!

I love working with plywood. To date, I have only done a couple of projects with it but I always have so much fun when I do. I also love staining wood so this project was extremely gratifying. Make sure to check out the other projects at the bottom of this post for more plywood project ideas!

This is a super simple DIY TV tray.
What I used to create my DIY TV Tray
  • Plywood
  • Wood stain
  • Polyurethane
  • Acrylic sealant
  • Cabinet Pulls
  • Super glue
  • Rubber gloves
  • Old rag

Watch this video to see how I did it or read the tutorial below!

This is a super simple DIY TV tray.

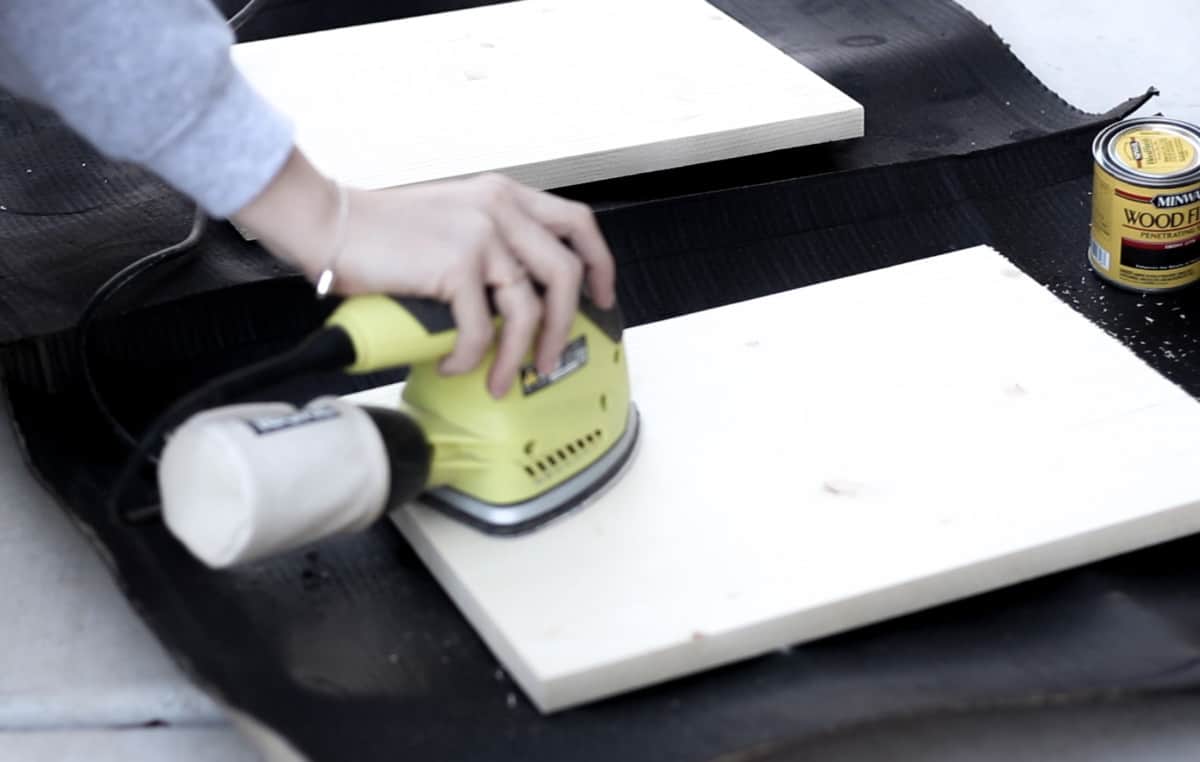
Start by sanding your plywood. Use your sander using 60 grit then 120 grit.

This is a super simple DIY TV tray.

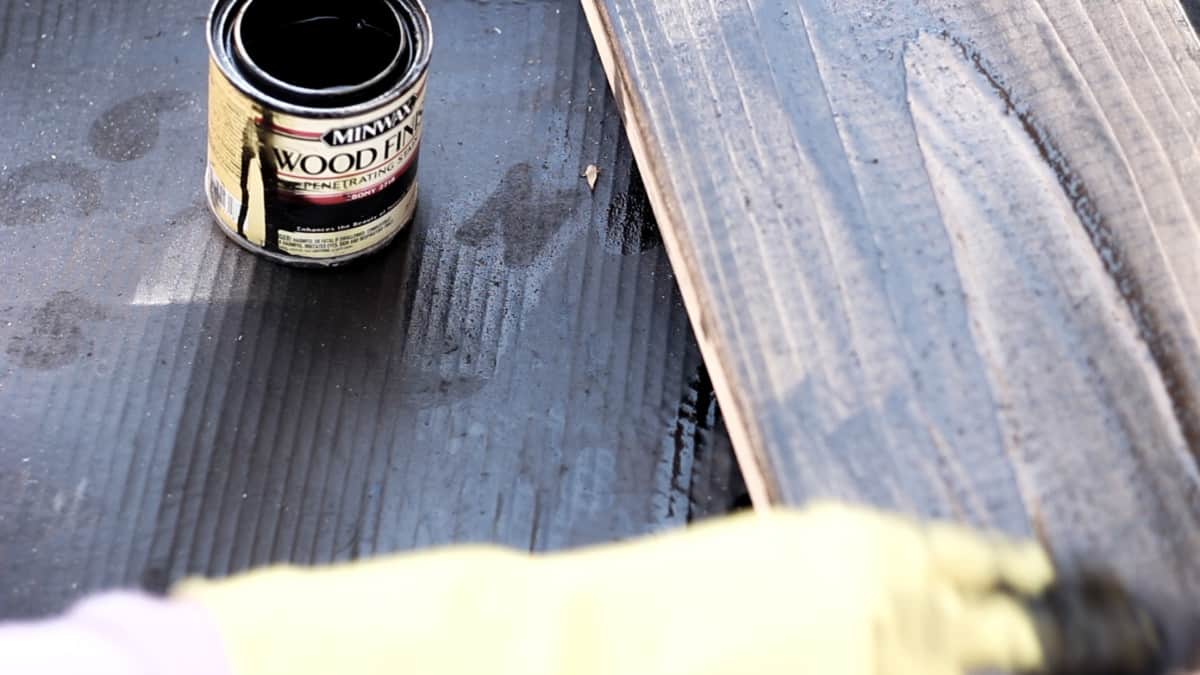
Put your gloves on and dip an old rag in the wood stain and put it on the wood. I did two coats because I really wanted it dark.

This is a super simple DIY TV tray.

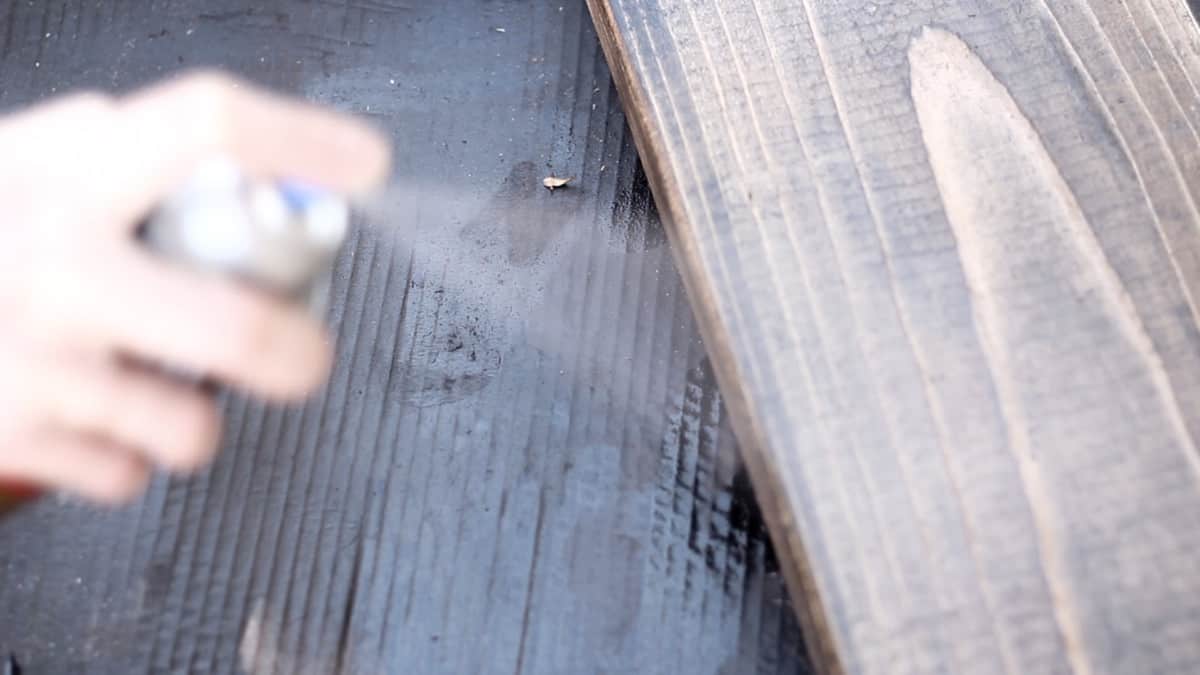
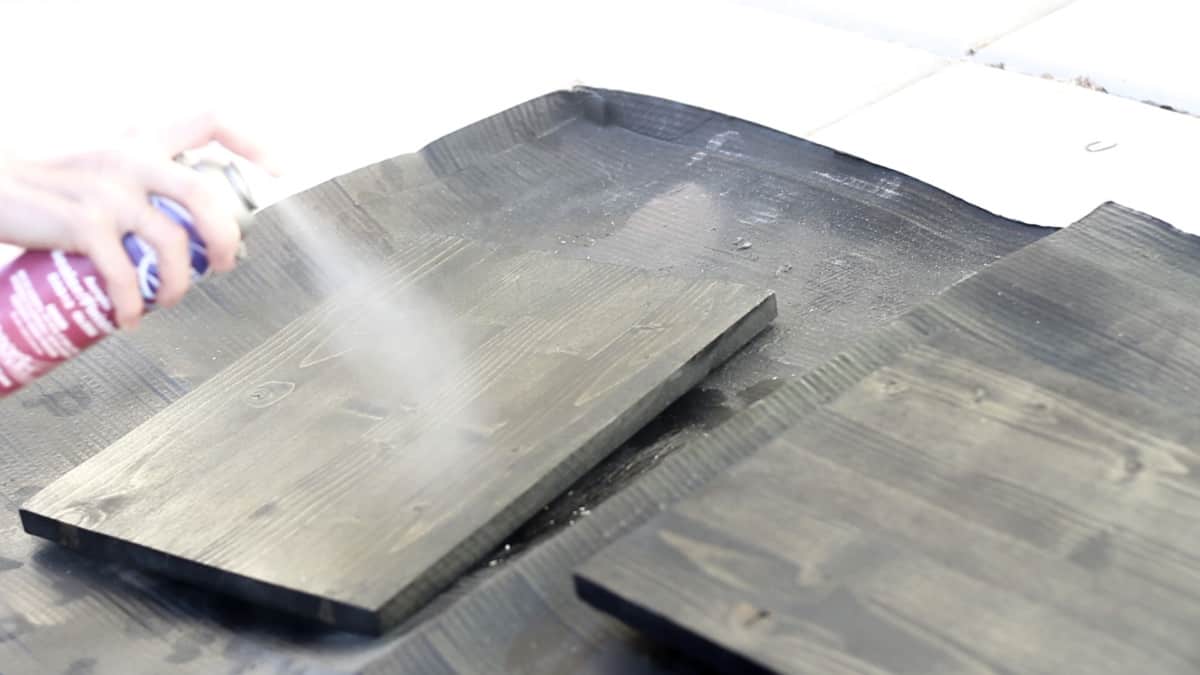
Spray it with polyurethane and then acrylic sealant. I did both because the polyurethane seals the stain and I like the texture of the acrylic spray.

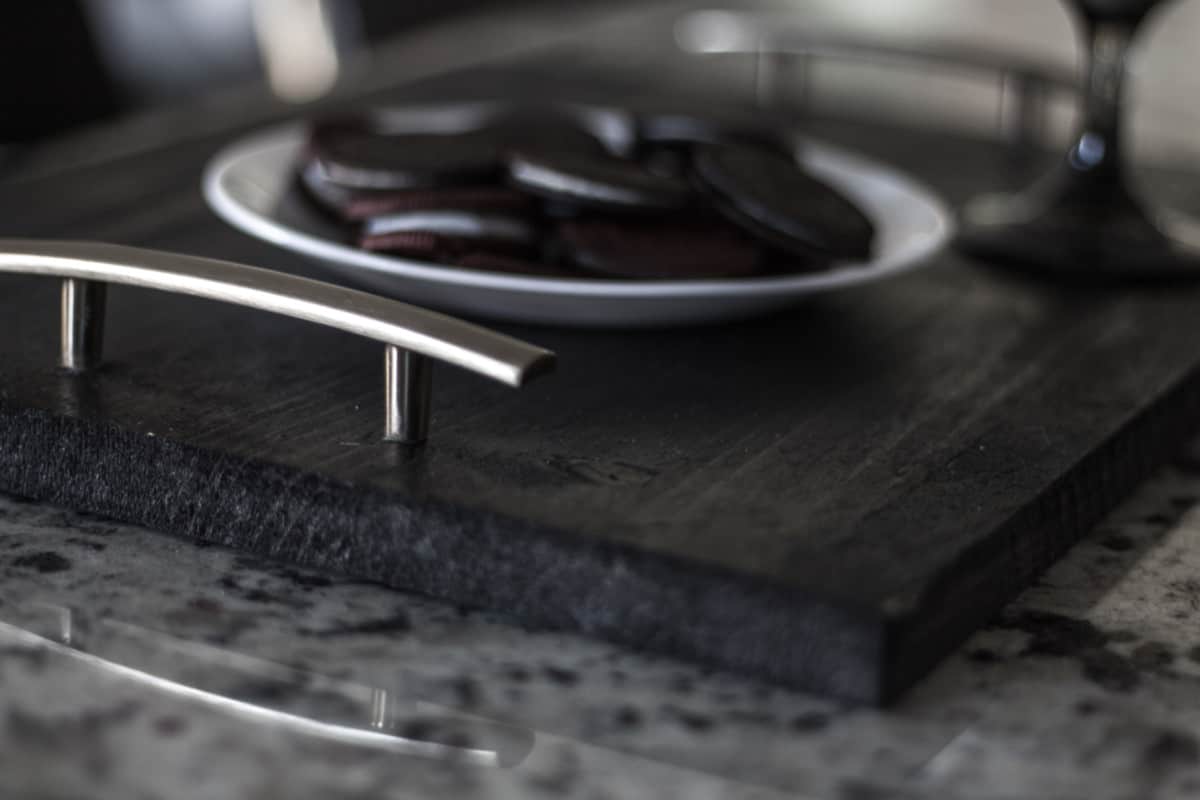
Then, I glued the cabinet pulls on! Seriously so simple.

This is a super simple DIY TV tray.

You have to check out these other amazing projects. They’re all unique and different ranging from super in depth to really simple! There is something for everyone:

outdoor sectional sofa | Remodelaholic

mini barn door for a crawl space | The Cofran Home

hand-lettered “hello” sign | Lemon Thistle

easy TV tray | Practical and Pretty

rolling storage drawers | Happy Go Lucky

entryway bench | Woodshop Diaries

farmhouse sign | Our Crafty Mom

mid-century daybed | Paper Daisy Design

produce bins | Anika’s DIY Life

plywood accent wall | Diva of DIY

kids chairs with storage | Our House Now a Home

You may be interested in this DIY High Incline treadmill too! or this super easy Ikea Hemnes dresser hack.

Filed Under: DIY Tagged With: quick diy

Reader Interactions

Comments

  1. Michelle James says

    April 3, 2017 at 9:38 am

    Wow! I love this tv tray and plan to add it on my ever growing list of to do projects! Thanks for the inspiration! 🙂

    Reply
  2. Leslie says

    April 3, 2017 at 6:06 pm

    Nice and easy project, but with great results. Good work!

    Reply
  3. Kara says

    April 4, 2017 at 8:10 pm

    What an easy and practical DIY project. I could use this for so many things and I love the dark stain.

    Reply

Trackbacks

  1. DIY TV Tray with Plywood - Feediu.Com says:
    April 1, 2017 at 3:39 pm

    […] I'm so stoked to be sharing this DIY with you today because I did it as a part of a challenge! This was my first challenge ever and I had so much fun. Source link […]

    Reply

Leave a Reply Cancel reply

Your email address will not be published. Required fields are marked *

Primary Sidebar

SEARCH

I’m Anna!

Welcome!

I’m Anna and love practical and pretty things. You will find DIYs here as well as party ideas and of course, natural dyeing tutorials. I’m so glad you’re here.

FEATURED ON

PARTIES

DIY Custom Tablecloths

Customize a tablecloth to your event using this step by step tutorial for custom tablecloths. This was for a birthday party but it will apply to any event!

Blippi Party Ideas and Supplies

Customize this party hat to your color scheme and needs for your next fun party! I show you how I made a simple pom pom and assembled the hat.

Birthday Blippi Shirt

This silly Blippi shirt is perfect for the birthday child or you could even make a few for all the guests! They will get a kick out of what it says. 

Free ‘It Is Your Birthday’ Banner

it is your birthday banner

NATURAL DYEING

Refresh Used Crib Sheets

crib sheets tie dye

Geode Tie Dye

Forest Fairy Costume Featuring Tie Dye

How to Dye with Pine Cones

pine cone dye vat

CRICUT PROJECTS

Fabric Growth Chart with Cricut Joy

The Cricut Joy is the perfect tool to create a height chart! I walk you through how to cut the iron on and then create a cute fabric height chart. 

DIY Disneyland Coupons with New Maker Tools

This coupon book of fun Disneyland coupons is a great idea for your next Disneyland trip! I'll walk you through how I created it with my Cricut Maker Tools.

DIY Yoga Shirts with Your Cricut

Random Acts of Kindness Cards

Use these little kindness cards to spread kindness on February 17th or any day you want to celebrate random acts of kindness!

Footer

Copyright © 2023 Practical and Pretty on the Brunch Pro Theme

x
x