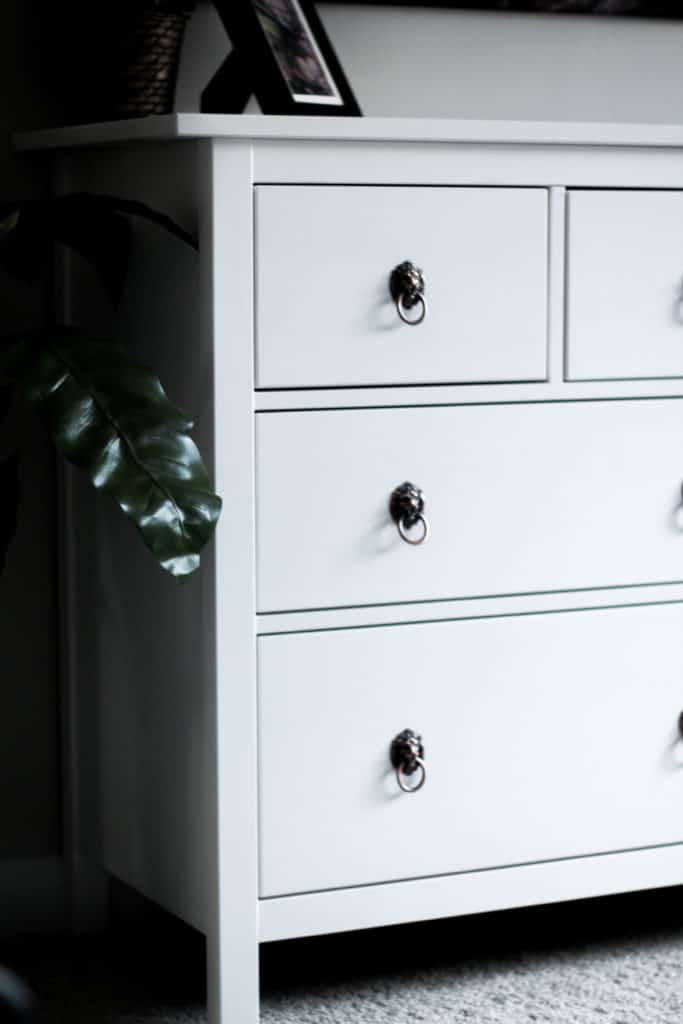
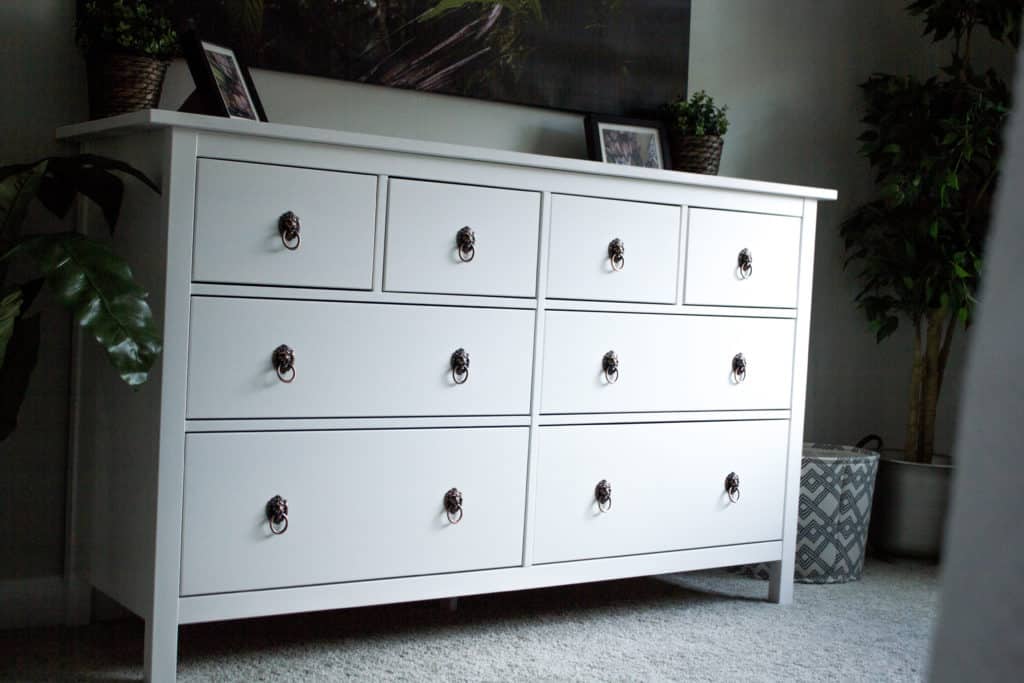
I have a simple Ikea Hemnes dresser hack for you that you complete in a flash. It makes it look like a custom piece of furniture!
Does everyone you know and love own the Ikea Hemnes dresser? I feel like I know at least 4 people. My friends talked me into it, and I was sold when I got my hands on it. Although it’s quite the project to put it together (thanks Ryan), it is a solid piece of furniture that I expect to hang around for quite a while.
We decided this Ikea Hemnes dresser would be perfect for the nursery because it’s quite large, not wobbly, and has a ton of storage. There was something about it that didn’t really mesh with my nursery ideas though. We opted to get the dresser in White Stain as opposed to White if you were curious.

I looked up Ikea dresser hacks, and most of them required a saw, sanding or paint. Being 9 months pregnant, I just wasn’t up for a project like that.
HEMNES DRESSER KNOB HACK
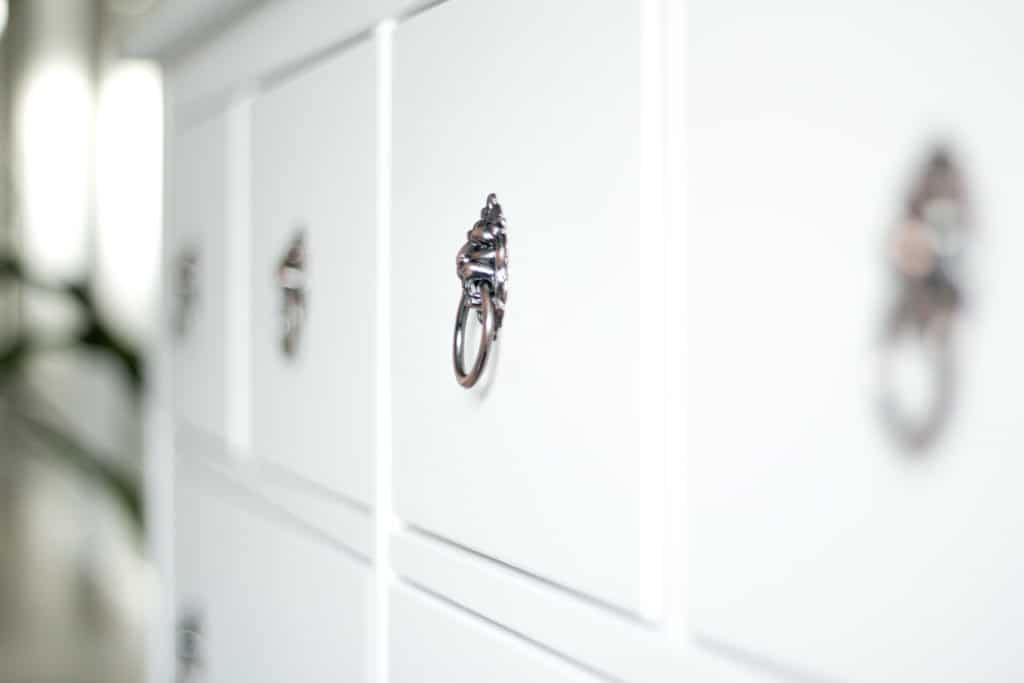
It occurred to me updating the dresser knobs would be so easy but also super impactful. A jungle theme has slowly worked it’s way into the nursery. I searched and searched for something that wouldn’t require me to patch the single knob holes and drill new ones. (Again with the power tools that I neither own nor have the energy for currently.) How darling are these cabinet pulls? I thought they’d be at least $10 each and my dreams of a $200 dollar dresser would quickly dissipate. They were 12 for $16 (when I bought them they were $16 but as of this post they’re $13!) Score.

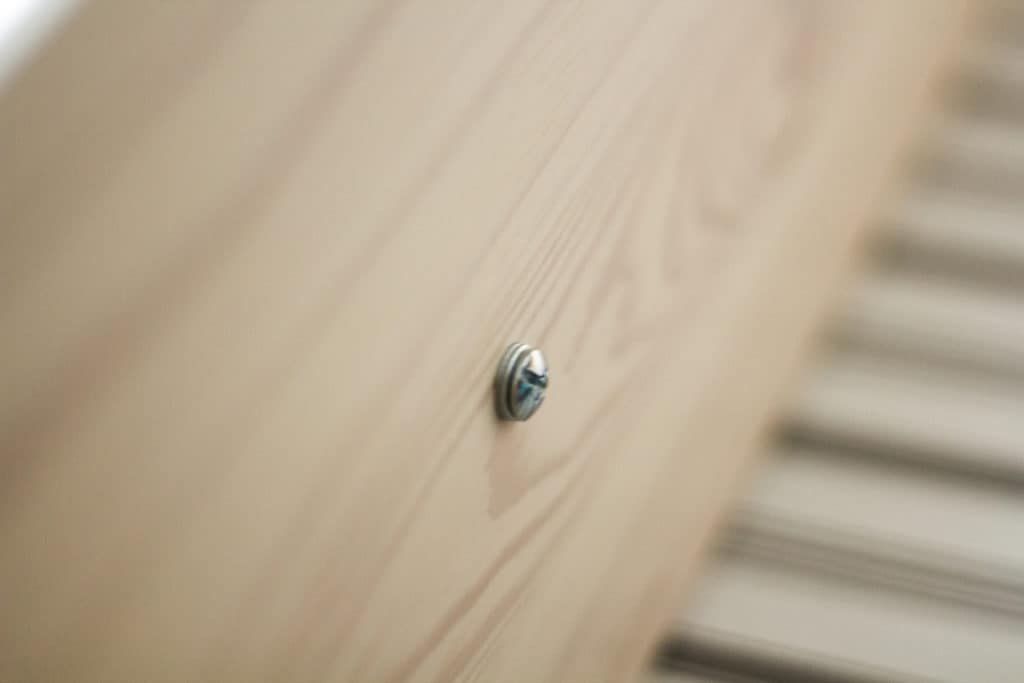
Basically I just screwed them in the holes where the other pulls were supposed to go! Unfortunately the screws that came with the cabinet pulls were too long and the screws that came with the dresser didn’t fit the holes of our purchased cabinet pulls. We went to home depot and got the screws that were the correct length but we ended up still needing washers. I would suggest bringing the cabinet pull with you to the department store and making sure it fits in the hole then buying some washers to make sure of a tight fit. We ended up using two washers for each pull.
You could do so many things to this dresser to make it perfect for whatever room you want it in.

I think our son will like the lions (because it has been forced upon him by his cat obsessed parents) so I think we will keep it this way for a while. But if he hates it, how easy is it to change drawer pulls?
TOTAL COST:
- $250 dresser
- $16 drawer pulls
- $1 screws
- $1 washers
- Total: $268
If you already have this dresser or something similar, it’s super inexpensive to update a dresser with drawer pulls!
If you like this IKEA hack you also might like these other posts:

See more Hemnes DIY ideas in this post here!
You may be interested in this DIY High Incline treadmill too!


I love how this turned out!
Thanks! I can’t wait to share how it goes with the rest of the things in the nursery.
You know, I’ve had the black version of this dresser since I was sixteen. It has stayed sturdy and pristine! I love it, but I have this issue where I LOVE change. It seriously NEVER occurred to me to change the drawer pulls! Thanks, Anna. 🙂
It will make it a new dresser! I’m so glad I could help Lisa.
Hi! I have a quick question… why did you opt for the white stain instead of the white? I’m debating on which one to get. Thanks
Hey Elsie! I went with the white stain because it had a more gray undertone. Also the solid white was quite glossy and I liked the more matte look!
I used to own the white Hemnes dresser. I loved its sleek classic line. Mine was white matte finish. Unfortunately after 2 years I noticed unusual marks on the surface. I thought at first they were finger stains. Puzzling as we don’t have kids at home. But then they appeared all over. Closer look shows the knots of the knotty pine (the material used) were “bleeding”. Did anyone of you experience this with yours?
Wow this is so interesting! Definitely something to look for. I’ve only had mine a year now so I’m going to keep my eye on it! I’ll for sure let you know if I see that and see what IKEA will say about it!
Wonderful transformation and I love it! Thanks for sharing this amazing post.