We love giving gifts for neighbors at my home and I thought I’d share this simple idea you could utilize for Christmas or New Years too.
As you will see in the following photos for this project I used the ‘we dish you a merry christmas’ cut file however if you click through the attached file I ALSO have a ‘we dish you a happy new year’ cut file. So don’t feel pressured to get these out by Christmas! Or if it’s not the holidays and you just want to give a cute little gift, hopefully this will get your sparks flying.
What you need for these gifts for neighbors
Dish Towels (these are my natural dyed dish towels pictured)
I made 20 gifts and used 3 bottles of this dish soap for reference! It filled up all the bottles I linked here.
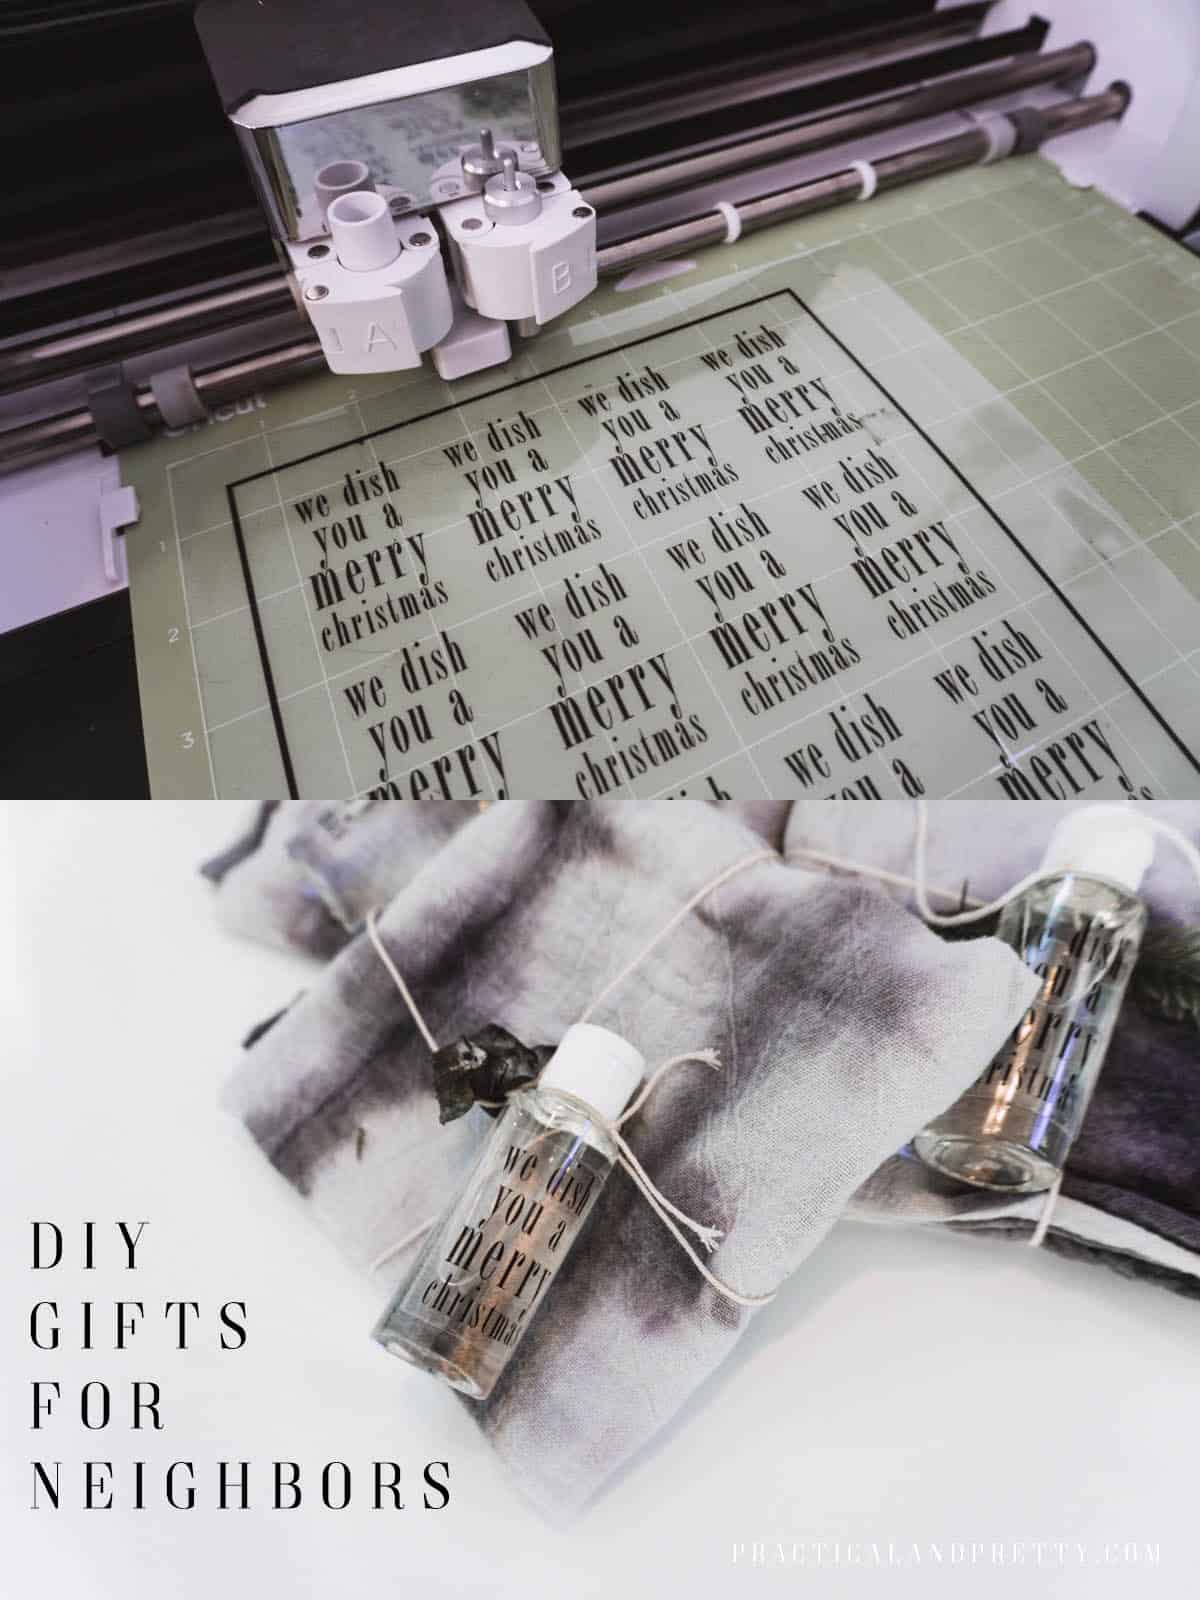
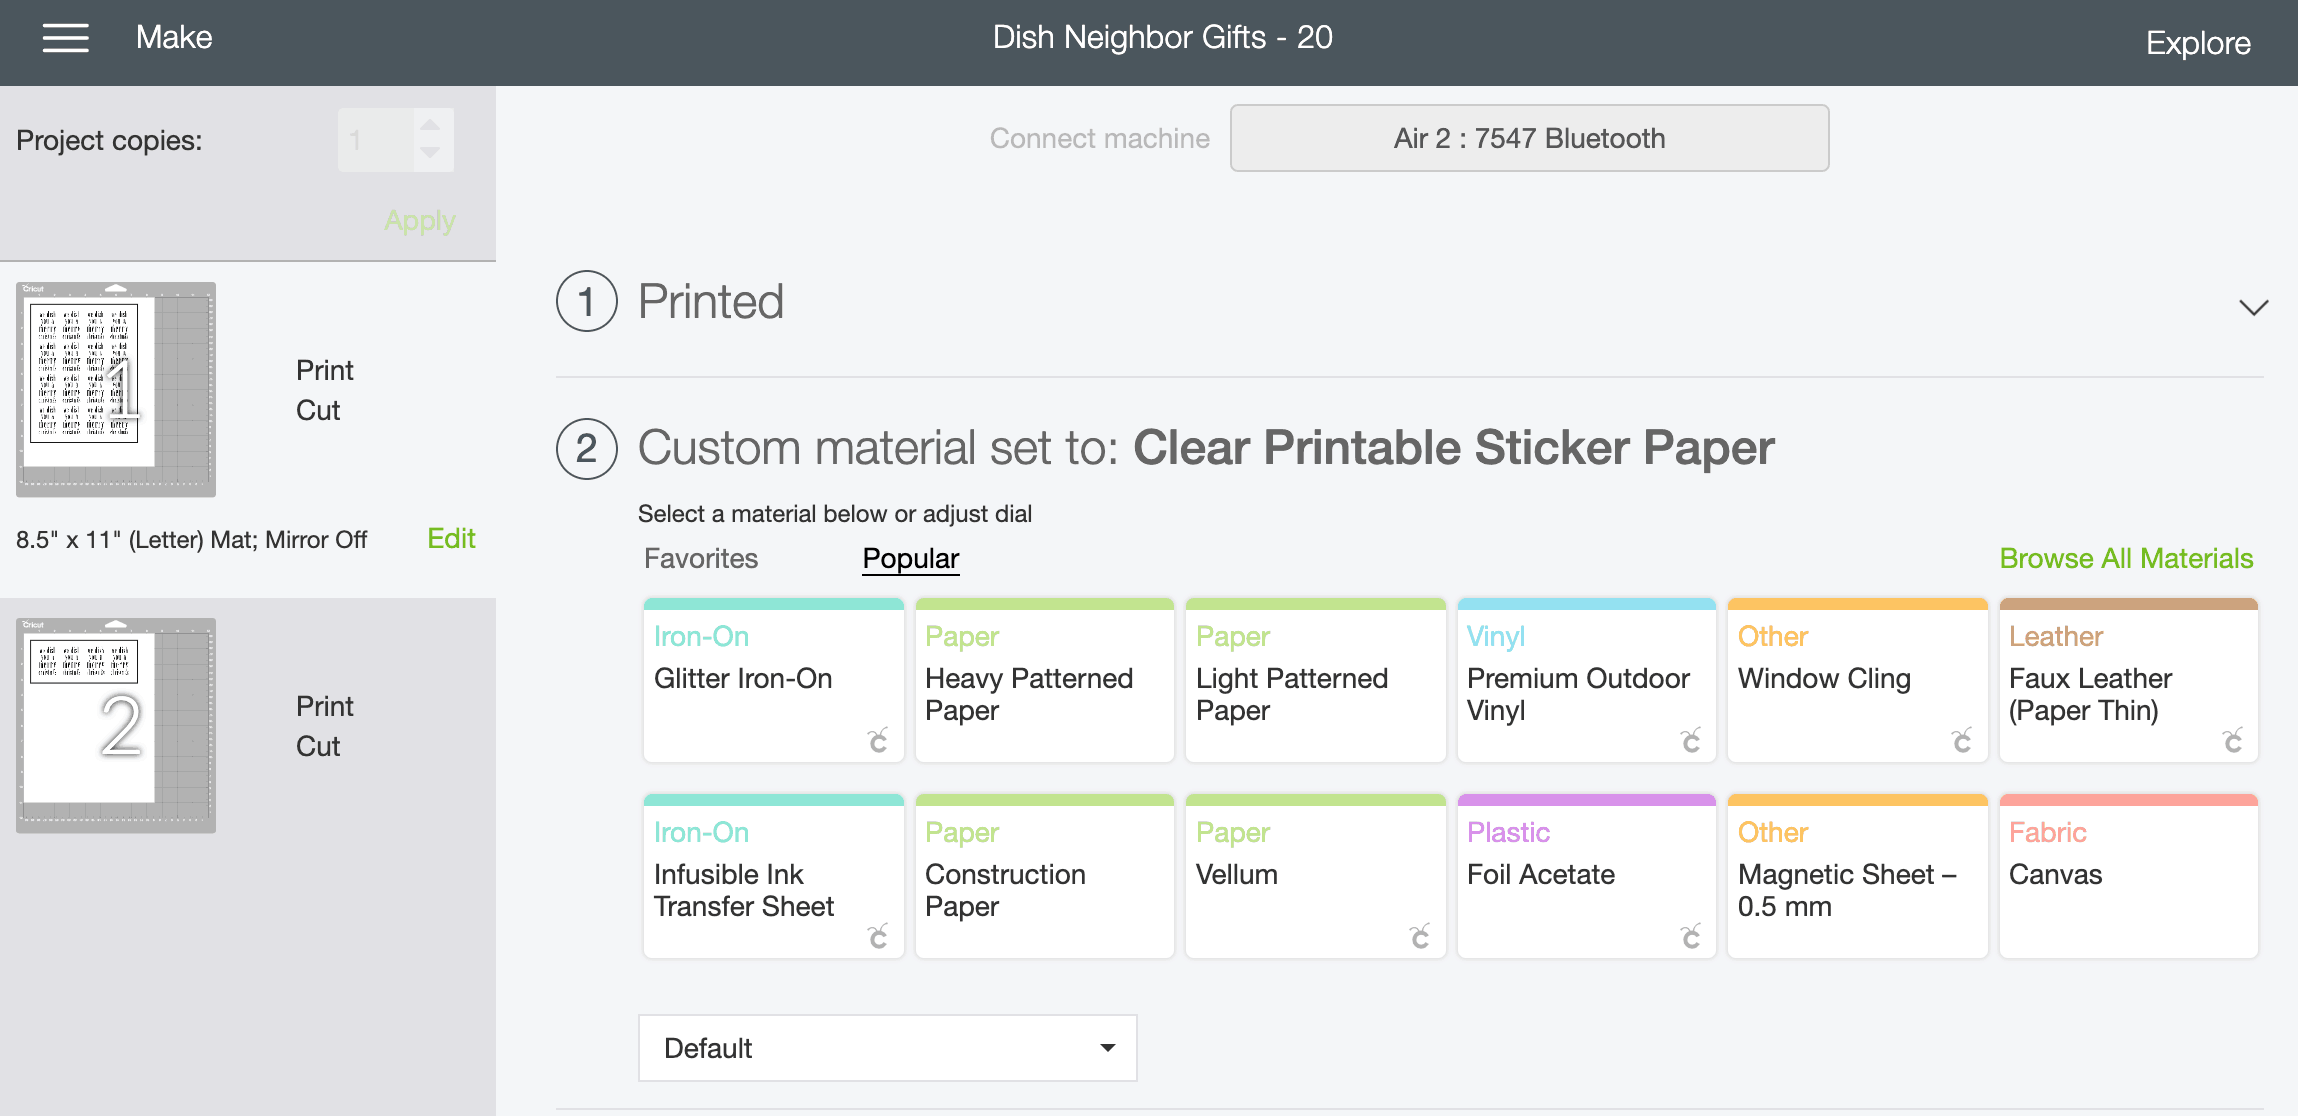
Open up the cut file and decide if you’d prefer to do a Christmas or New Year theme. Remove the square you decide against in the file. Select the phrase you’re going to use and duplicate it to the number of gifts you’re making. For 20 stickers you’ll need 2 pieces of sticker paper.
Now click “Make it” and send the file to your inkjet printer. Make sure when you load your paper you know if your printer loads paper face down or face up. The shiny side of the sticker paper is the ‘up’ in this case. If you’re using the printer I linked above (a Canon Pixma) you will want the shiny side down.
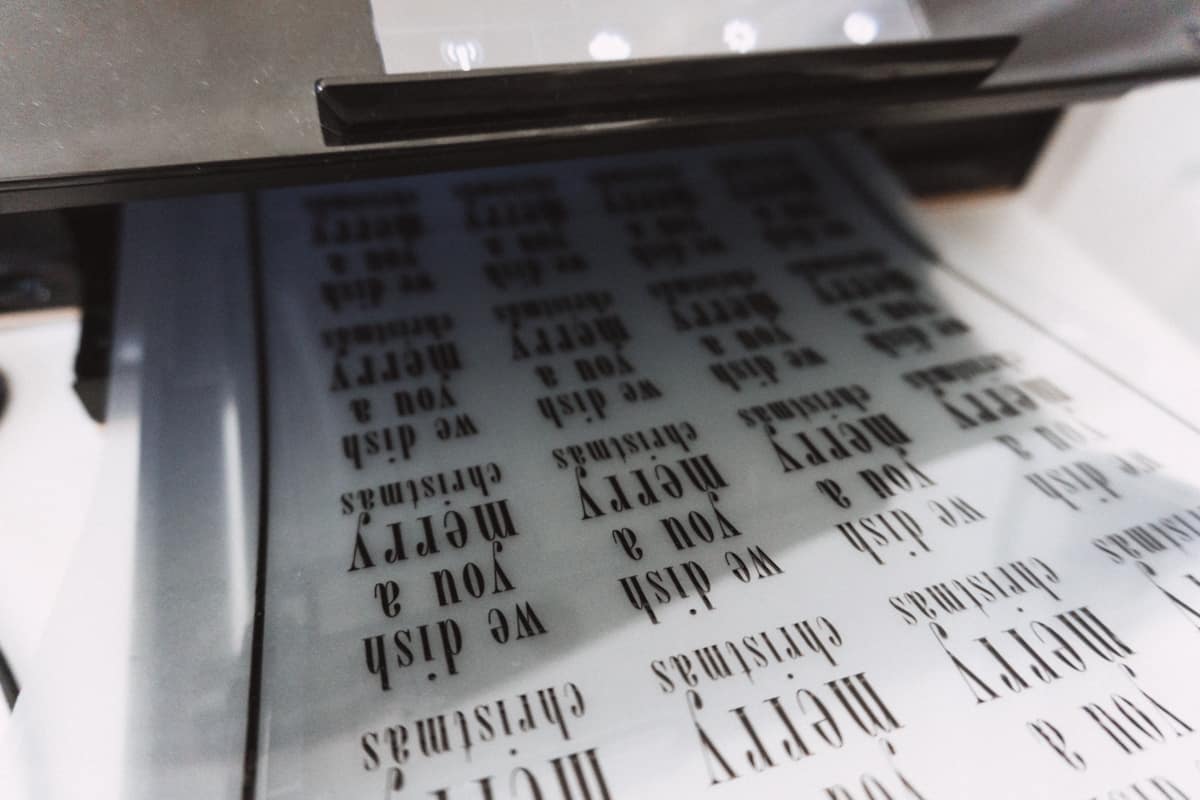
I suggest pulling the paper out when it’s done so the second page doesn’t mess up the ink that’s still drying. I didn’t have any major issues with this but if your ink is wetter than mine was it could have caused a problem.
Now you will set your smart dial on your Explore Air 2 to ‘Custom’. It will prompt you on your computer to select your material and you will choose ‘Clear Sticker Paper’.
Place your printed page shiny side up on your standard grip mat then let your Cricut work it’s magic.
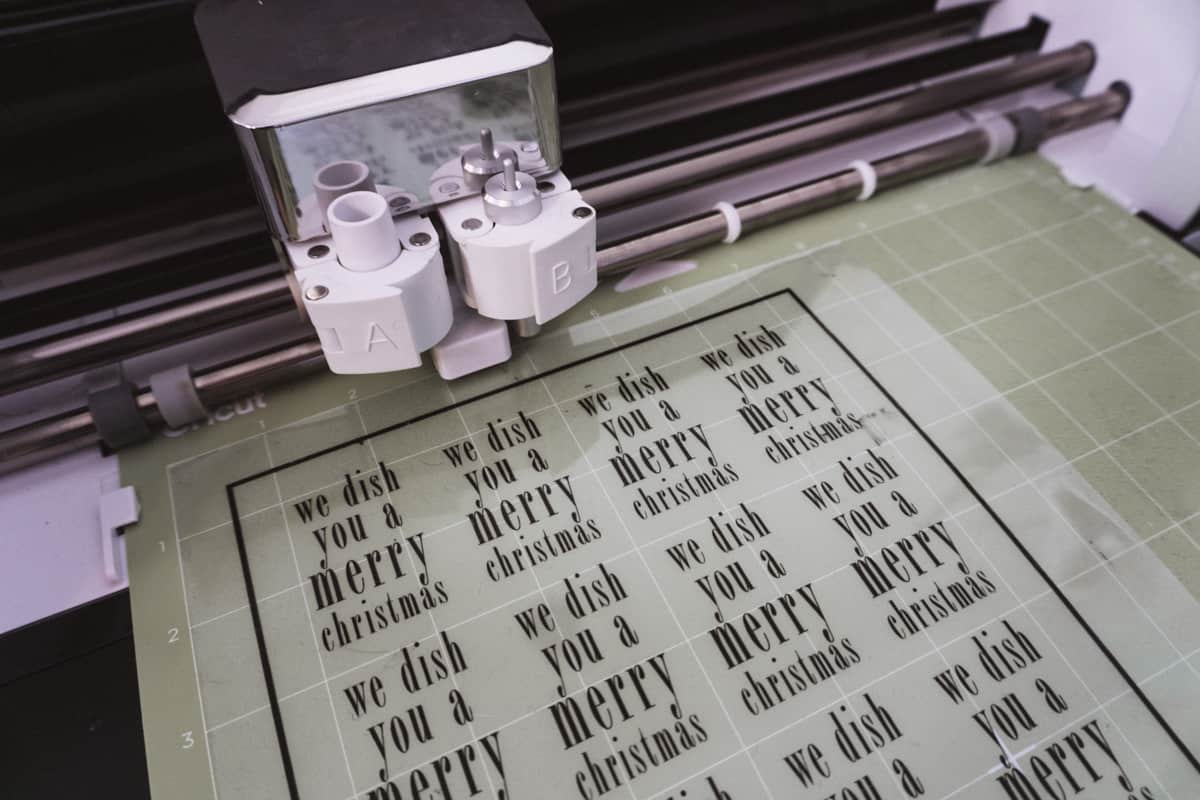
I plan on writing a whole post about this soon, but for some reason, this sticker paper really required some pressure adjustments for me. This means the knife blade didn’t cut all the way through like it was supposed to. The best part of print then cut, is you can load the same sheet back in and let it cut again. Because it calibrates with the border printed around it, it should cut in the exact same spot. Don’t do this with nonprint then cut materials though because if you click unload and reload it, it recalibrates and won’t cut in the exact same spot!
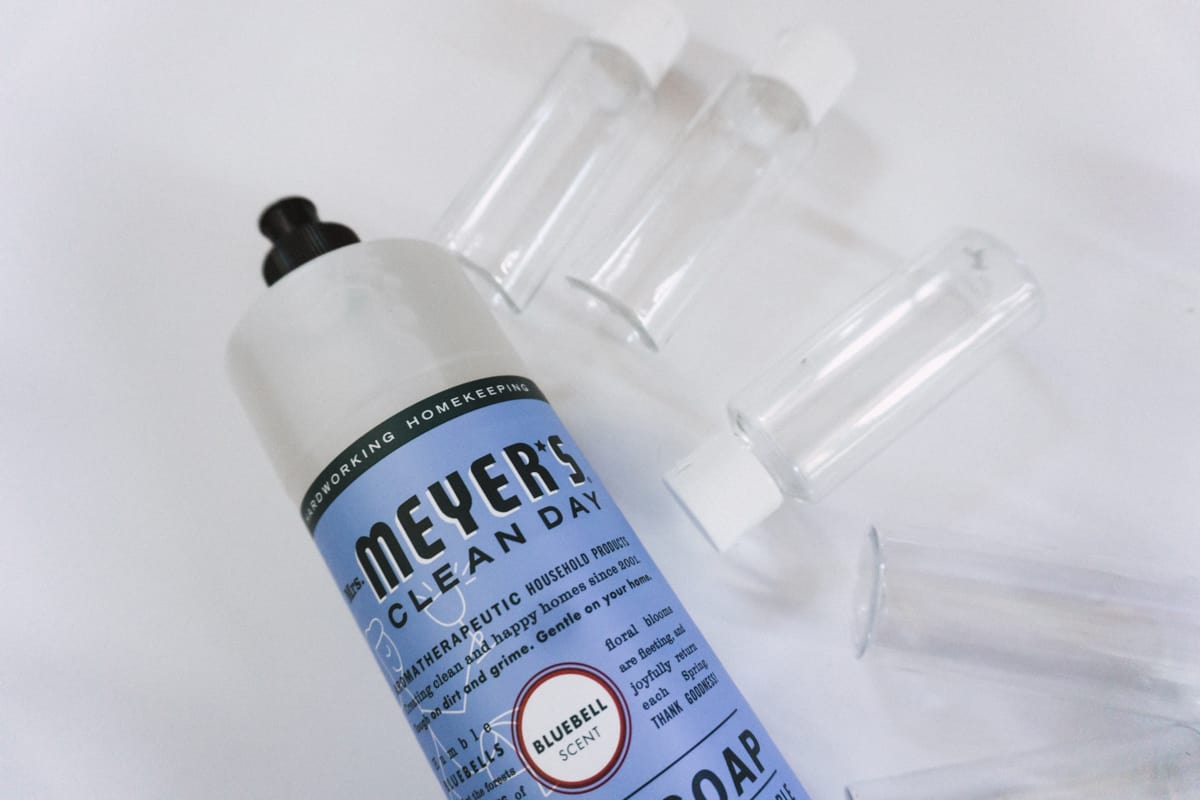
I filled up each little bottle with some dish soap using the spout on the top of the main dish soap bottle. This was nice because it didn’t require me to pour anything. I just squeezed it right in!
After each bottle was filled I peeled off the stickers and put them on! These stickers are pretty thick. They are like a thin plastic more than what you picture a sticker to feel like. I LOVED it for this project because I know they are on there and aren’t going anywhere.
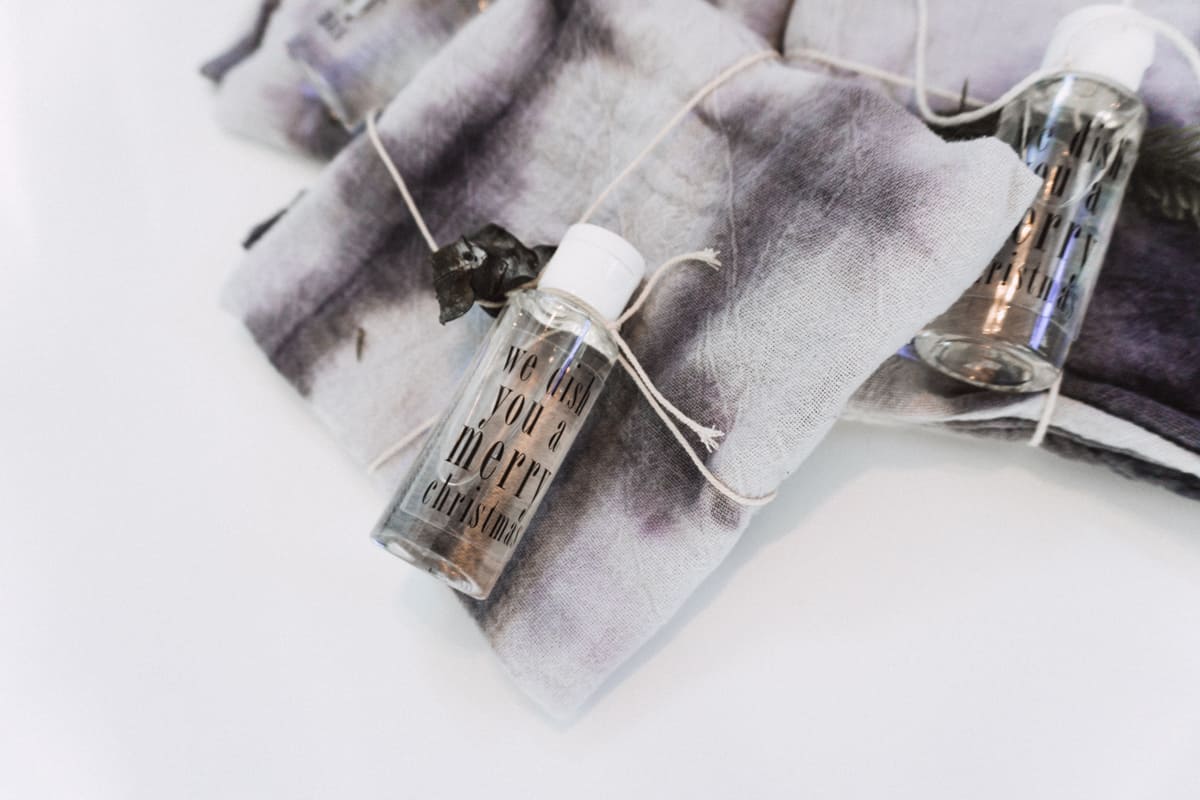
I grabbed a dish towel and some cotton twine and tied it around the dish towel then attached the soap with some greenery and was all done! Tahh dah!! A beautiful neighbor gift.


Beautiful indeed