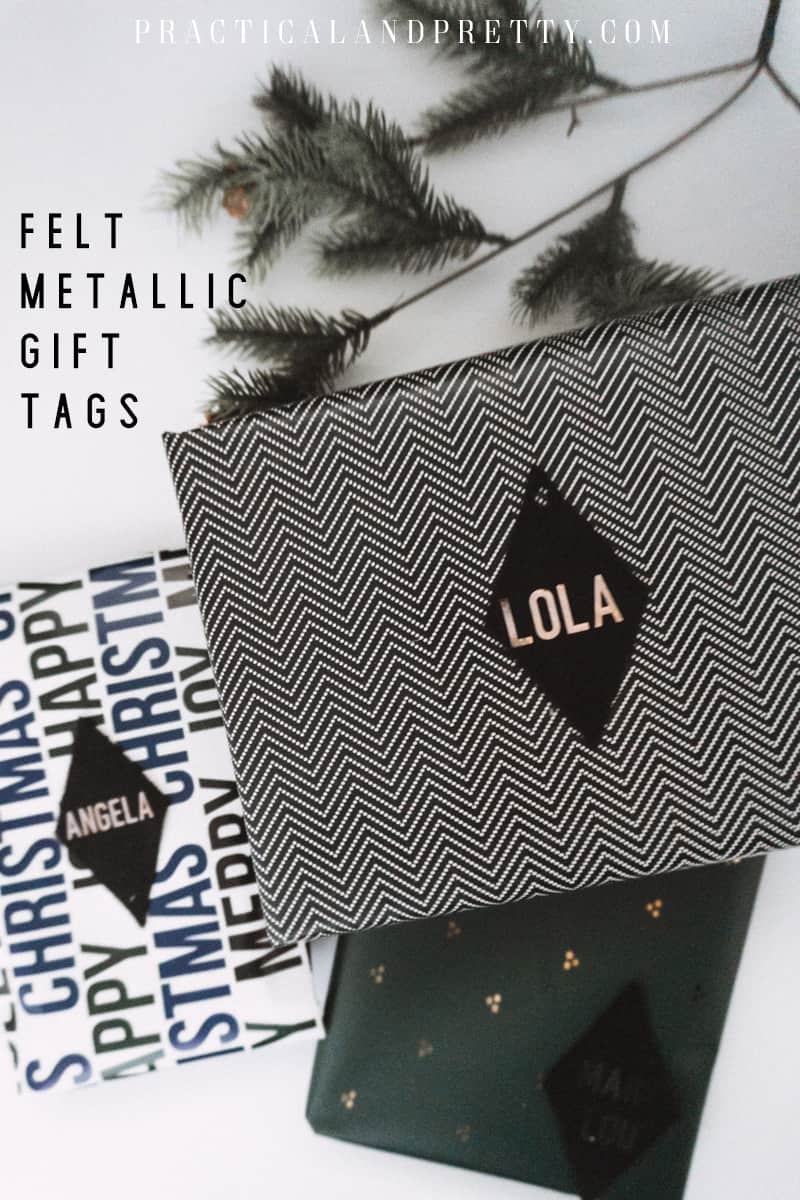
Add some texture to your gift with these minimalist gift tags using felt and metallic iron on vinyl. Customize them to your style!
It doesn’t matter how beautifully you wrap a gift, the first thing you can do to ruin it is stick one of those gift tag stickers on it, am I right?! I wanted to label gifts this year in style. In the past I have just written their names or something like that with pretty handwriting but I wanted to make them pop and this is one of the three ideas I came up with.
What you need for your metallic felt gift tags
- Felt
- Metallic iron on
- Cricut Maker
- Standard Grip mat
- Rotary Blade
- EasyPress Mini
- EasyPress Mat
- This Cut File
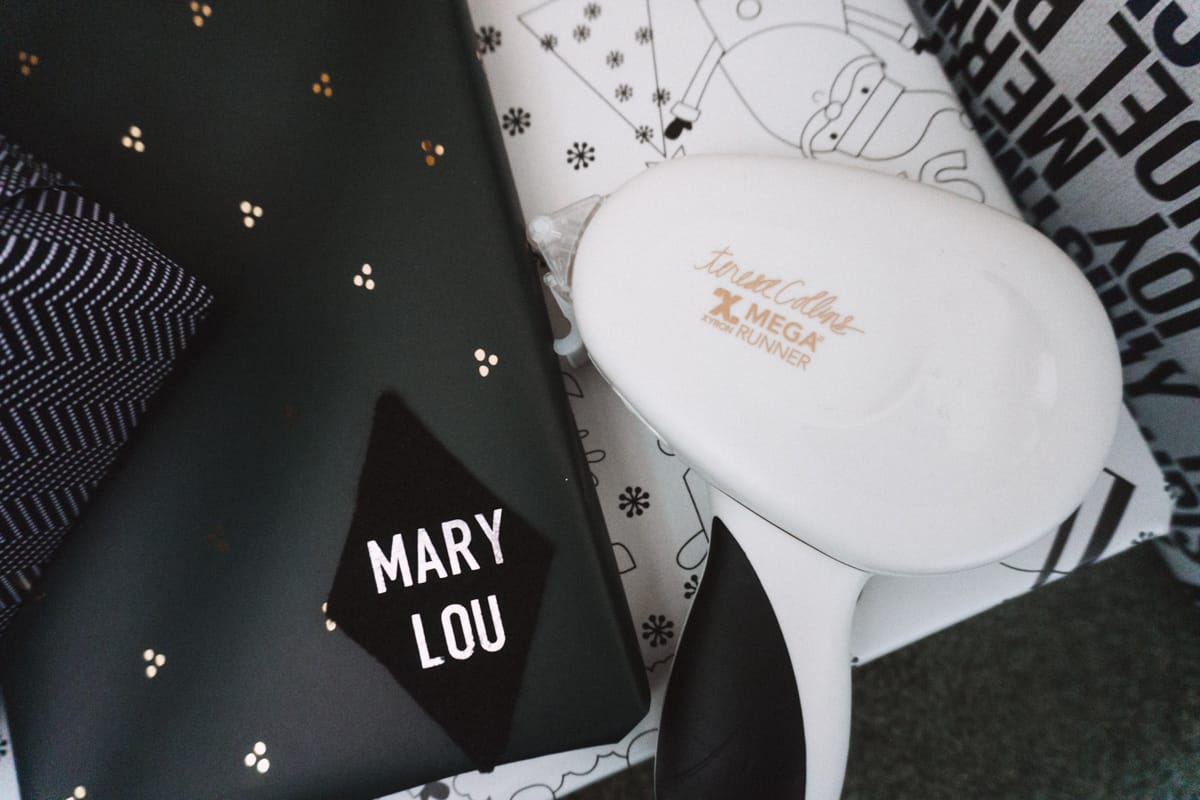
- Xyron Mega Runner
Open up your cut file and customize the gift tags to the names you want. Make sure to adjust the names so that you know they will fit on the diamond. I just line them up in the cut file to visualize how I’d like them to lay.
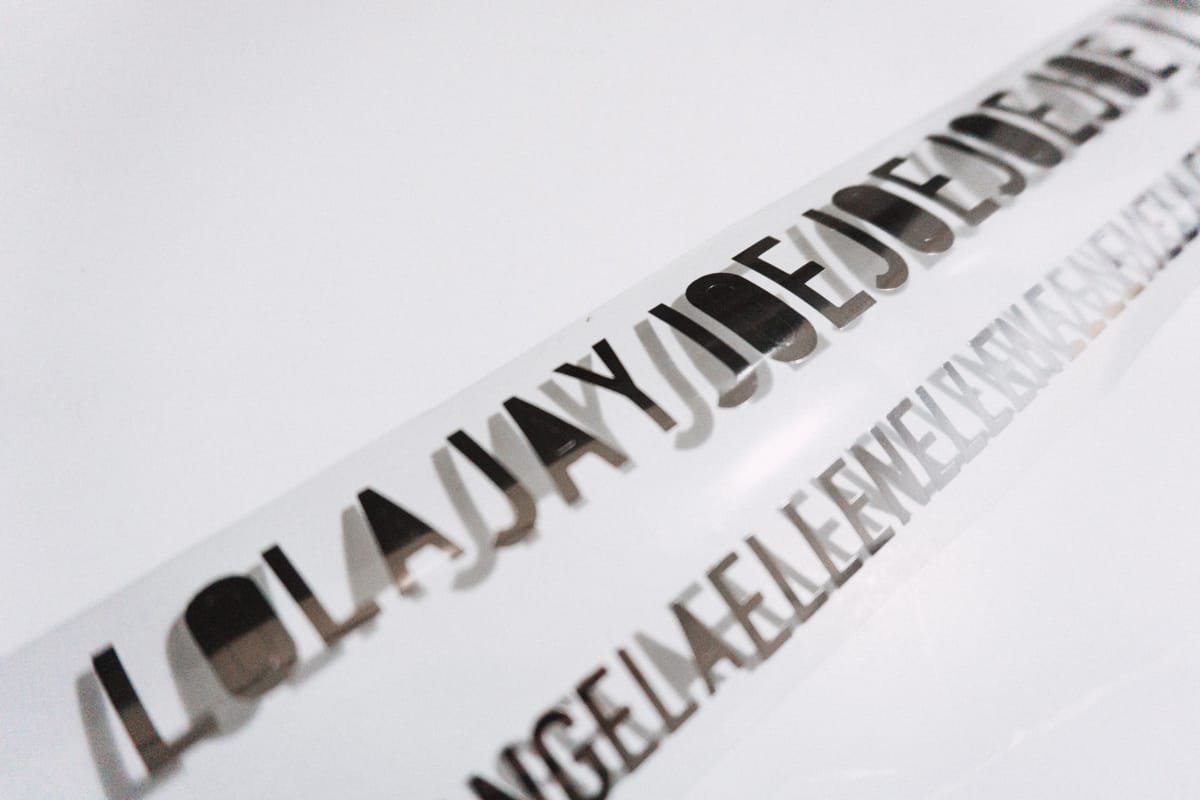
Follow the instructions to cut out your file. Make sure the mat with the names has ‘mirror for iron on’ selected. You will be cutting these out using your iron on.
This cut file requires iron on AND felt so you are going to need to make a blade change. My project had me do the iron on first which meant I selected “Foil Iron On” as my material and loaded in the fine point blade.
After that was cut, I selected my material to be “Felt” and it prompted me to load in my rotary blade before cutting. Your Cricut is really quite smart and won’t lead you astray as long as you tell it the materials you are hoping to utilize.
Assembling Your Name Tags
After your file is cut you are going to weed your iron on. I weeded the full sheet first then cut them out by name.
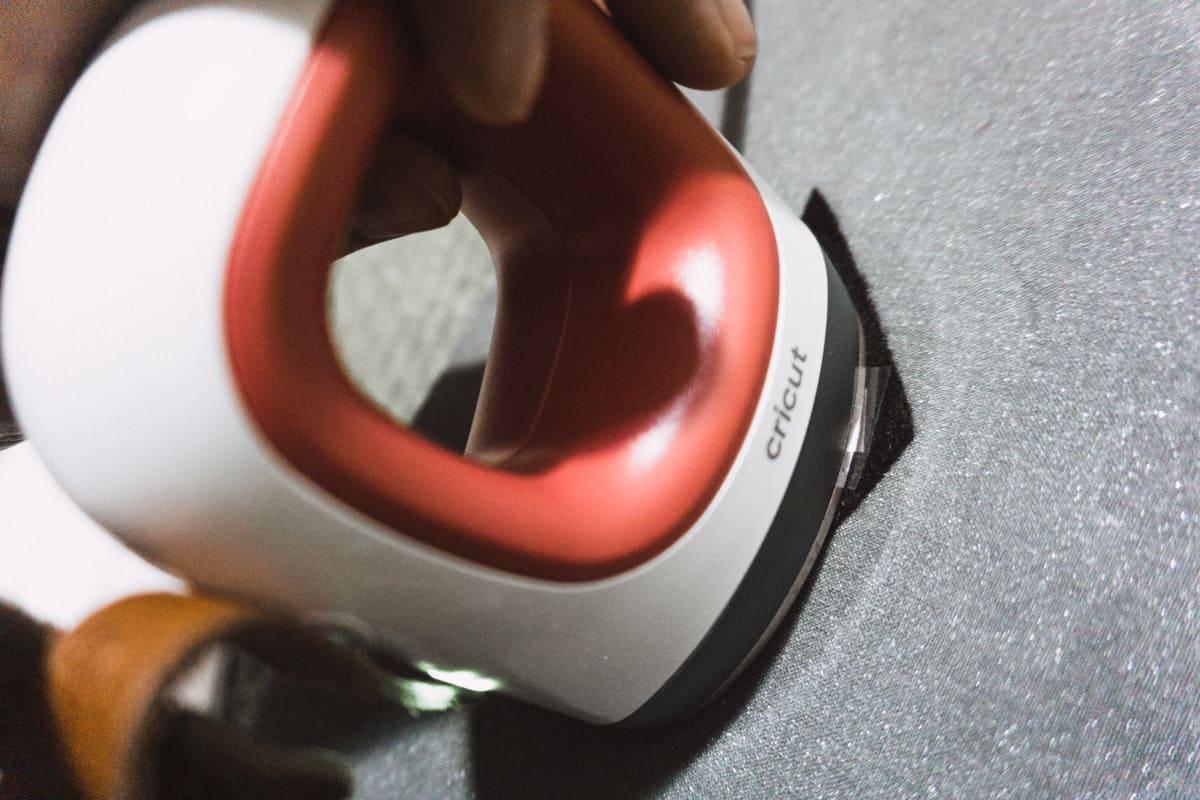
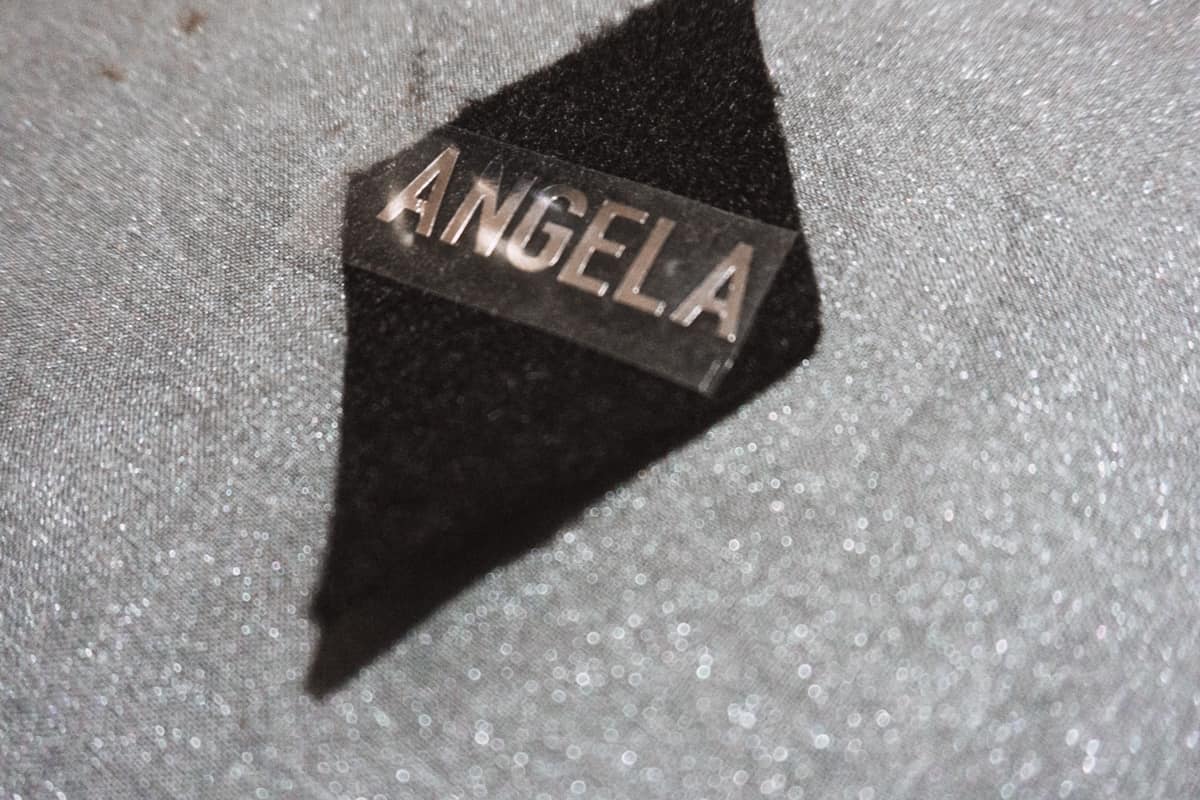
Heat your EasyPress Mini to the second heat setting. Place your iron on where you’d like it to go on your diamond and press the EasyPress Mini on for 30 seconds. Let the plastic cool down and carefully peel it away.
Repeat this with each tag and then you are all finished!
To apply the gift tags, you have two options. I cut a hole out of each diamond to tied them on with a ribbon and then ended up not loving how that looked. SO, I grabbed my glue tape and put one strip where I wanted the gift tags and just pressed them on!
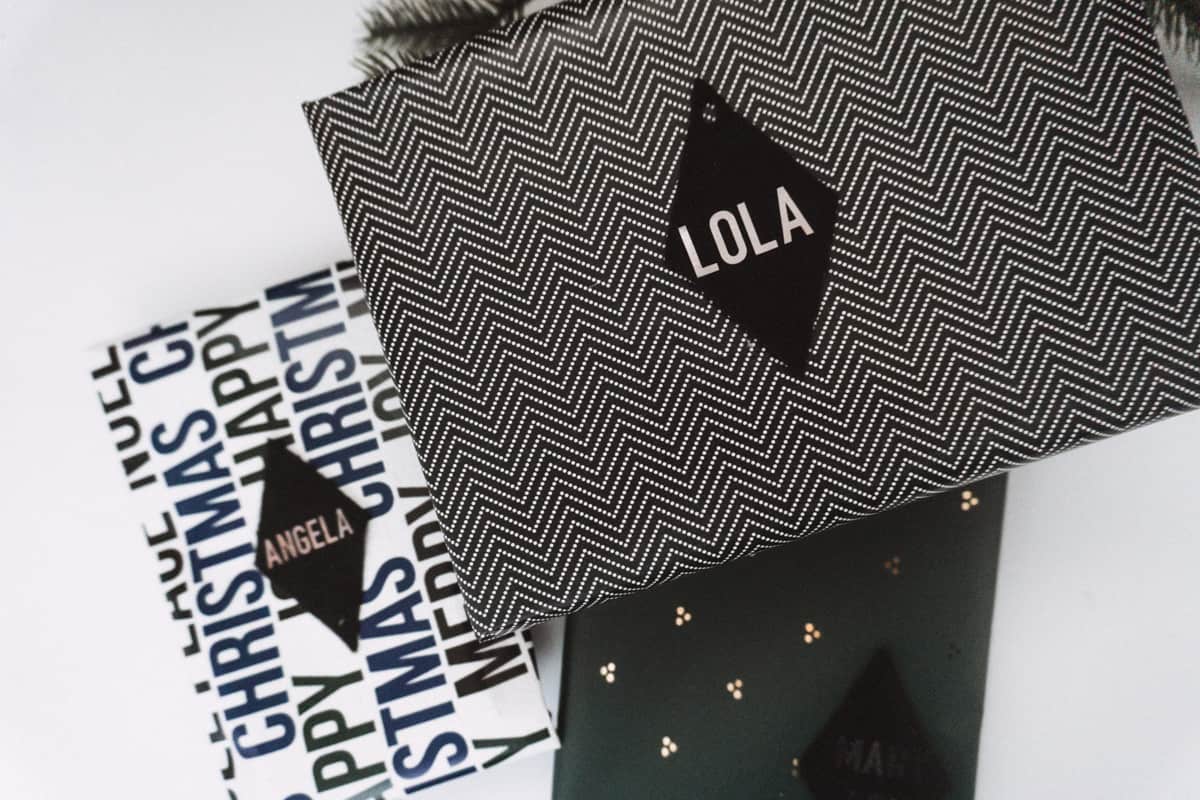
I love how these turned out and they really pop on my gifts but look so classy!
I made this post for a little gift tag series this season so be sure to also check out these posts too


Yes! it look so classy, really tags are amazing and the color is so cute, I just love it. Thanks for the share.