If you have ever stood over a bundled, dye-soaked piece of fabric wondering whether you really have to wait a full 24 hours before rinsing, you are in good company. It is one of the most common questions I get, and honestly, it was a question I had myself for a long time.
So I ran the experiment. Same fabric, same fold, same dyes, same color placement. The only thing I changed was how long each piece sat before I rinsed it. One came out at 6 hours, one at 12 hours, and one at the full 24.
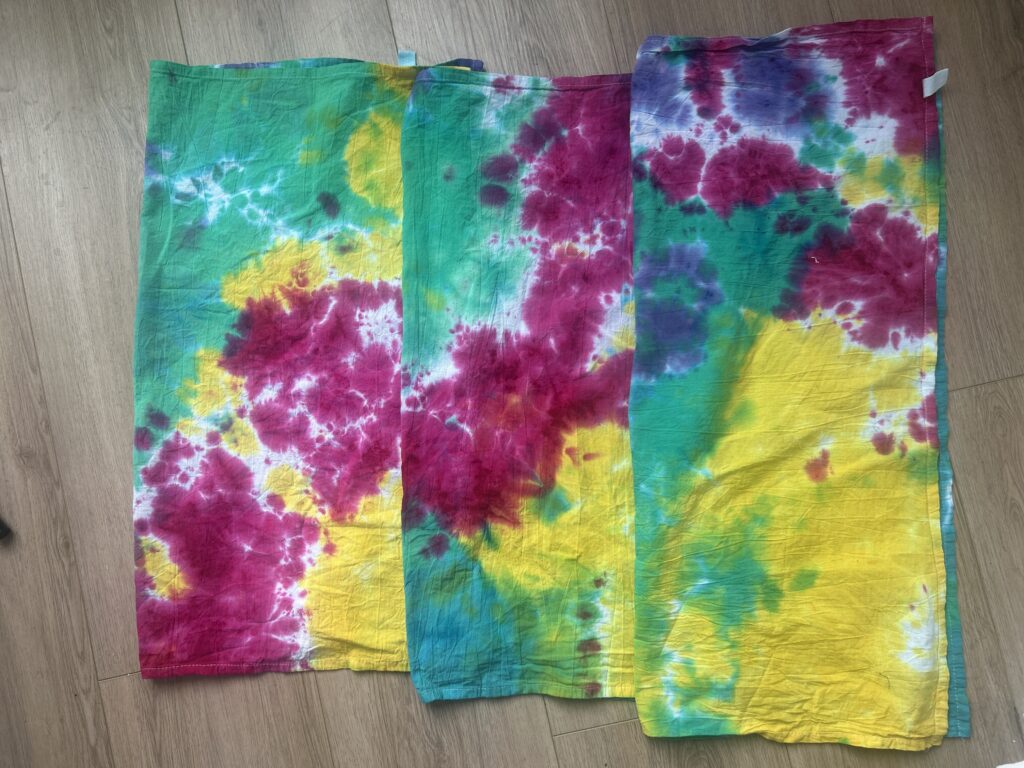
The results genuinely surprised me, and I think they are going to change how you think about batching time. Spoiler: longer is not always better. It depends entirely on the look you want.
If you landed here looking for ice dye batching, that is a different beast and I have a separate post for that one. This post is specifically about liquid dye application.
What Is Batching Time in Tie Dye?
Batching is the resting period after you apply your dye and before you rinse it out. During this time, the fiber reactive dye is bonding with the cellulose in your fabric, and the soda ash you pre-soaked in is making that bond permanent. Skip this step or cut it too short, and your dye will rinse right out. That is why batching matters.
For this post, we are talking strictly about liquid dye application, where you are squirting concentrated dye onto a folded piece of fabric with squeeze bottles. Ice dye behaves differently because the dye is melting and moving over a much longer window of time, so the rules are not the same.
How I Set Up the Experiment
I wanted these results to actually mean something, so I controlled every variable except time.
Fabric: Three identical 100 percent cotton tea towels, all pre-washed and soaked in the same batch of soda ash solution. I picked tea towels for this experiment because they are flat, identical, and let you see exactly what the dye is doing without the variables that come with a folded garment.
Dye: Dharma Trading Co. fiber reactive dye in fivev colors I use constantly, mixed at the same concentration for all three towels.
Fold and application: I did the same fold on all three, used the same color placement, and applied the same amount of dye to each towel.
Environment: All three towels batched on my work table in the same room, covered with plastic to keep them from drying out, at a steady temperature right around 75 degrees Fahrenheit.
The only thing I changed was when I rinsed. One towel came out at 6 hours, one at 12, and one at the full 24.
The Results
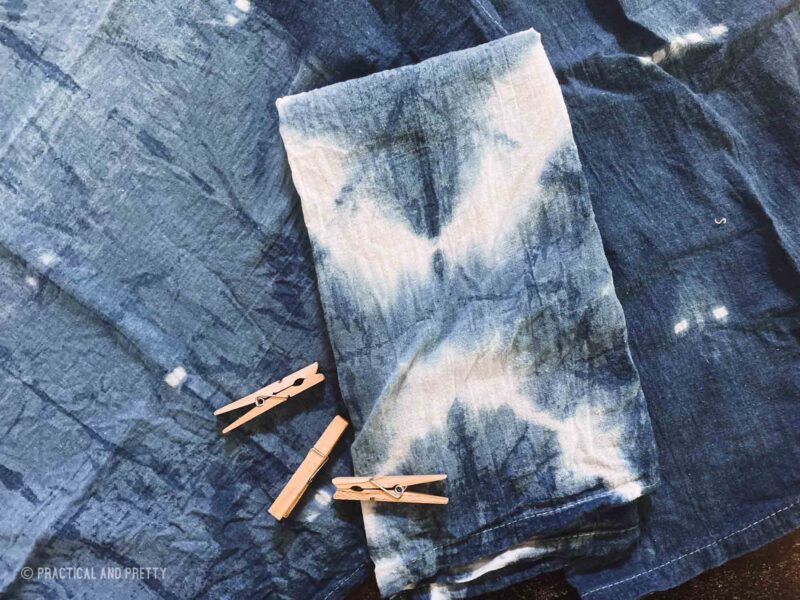
Here is the side by side comparison. Same towel, same fold, same dye. Three very different finished pieces.
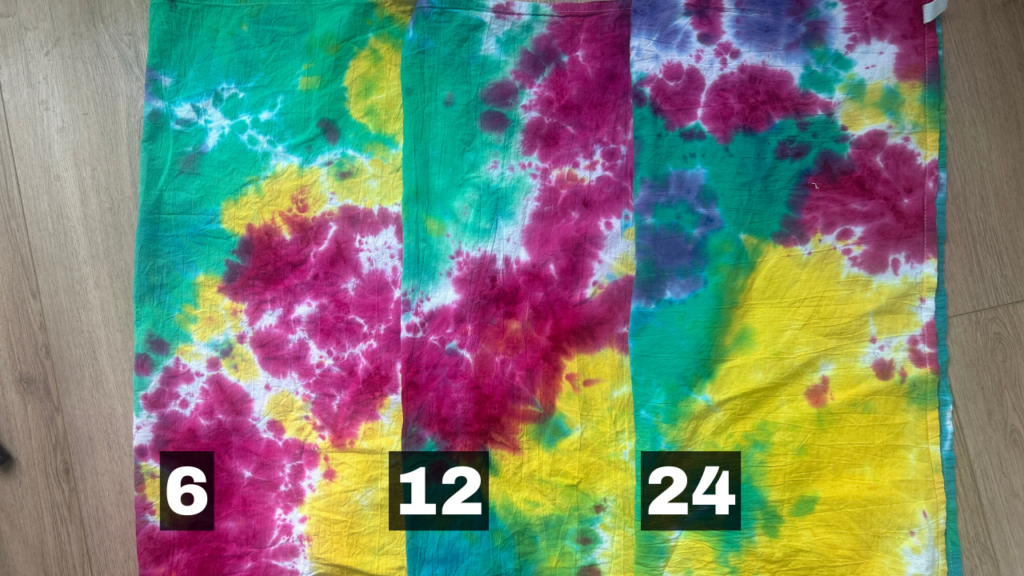
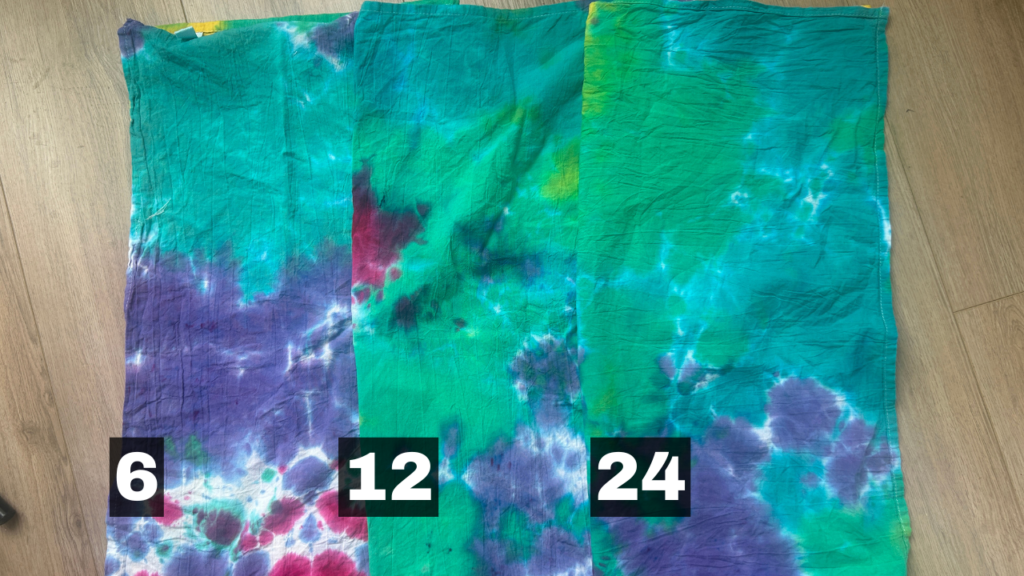
Let me break down what I saw with each one.
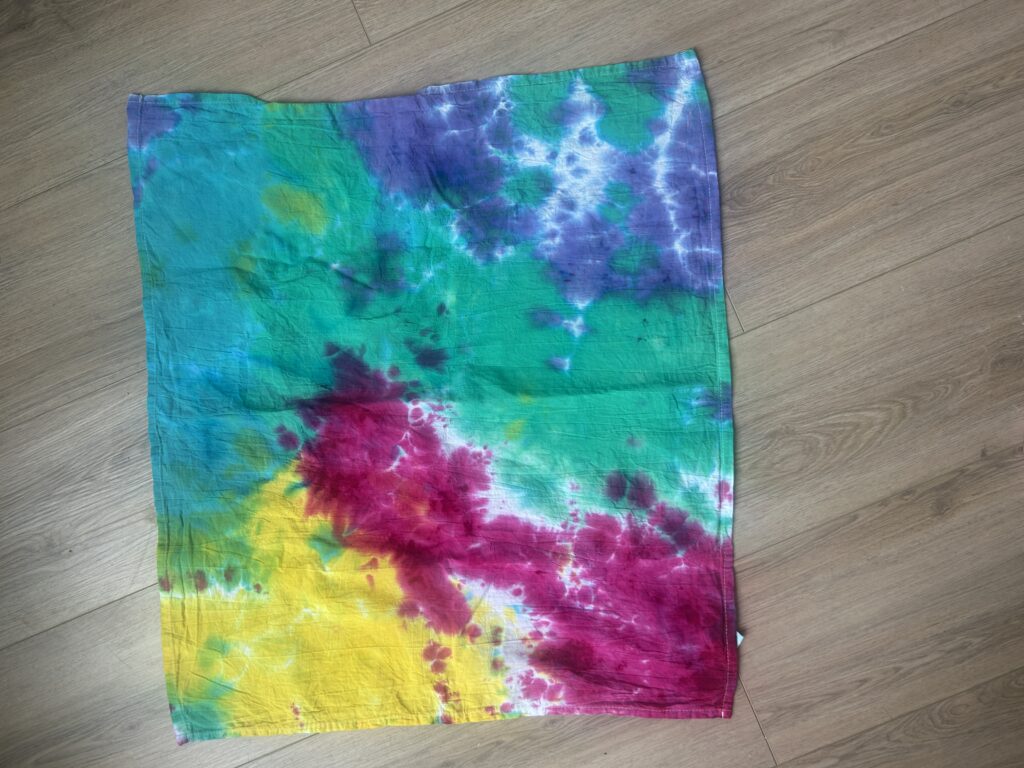
6 Hours
This piece came out with the boldest contrast of the three. The magenta was punchy, the white space between the color sections stayed crisp and clearly defined, and the colors read as separate and distinct rather than blending into each other.
When I flipped the towel over to look at the back, dye penetration was lighter. There were areas where you could see the soda ash white showing through, especially in the deeper folds.
If you love that high contrast graphic look where each color holds its own lane, 6 hours got me there.
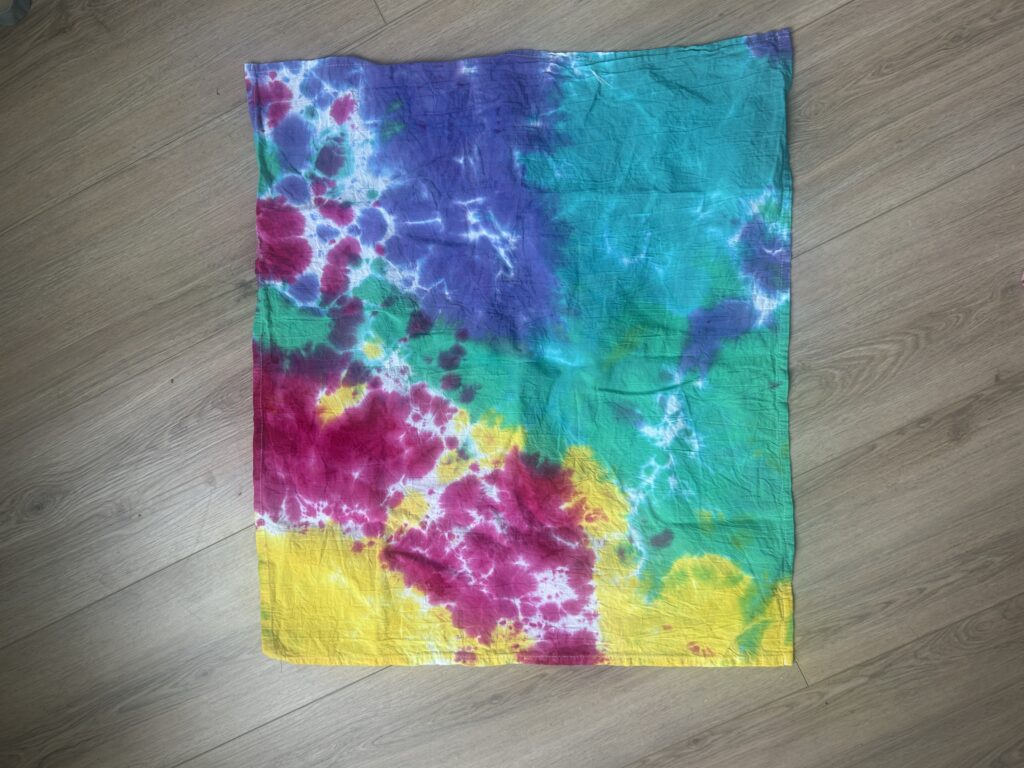
12 Hours
The 12 hour towel landed right in the middle, which makes sense. Colors had started to migrate into each other a little more, the white space had shrunk slightly, and the back of the towel showed noticeably more coverage than the 6 hour piece.
This is probably the safest bet for someone who wants a balanced result without committing to either extreme. Good color saturation, decent contrast, more even coverage front to back.
24 Hours
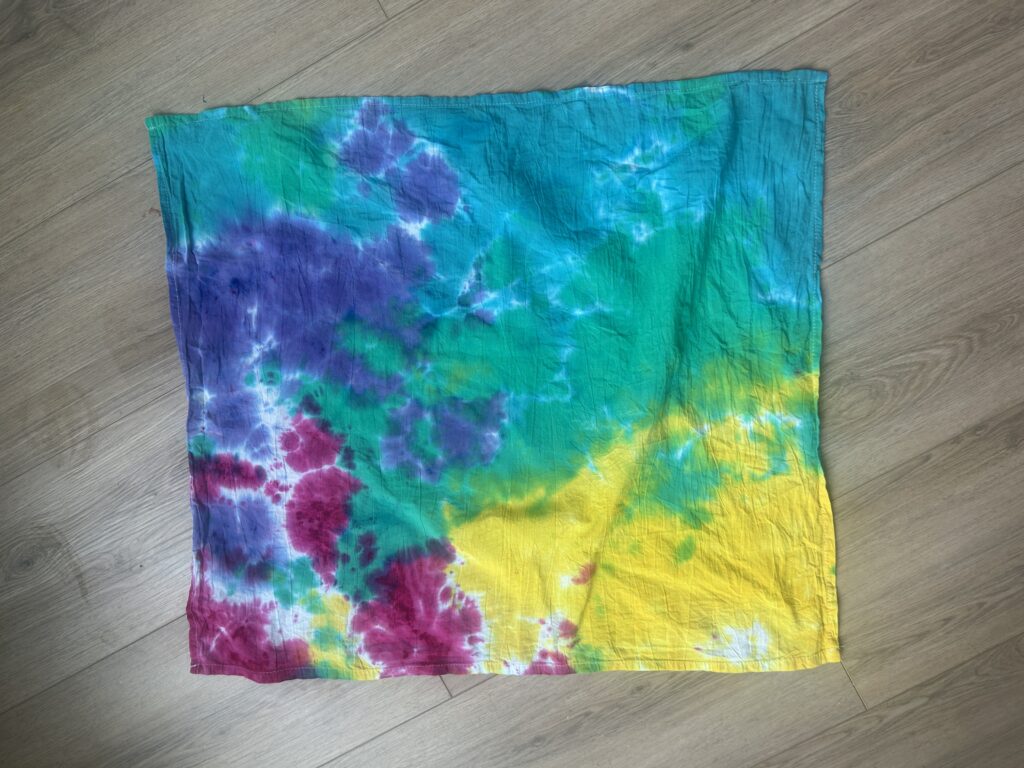
The 24 hour towel was the most blended of the three. The colors had really softened into each other, the white space had reduced to almost nothing, and the dye had fully saturated the fabric front to back.
The overall feel of this piece was much more watercolor than graphic. Softer edges, fuller coverage, and a more saturated overall look. There was very little contrast between the colors and the base fabric because the base was almost entirely covered.
What the Results Actually Mean
Here is the part I want you to hear, because most posts about batching time treat it like there is one correct answer. There is not.
Batching time is a creative choice. It is not just a technical requirement.
Once you have hit the minimum time needed for the dye to bond properly (and 6 hours in a warm room is enough to get permanent color), the rest of the time you spend batching is shaping the look of the finished piece.
If you want bold contrast and crisp white space, 6 hours may actually give you a better result than 24. The dye has bonded but has not had time to fully migrate, so your folds stay sharp and your colors stay distinct.
If you want full coverage and soft, blended, watercolor-style color with very little white space, the full 24 hours will get you there. The dye keeps moving and migrating during that whole window, filling in gaps and softening edges.
Neither is wrong. They are just different looks. Once you know that, you can use batching time the same way you use your fold or your color choice, as a tool to get the result you actually want.
Does Temperature Affect Batching Time?
Yes, and this is the big asterisk on everything I just said.

All of these results assume a warm environment, somewhere right around 70 to 75 degrees Fahrenheit. Fiber reactive dye reacts much more slowly in cool temperatures, which means 6 hours in a chilly garage is absolutely not the same as 6 hours in a warm room. If your space runs cold, you will need to add time, or warm the space up, or both.
I have a whole post on temperature and how to keep your dye reacting properly in less than ideal conditions. Give that one a read if your batching space is on the cooler side.
So How Long Should Liquid Tie Dye Sit?
Here is the cheat sheet version.
Minimum time: 6 hours, but only in a warm environment around 70 degrees or higher.
Sweet spot for most beginners: 12 to 24 hours. This range is forgiving and gives you good color development without much risk.
If you want:
- Bold contrast and crisp white space: rinse closer to 6 hours.
- Full, soft, blended coverage: go the full 24 hours.
- If the Space is cold: add time, or move your bundles somewhere warmer.
Liquid Dye vs Ice Dye Batching Times
Liquid dye and ice dye work on completely different timelines, and you cannot apply liquid dye batching rules to ice dye. With ice dye, the dye is locked up in the ice and only releases as the ice melts, which means the actual reaction window is stretched out over many more hours. The ice itself also keeps the fabric cold, which slows the reaction further.
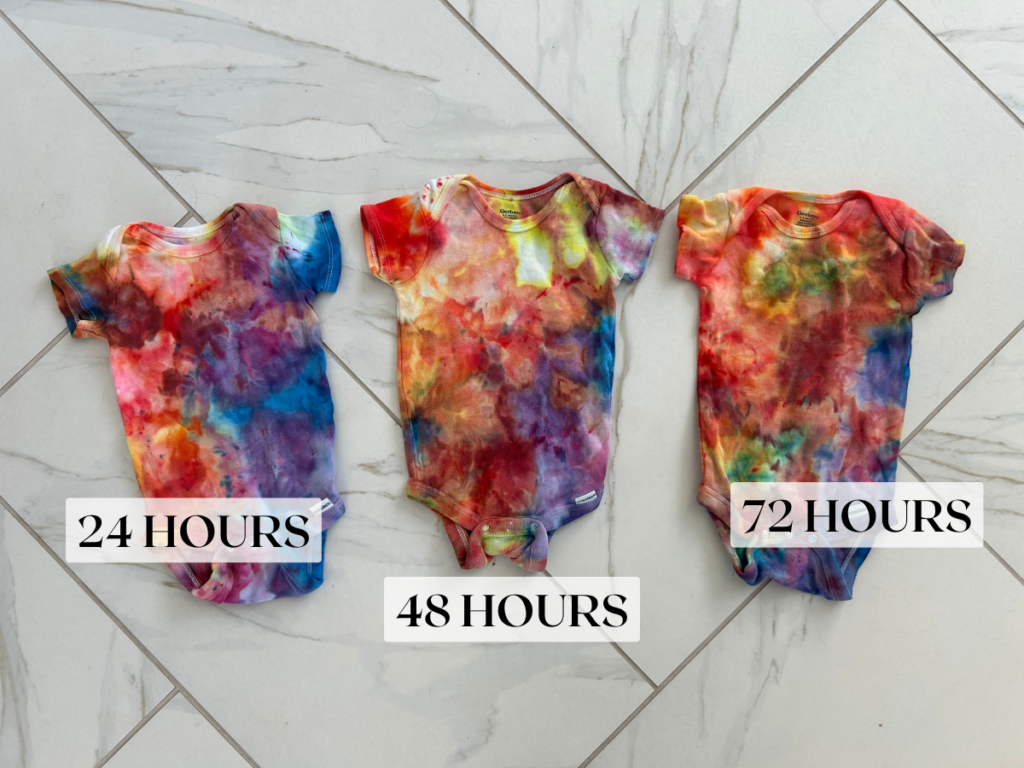
If you came here looking for ice dye batching guidance, head over to my ice dye batching post for the full breakdown. The numbers and the reasoning are different.
FAQ
Is 2 hours enough for tie dye to sit?
Two hours is on the very low end and I would not recommend it for liquid dye on cotton in most home dyeing setups. Fiber reactive dye needs time to bond, and 2 hours often leaves you with washed out colors that fade significantly during the rinse. If your space is very warm, say 80 degrees or above, you can get away with shorter times, but in a typical room temperature setup, give it at least 6 hours.
Can I rinse liquid tie dye after 6 hours?
Yes, as long as your fabric batched in a warm environment around 70 degrees or warmer. Six hours is enough time for fiber reactive dye to bond permanently to cotton at room temperature. You will get a different look than a 24 hour batch, with more contrast and more white space, but the dye will be permanent.
Is 24 hours always better than 6 hours for liquid tie dye?
No, and this is the big takeaway from my experiment. Twenty four hours gives you fuller, softer, more blended coverage. Six hours gives you bolder contrast and crisper white space. They are different looks, and which one is better depends entirely on what you are trying to make.
Can you let liquid tie dye sit for two days?
You can, but you probably do not need to. After about 24 hours, the dye reaction has essentially finished doing its work. Going longer mostly just risks the fabric drying out or developing mildewy spots if it stays warm and damp too long. If life happens and your batch sits for 48 hours, your piece will most likely be fine. Just rinse it well.
What happens if liquid tie dye sits too long?
Honestly, not much in terms of damage. Once the dye has fully reacted, leaving it longer mostly just means more migration and softer edges. The bigger risk with very long batches is the fabric drying out, which can leave you with chalky or uneven spots. Keep your bundles covered in plastic to prevent that.
What happens if you do not let tie dye sit long enough?
The biggest issue with cutting batching short is that the dye has not had time to fully bond with the fabric. You will see noticeable fading during the rinse and the first wash, and your finished piece will look much paler than you expected. Unbonded dye also tends to redeposit onto your white areas during rinsing, which can muddy your contrast. If you are short on time, warmth helps. Six hours in a warm room beats 12 hours in a cold one.
Should I tie dye wet or dry fabric?
For liquid dye application, your fabric should be damp, not soaking wet and not bone dry. After your soda ash soak, wring or spin out the excess water until the fabric is evenly damp. Dry fabric does not let the dye spread evenly through your folds, and dripping wet fabric dilutes your colors and can cause migration before you even start batching.
Does liquid tie dye need to stay wet while batching?
Yes. The dye reaction needs moisture to keep going. If your bundle dries out partway through batching, the reaction stops in the dry areas. Wrap your pieces in plastic, place them in a plastic bag, or cover them with a plastic bin to keep the moisture in. Something else you can do is add urea to your liquid. Urea keeps things wet longer.
What do I do after my liquid tie dye sits?
The next step is rinsing. Start by rinsing your bundle in cold water while it is still tied or folded to flush out the loose unreacted dye. Then untie or unfold the piece and keep rinsing in gradually warmer water until the water runs mostly clear. Finish with a hot water wash using Synthrapol or a color-catching detergent to lock everything in. My rinse out tutorial walks through the whole process step by step.
Does batching time affect how easy the dye is to rinse out?
A little, but not as much as people assume. The bigger factor in rinse difficulty is how much excess unreacted dye is sitting in your fabric, which depends more on how much dye you applied than on how long you batched. My rinse out tutorial walks through the process I use for any batch length.
A Final Thought
If you take one thing from this post, let it be this. Batching time is not a rule you have to follow, it is a tool you get to use. Once you know that 6 hours gives you contrast and 24 hours gives you blending, you can pick the time that matches the look you want, just like you pick a fold or a color palette.
Try it for yourself. Dye two pieces the same way and rinse one early. I think you will be surprised at how much that one variable changes the finished piece.
If you need supplies to run your own batching experiment, all the dyes, soda ash, bottles, and tools I use are linked in my Amazon storefront.
And if you try this experiment yourself, come back and tell me what you found. I love hearing how these tests go for other dyers.
[EMBED: YouTube video of the batching experiment]
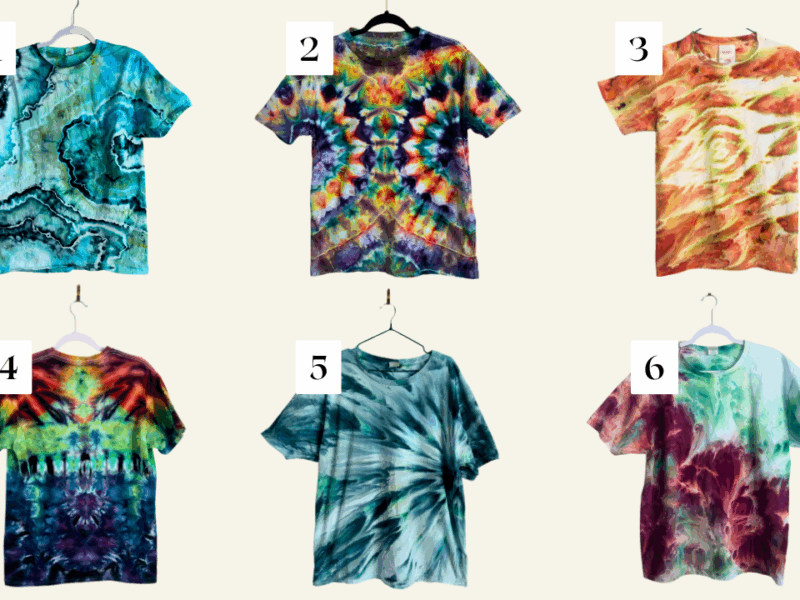
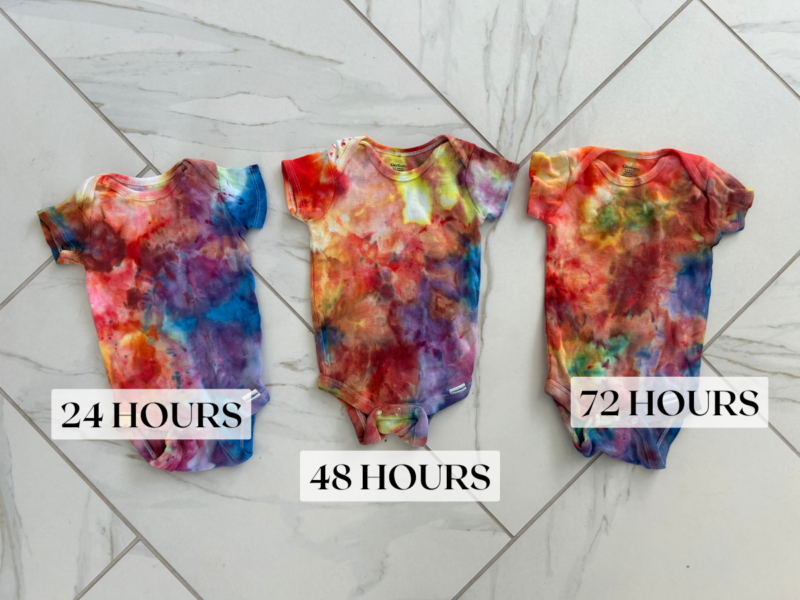
Thank you for the information regarding liquids dye batch times. I liked seeing the actual results side by side as a comparison. I do have a question, or rather an observation regarding the photo of the onesies that you included for ice dye batch times. When I clicked on the link, “ice dye batching post”, the photo is labeled differently in that post. It appears that you may have switched the labels for 24 & 72 hours. If you look at both photos, the one posted here and the one posted in the other post for ice dye batching, it appears that the 24 & 72 hours are swapped. May I suggest that you take a look at both photos, and compare the two? I could just be seeing it differently. Please do not interpret my comment as being critical or negative. I only mention it to avoid confusion with your loyal fans. Thank you.