If you’ve ever seen a shirt with light, faded patterns on a dark background and wondered how it’s done, that’s reverse tie dye. Instead of adding color to white fabric like traditional tie dye, reverse tie dye removes color from a dark garment, and it’s a lot easier than it looks. In this guide, I’ll walk you through exactly what reverse tie dye is, which method to choose, and how to do it step by step using my favorite product, Out White Brite.
Reverse tie dye is simpler than most people expect once you know what’s happening to the fabric. Here’s everything you need to get a successful result, even on your first try.
What Is Reverse Tie Dye?
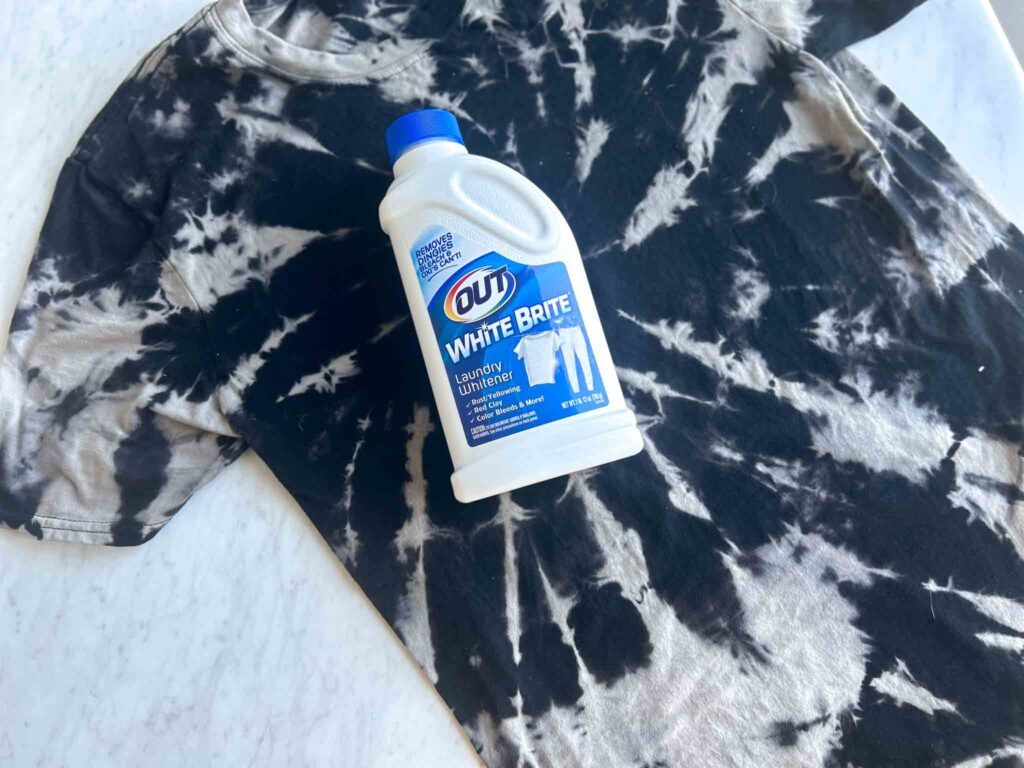
Reverse tie dye flips the usual tie dye process. Instead of applying dye to a white or light shirt, you fold or bind a dark shirt the same way you would for regular tie dye, then apply something that lifts color out of the fabric instead of adding it. Wherever the fabric is exposed, the color fades. Wherever it’s folded or bound tight, the color stays protected and stays dark.
There are a few different products people use to pull the color out, and each one gives you a slightly different look.
If you’d prefer to see this information in video form check out the video below.
Reverse Tie Dye Methods: Bleach vs. White Brite vs. Rit
Most people default to bleach because it’s the most familiar option, but it isn’t the only one, and it isn’t always the best one.
- Bleach is the most common choice and works fast, but it tends to leave a yellow or orange cast and can weaken or shred fabric with heavier use.
- Out White Brite is my go-to. It’s gentler than bleach, so it’s less likely to damage fabric, and it usually lifts to a cleaner gray rather than orange.
- Rit Color Remover is another option some dyers prefer, especially for a more predictable, commercial-kit style process.
Curious how bleach and White Brite actually compare side by side? I’ve got a full breakdown here: White Brite vs. Bleach. And if you’d rather start with the bleach method specifically, here’s my dedicated tutorial: How to Reverse Tie Dye with Bleach Crystals.
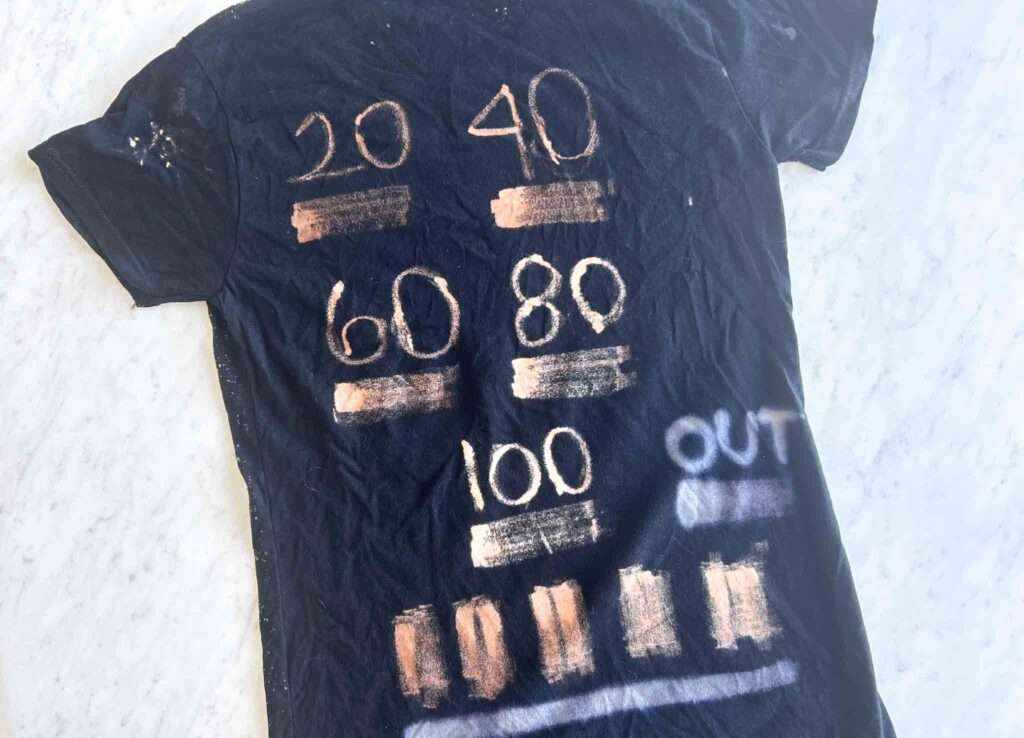
Bleach vs. OWB Breakdown
| Feature | Bleach | White Brite |
|---|---|---|
| Resulting Color | Yellow/Orange | Crisp White/Gray |
| Odor | Strong chlorine smell | Strong sulfur smell |
| Fabric Damage Risk | Higher | Lower |
| Best For | Distressed look | Clean, high-contrast designs |
What You Need for Reverse Tie Dye
- A dark or heavily saturated 100% cotton item. Blends and synthetics don’t lift well, so you probably won’t be able to put color back in afterward if you go that route.
- Out White Brite
- A dedicated pot or bucket that you don’t use for food, since you’ll be heating it on the stove
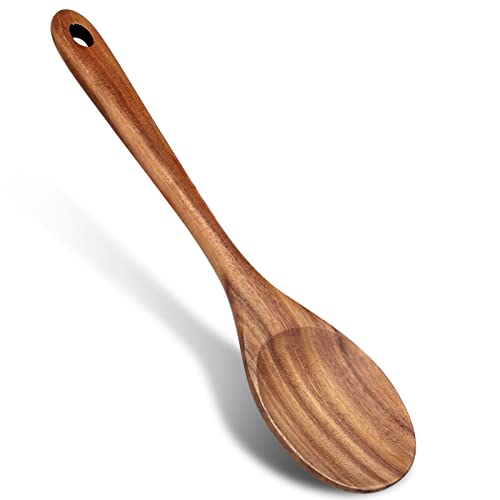
- Stirring spoon or tongs
- Gloves
- Rubber bands. Classic office supply rubber bands hold up in heat much better than the ones that come in most tie dye kits, which tend to snap.
- A well-ventilated space, ideally outside or near an open window
Best Fabric for Reverse Tie Dye
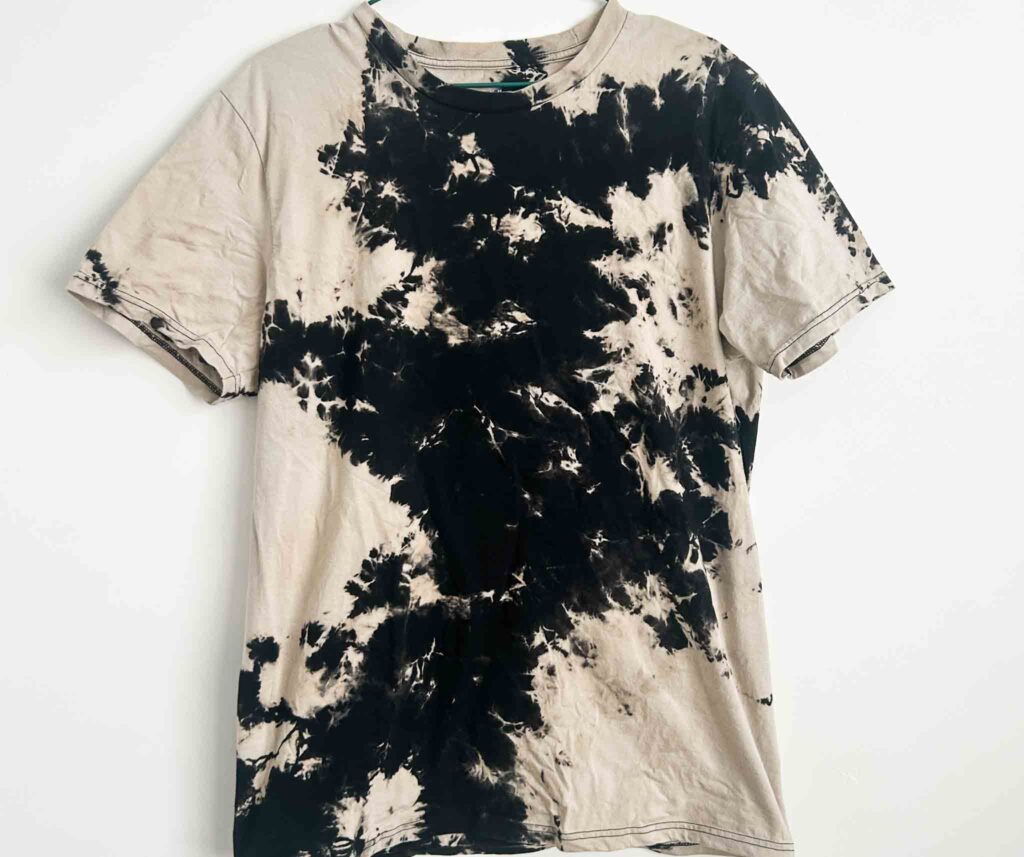
Not every dark shirt reverses the same way, and you honestly won’t know exactly how it will look until you try it. Black cotton usually fades to gray with White Brite or orange with bleach, but the exact result depends on what dye was originally used on the shirt. I’ve seen black shirts turn pink instead. It’s part of what makes this technique fun.
Stick with 100% cotton for the most dramatic, predictable lift. A cotton-poly blend will lift a little, but it’s much harder to add color back into afterward.
3 Beginner-Friendly Folds for Reverse Tie Dye
You don’t need an advanced fold to get a great result. These three are simple enough for a first attempt and still look striking once the color lifts.

- Crumple. Scrunch the fabric into a loose ball and secure it with a few rubber bands. Band it loosely for more white or gray space, and tighter for a mostly dark result. Banding too tight can leave the very center of the shirt looking untouched.
- Spiral. Pinch a point on the shirt (dead center or off to one side like a breast pocket for an asymmetrical look) and twist the fabric around it. Keep it relatively flat while you twist, then band it with rubber bands spaced around the spiral. Leave the bands loose enough that some fabric is still exposed.
- Bullseye. Find the center of the shirt (or start from a corner for a different effect) and band a circle, then continue banding concentric circles down the length of the fabric. Tighter bands mean more dark space between the rings.
How to Reverse Tie Dye with White Brite
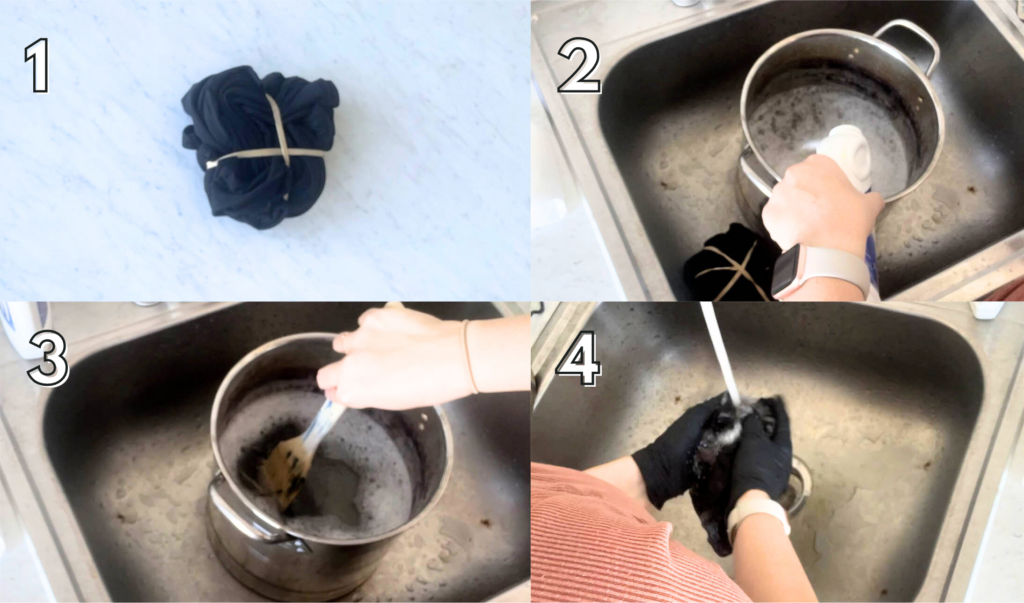
- Fold and bind your fabric
Choose one of the folds above and secure it tightly with rubber bands. - Bring water to a rolling boil
Use your dedicated pot on the stove. - Add White Brite gradually
Sprinkle it in gently since it foams up quickly. Add a little at a time, leaving room at the top of the pot. - Submerge your fabric
Take the pot off the heat, then use tongs to push your folded fabric down until it’s fully covered. - Let it lift for about 5 minutes
You’ll start to see color pulling out almost immediately. Five minutes is usually the max you’ll need. - Rinse in cool water
Rinse until the water runs relatively clear, unwrapping the rubber bands as you go. You’ll see even more color come out as you squeeze and rinse. - Wash
Run the item through a normal wash cycle to finish setting the result.
🔥 Quick Tips for Reverse Tie Dye
• Use 100% cotton for the most dramatic results.
• Choose your rubber bands carefully. Classic office supply bands hold up better in heat.
• Always work in a well-ventilated space and wear gloves.
• The color will keep coming out as you rinse, so don’t judge the final look until after it’s washed.
Safety Precautions
Both bleach and White Brite have a strong odor and are made of chemicals that can be harmful to breathe in. Work in a well-ventilated area, ideally outdoors, and wear gloves throughout the process.
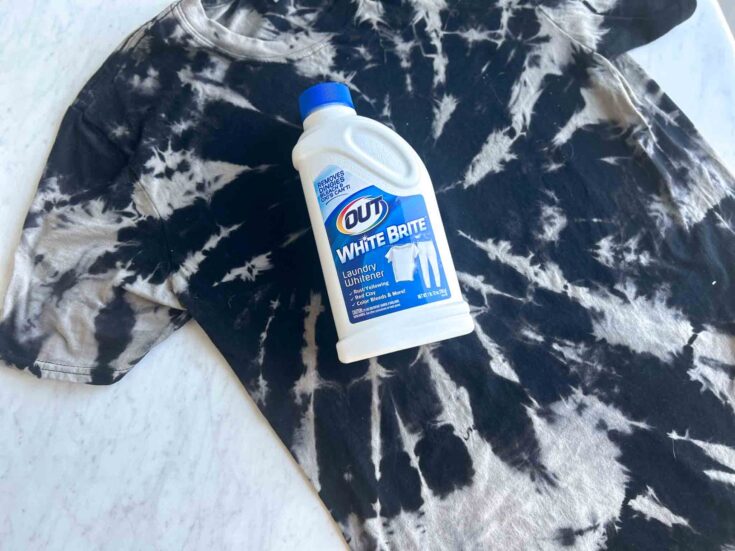
Reverse Dyeing with White Bright
Out White Brite is a fun way to reverse tie-dye. Step-by-step and video instructions on how to get a more white reverse dye effect.
Materials
- White Brite
- 100% cotton dark t shirt or other dark fabric
Tools
- Pot or Bucket
- Stirring spoon
Instructions
- Wet your fabric and wring it out. Damp fabric will create sharper lines between the white and black.
- Fill a pot or bucket with hot water with enough water to cover the fabric.
- Add the White Bright to the water and stir. I used about 3 tablespoons for my one shirt.
- Allow to sit for 4+ hours.
- After the cloth has sat in the water it may start to turn a bit lighter. It will get much whiter after the rinse!
- Rinse with cold water until water runs clear.
- Run the article of clothing through a wash cycle by itself.
Recommended Products
As an Amazon Associate and member of other affiliate programs, I earn from qualifying purchases.



Reverse Tie Dye FAQs
Reverse tie dye is a technique where you remove color from a dark fabric instead of adding color to a light one. You fold or bind the fabric the same way you would for traditional tie dye, then apply a product like bleach, White Brite, or Rit Color Remover, which lifts the dye out of the exposed fabric while the bound sections stay protected.
Bleach usually leaves a yellow or orange cast and carries a higher risk of fabric damage. White Brite tends to lift to a cleaner white or gray and is gentler on fabric, though it has a strong sulfur smell of its own.
White Brite does not contain bleach or oxy. It only has three ingredients: sodium metabisulfite, sodium hydrosulfite, and sodium carbonate.
Reverse tie dye works best on 100% cotton, linen, or other natural fibers that are dark or heavily saturated in color. Synthetic blends will lift a little, but the effect is much weaker and it’s harder to add new dye back into those fibers afterward.
OWB is an acronym for Out White Brite. In a lot of tie dye circles on Facebook groups or in subreddits, you’ll see the acronym ‘OWB.’ This laundry whitener is what they’re referring to when they say that.
Next Steps
Once your shirt is reversed, you can:
- Leave it as a bold black-and-white design
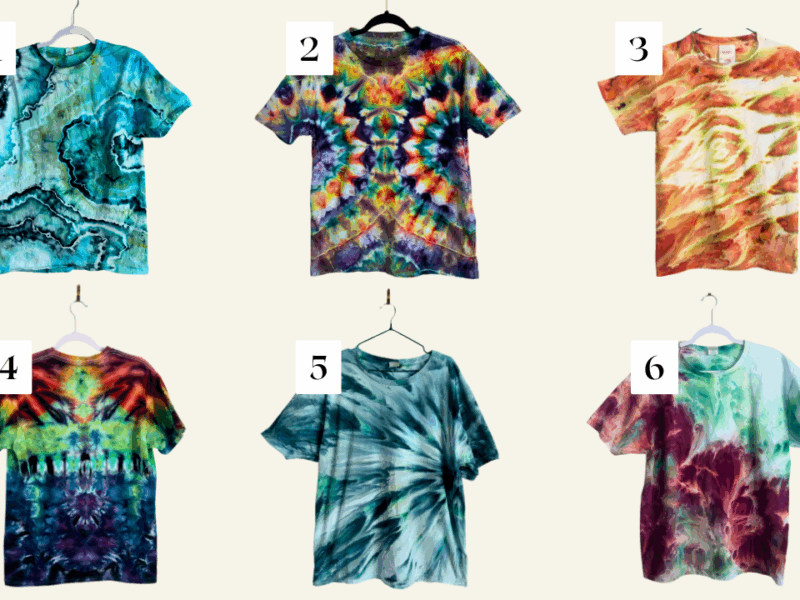
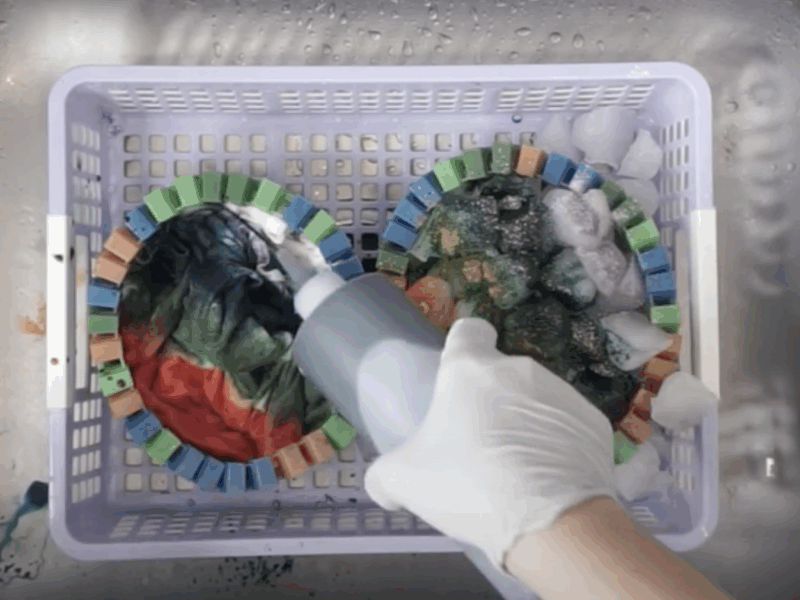
- Over-dye it with bright colors for a layered effect
- Try fun folds! My 5 favorite Shibori folds look amazing with reverse dyeing.
- Compare methods side by side in my White Brite vs. Bleach post, or go step by step with bleach crystals in my bleach reverse tie dye tutorial.
- Check out this post of common tie dye mistakes before you start your next project.
Want more folding ideas? Grab my free ebook below.
Pin this for later!

So according to your article this will work on a natural fiber like cotton but not on synthetic fibers. Will this product work on other natural fibers such as silk, or wool which are protein fibers or other cellulose fibers like linen, rayon or bamboo? I only dye natural fibers and would like to use this product on all of them if possible.
Yes it definitely will! And please check back to let me know how it goes! In fact silk, rayon and bamboo have much bolder colors. The dye will flow a bit differently however.