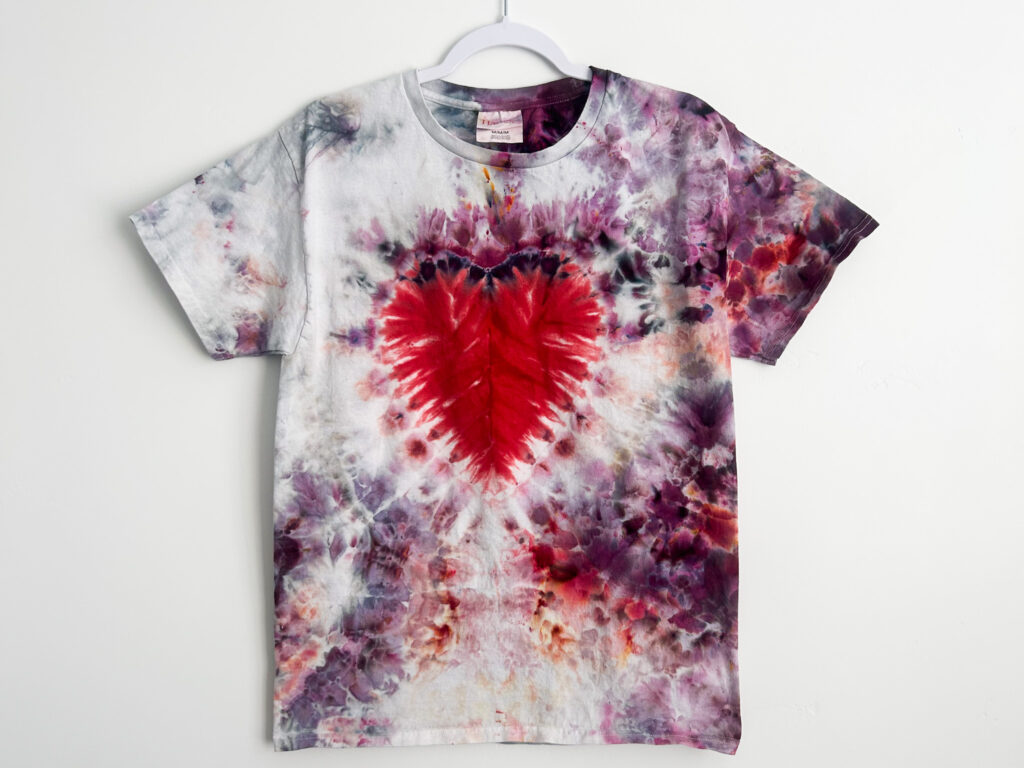
Want to learn how to tie-dye a heart shirt? This step-by-step tutorial shows you exactly how to fold, bind, and ice dye a bold heart design using sinew. Whether you’re crafting for fun or making something special, this method delivers vibrant, eye-catching results with a standout heart right in the center.
If you’re a more visual learner, you can watch the video tutorial here:
Pin this post for later!

Before you start, make sure you have the right supplies! I put together a full guide to the Best Tie-Dye Supplies I use for every project — check it out here.
Step 1: Prep Your Shirt
Start with a plain white t-shirt soaked in a soda ash solution (1 cup soda ash per gallon of water). Let it soak for 20+ minutes, then wring it out so it’s damp but not dripping. This helps your colors stick and stay vibrant.

Step 2: Fold and Draw the Heart
Fold the shirt in half vertically with the front side facing out. Draw half a heart shape along the fold using a washable marker—just like elementary school.
Tip: This tutorial only places the heart on the front. To make it double-sided, fold the shirt sleeve-to-sleeve instead.

Step 3: Accordion Fold the Heart
Carefully accordion fold along the heart line. Take your time, especially around the curves. Extra fabric bunching up is totally fine—just scrunch it if you’re not aiming for a radiating pattern.
Step 4: Bind With Sinew
Use waxed sinew (or rubber bands if that’s what you have) to tightly bind the heart fold. I used a sinew puller for crisp lines and added a second wrap for a ripple effect. (Spoiler: It didn’t change much—but experimenting is half the fun!)

Step 5: Ice Dye Setup
I used Magic Tracks to hold the scrunched parts in place, leaving the heart section outside the barrier for more control.
Apply Dye-Na-Mite (a bold red) to the heart section, then cover it all with ice.

Step 6: Add More Color
On the scrunched outer part, I used:
- Himalayan Salt – coral-toned, special edition
- Black Cherry – rich, deep purple-red
Note: Red dyes love to travel! My red bled into other sections and didn’t leave as much white as I planned—but it still turned out great.

Step 7: Let It Set
Let the ice melt completely and leave the dye to process for at least 24 hours. Patience = bold color payoff.
Step 8: Rinse and Reveal
- Rinse with cold water until it runs mostly clear
- Rinse with hot water + Dawn dish soap
- Machine wash on hot with Dyer’s Detergent or Synthrapol
This thorough rinse helps prevent bleeding, fading, or backstaining later on.
Final Thoughts:
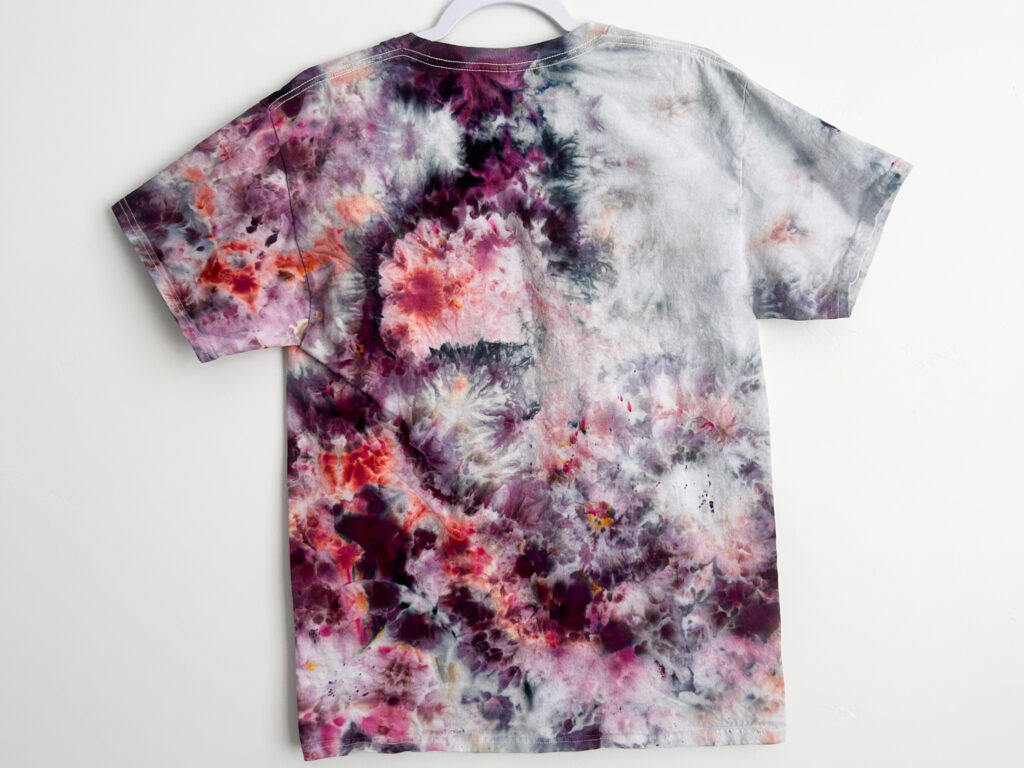
This rainbow heart turned out super cute—bold shape, bright colors, and even with the red’s chaos, it’s a keeper. I didn’t list it… I’m keeping it for myself! Here’s the back!
Love This Project? You Might Also Like:
Freebies + Resources:
📩 Grab My Free Tie Dye Ebook – 12 Beginner Folding Techniques
🛒 Shop My Favorite Tie Dye Supplies
🧵 Visit My Etsy Shop for Finished Shirts
Got questions about how to tie dye a heart shirt? Drop them in the comments or DM me on Instagram @storebrandanna!


