Iron baths are a method in dyeing fabric that creates darker colors from browns, grays, dark violets and sometimes even black!
I am always on my instastories (follow me here!) showing my dyeing process and the most common question I get while I’m dyeing is ‘How did you make the iron bath’? Well.. that is if they don’t message me ‘What is an iron bath’?
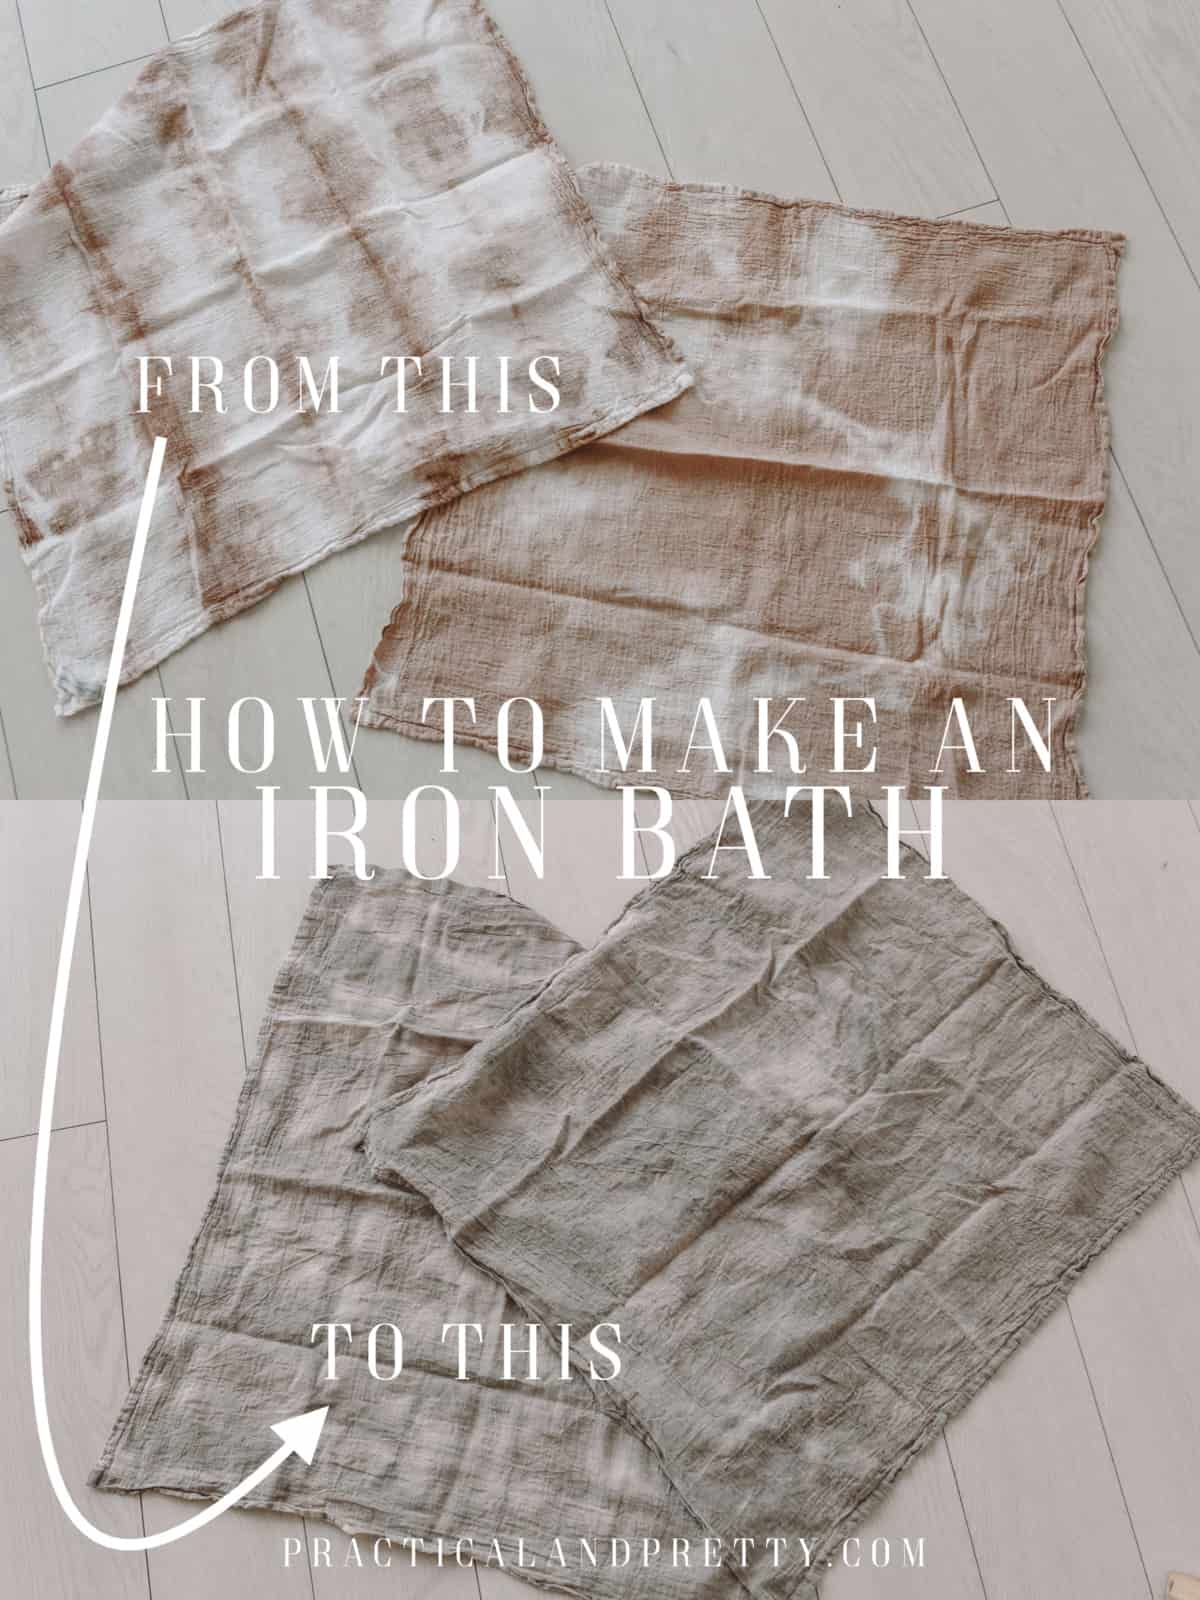
So let me explain! An iron bath is simply a vat of dye that you use AFTER already dyeing some fabric. It is one of my very favorite ways to create a darker color. (You know me and how much I love dark and moody colors!)
What you need to create an iron bath
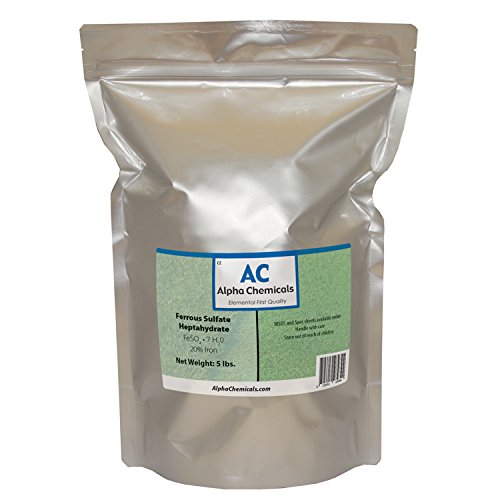
- Iron powder (dissolvable NOT pure iron. I’ve made this mistake)
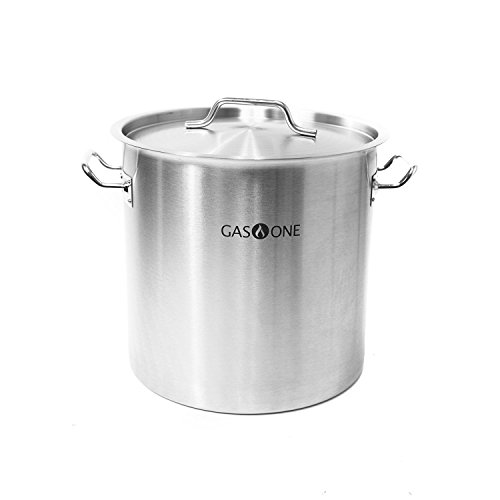
- Stainless steel pot
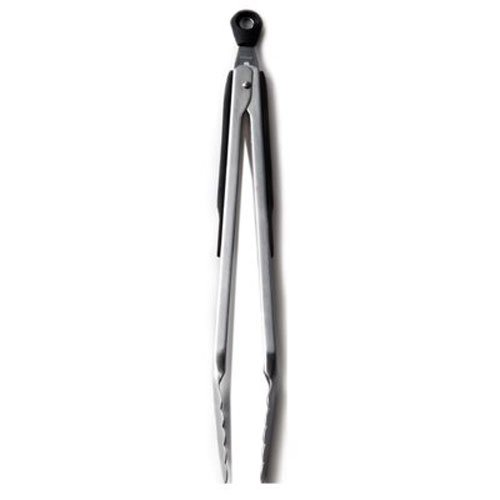
- Tongs (specifically set aside for your dyeing)
- Water
- Plastic measuring cup
Shop this Post!
These are affiliate links. If you purchase through these links I earn a small commission at not cost to you!
Ferrous Sulfate Heptahydrate –GasOne Stainless Steel Brew
OXO Good Grips 12-Inch
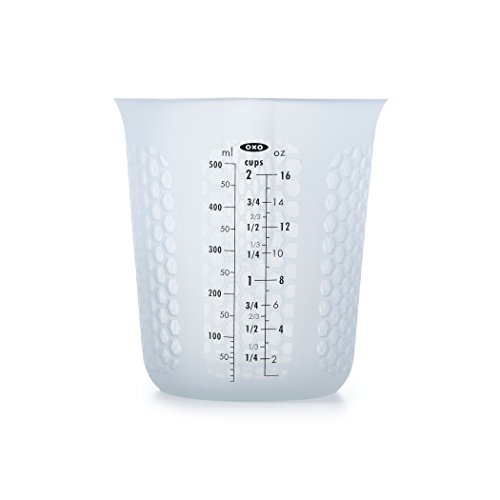
OXO Good Grips 2-Cup
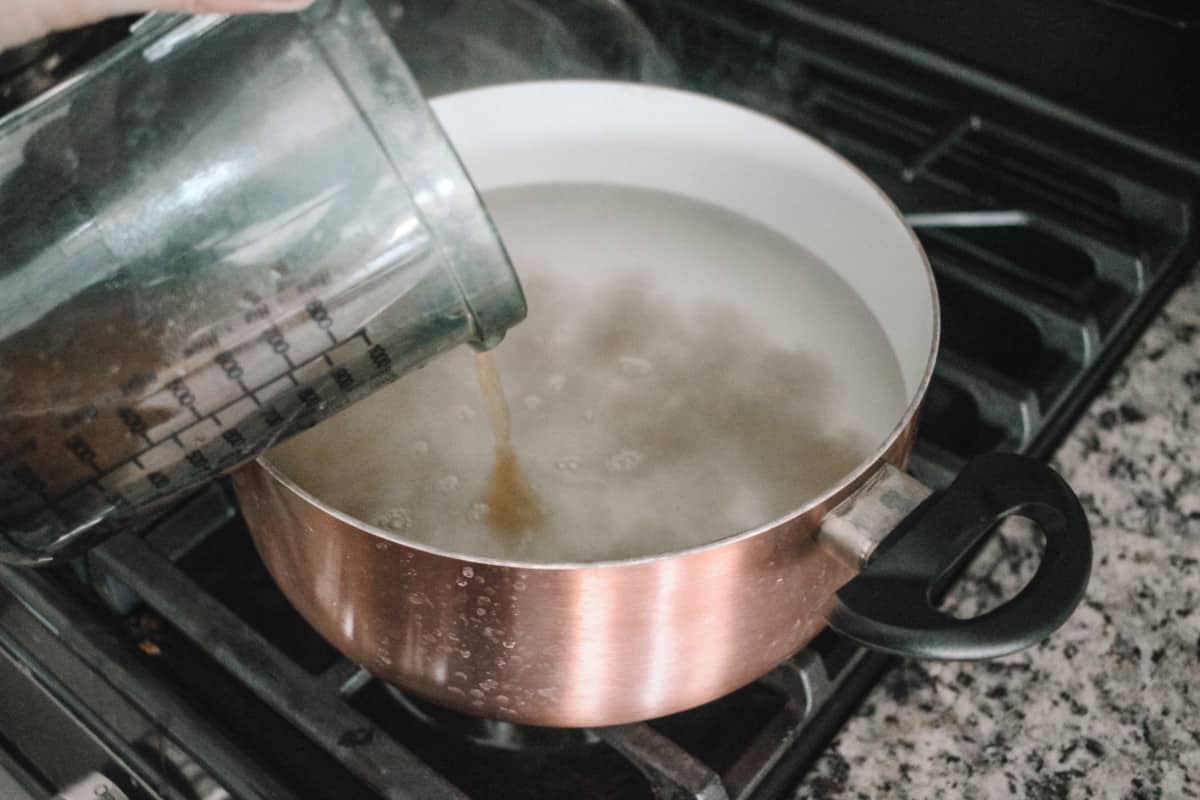
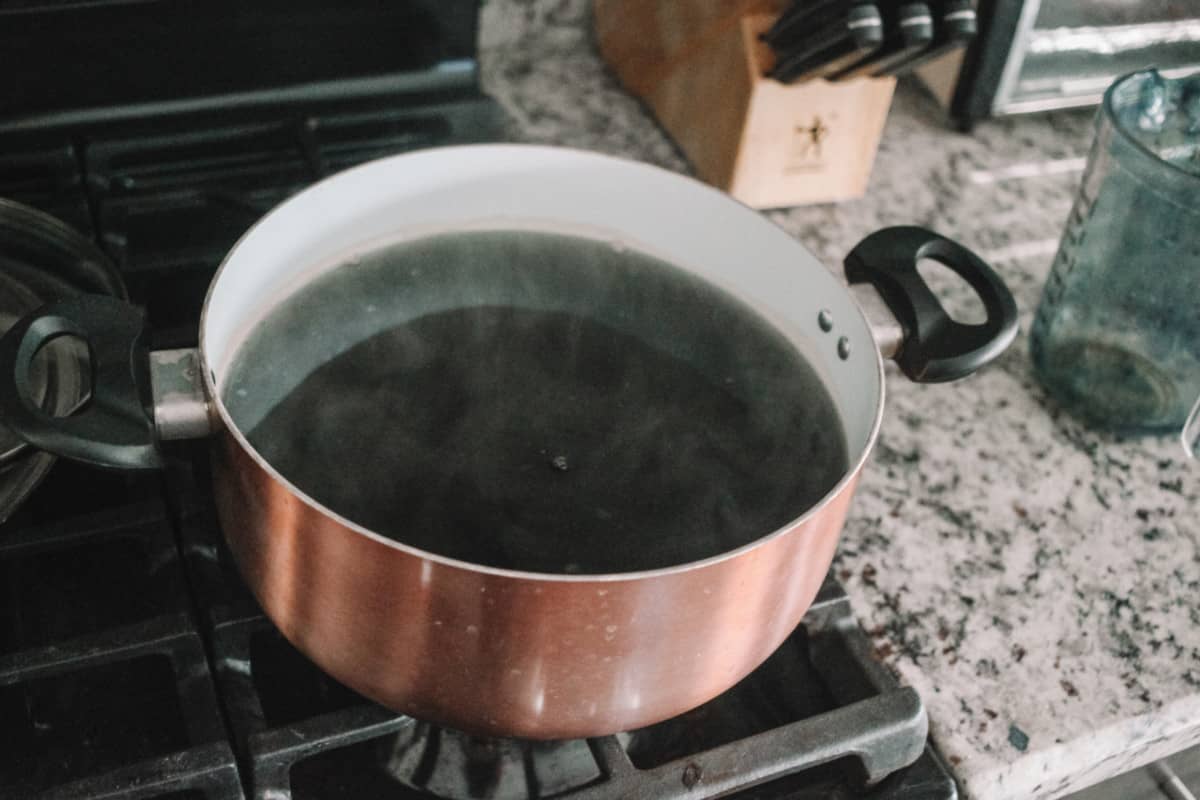
Start by boiling your water. Be sure you have enough water to cover the fabric and it flows freely. Once it’s boiling, dip your container into the boiling water. Turn off your stove.

Next you will put your iron into this container. I had 70g worth of material I was putting in the bath. I put about 1/2 tablespoon of iron in the container.
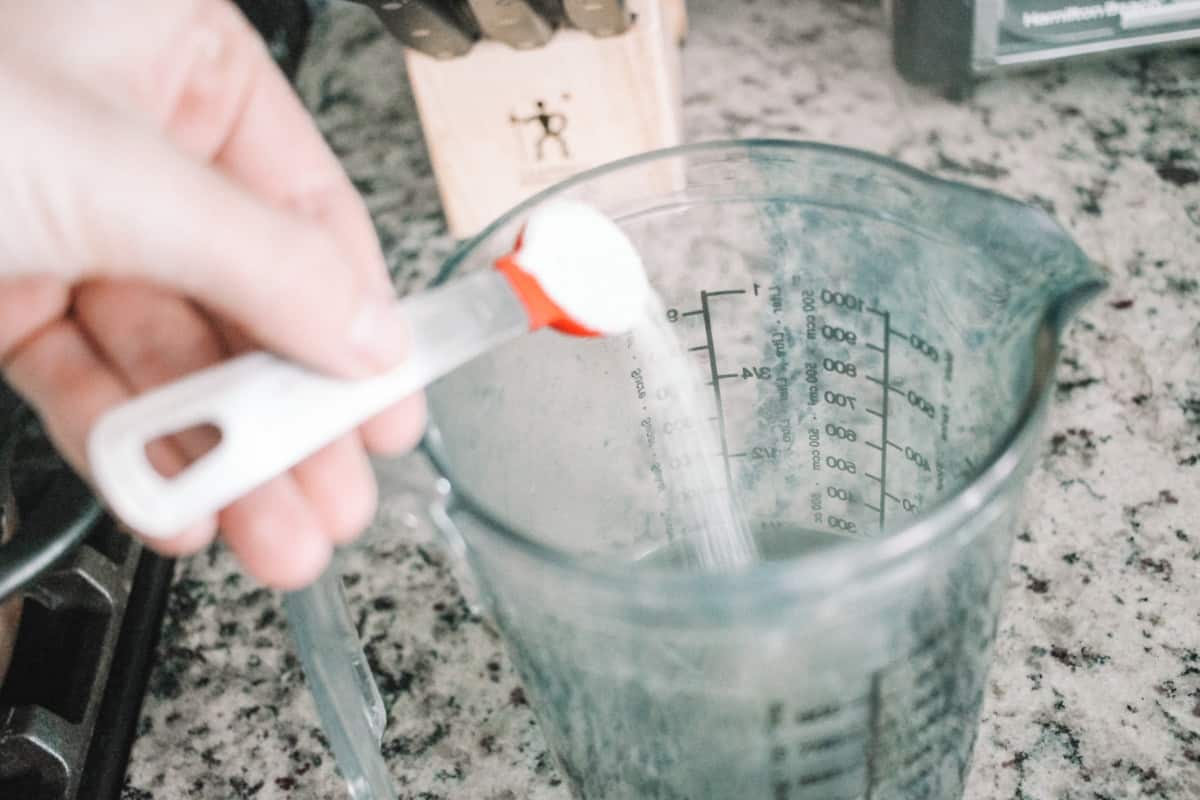
Use your measuring device to stir up the iron into the water.
At this point, people tell you to sift the iron and the water. Here’s the problem; I cannot figure out for the life of me how I’m supposed to pour boiling water through a flimsy coffee filter. So here’s what I do, I don’t. I haven’t noticed much of an issue honestly!
Next I pour this mixture into the hot water.
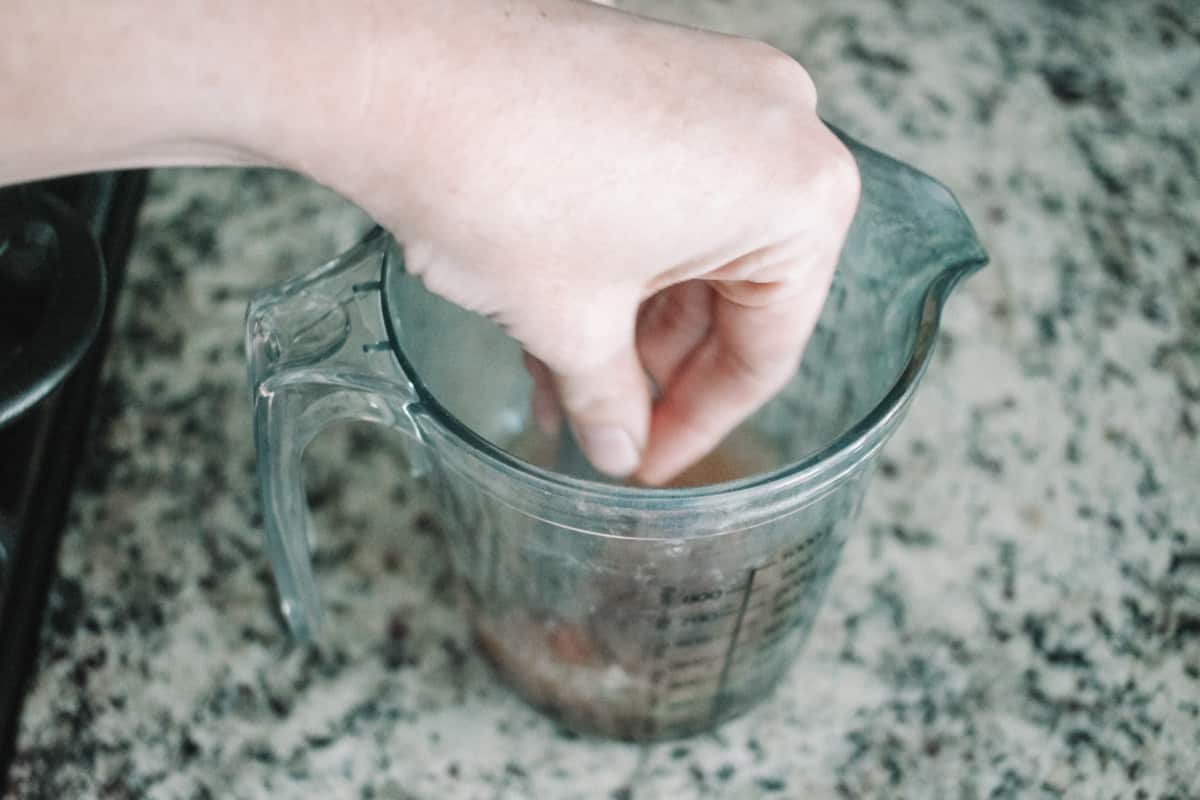
Next I use my tongs to stir the water well.
Now place you fabric in! I mostly do cotton so I want you to be aware that if you are using wool or silk, this process is different!! You can’t put those types of fibers directly in hot water, you need it to become hot with the fabric in the pot.
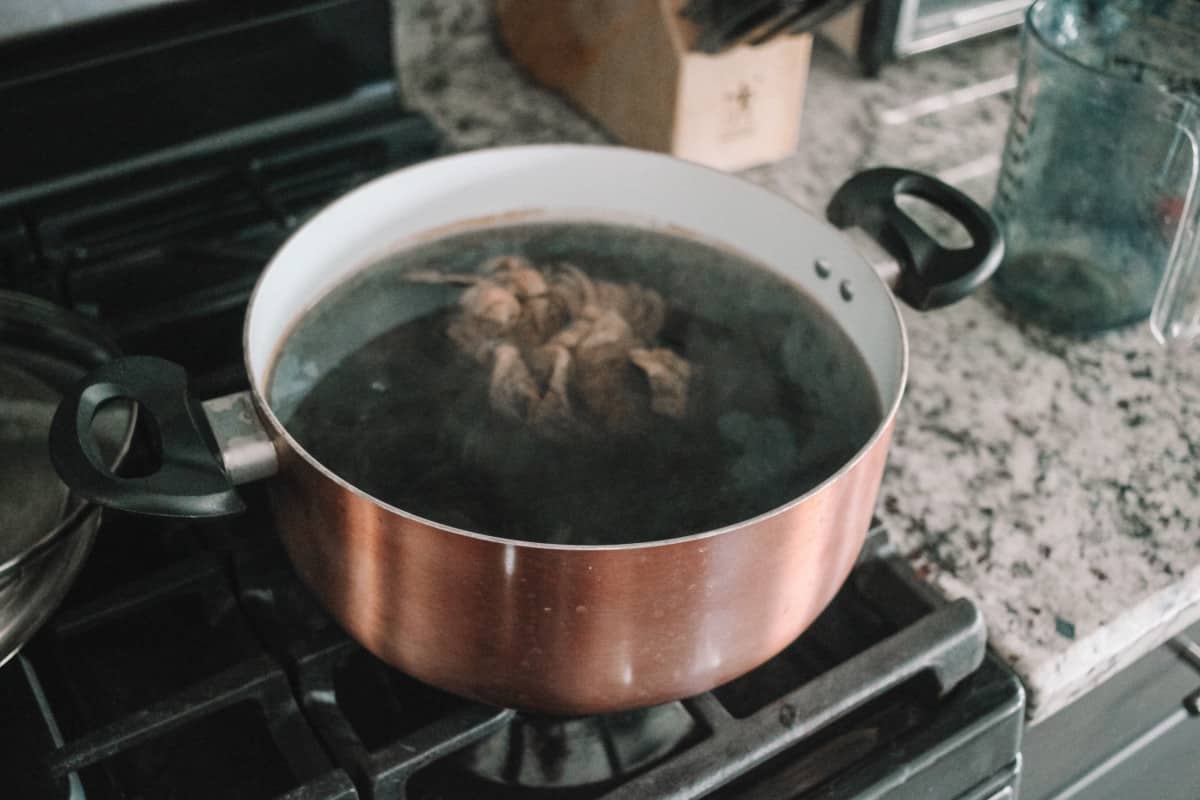
It is amazing how quick you will watch the color change. I have found with my logwood extract (dark purple) it doesn’t really change color. Which is strange but now that I’m aware of it it’s helpful to know.
Leave this covered for at least 15 minutes and no more than 20 minutes. I have accidentally left it longer and it doesn’t RUIN cotton but it can get a rusty color so rinse it quickly if you can.
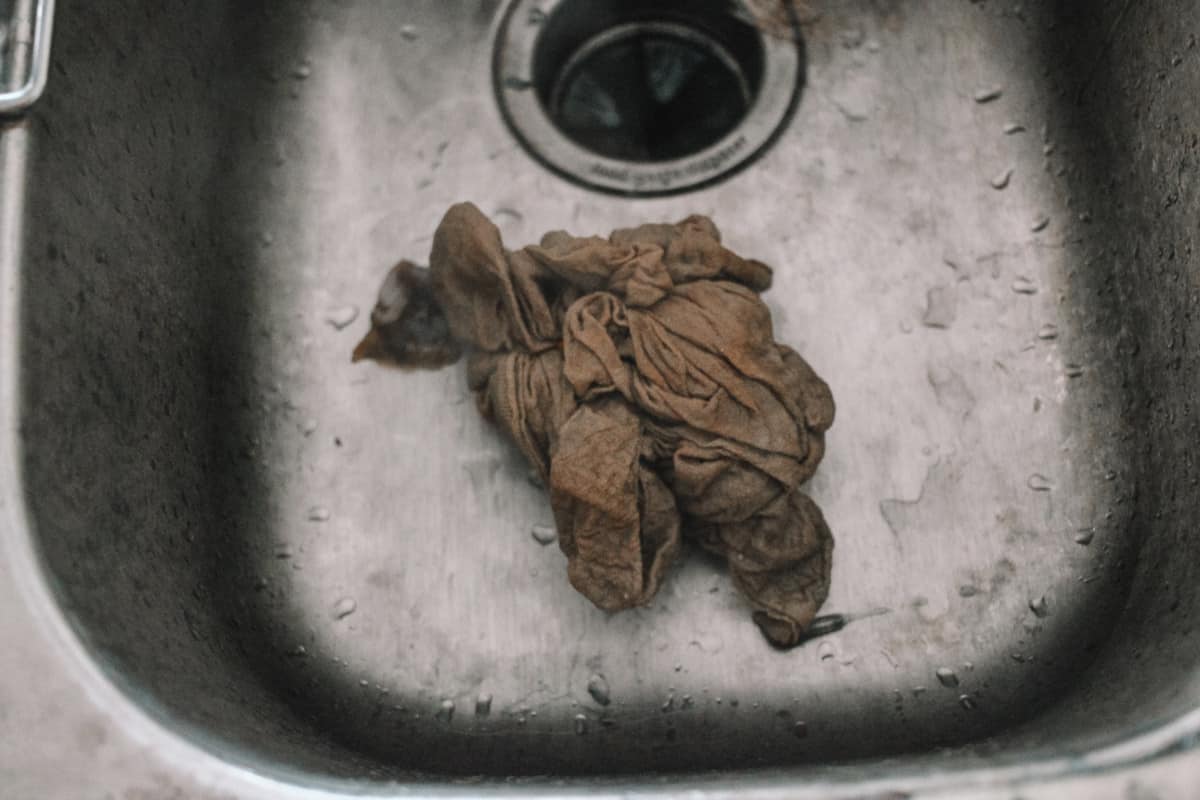
Rinse this until the water runs clear then wash it on cold and you are done! A lot of people hang their dyed goods to dry. I’m lazy and tumble dry them. If they can’t stand a full wash, they won’t stand a week in my closet so I go for it on the very first wash to make sure the materials will have colorfastness!

I’m going to start a dyeing series by popular demand and I am SO excited!! This is just the start because I use the iron bath so often I wanted it here to reference. I already know I’ll be referencing it on my first project of pine cones! Stay tuned and be sure to subscribe if you’re curious about my dyeing experiments!


