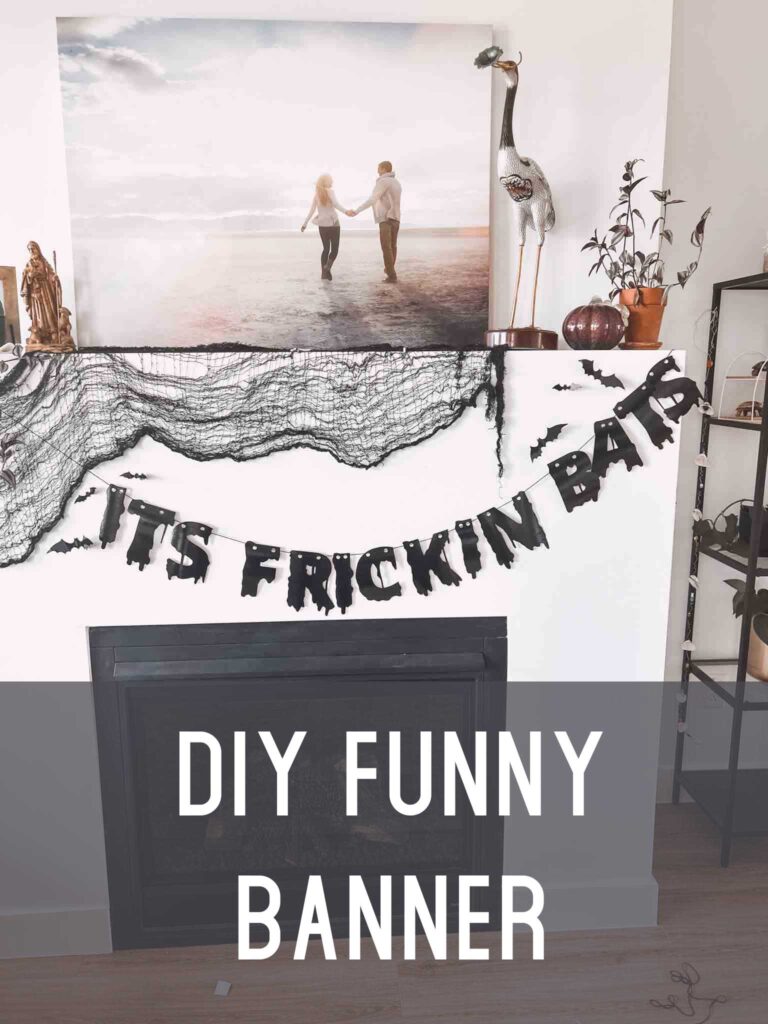
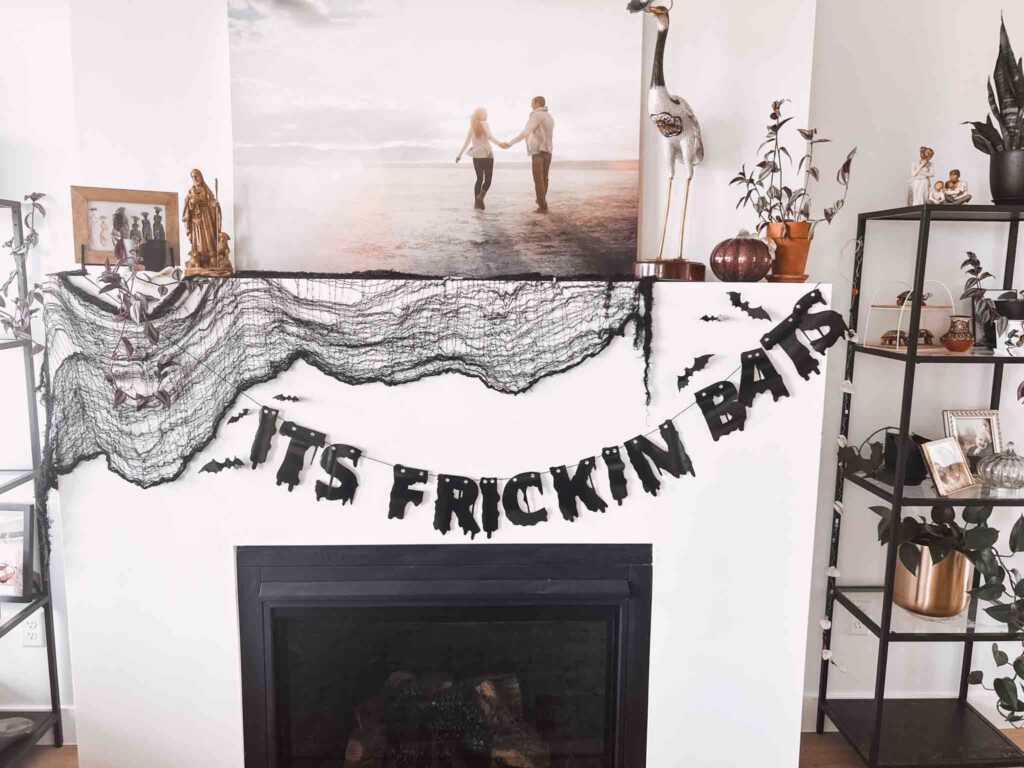
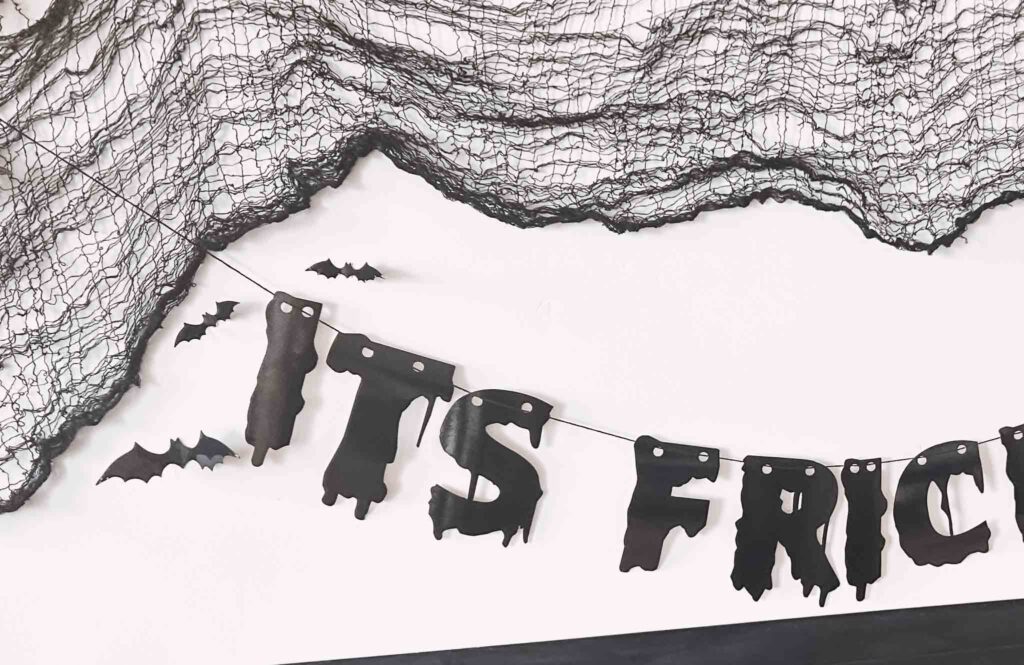
It’s Frickin Bats. I love Halloween. This viral classic is the perfect silly Halloween banner for your spooky or cute decor needs.
You won’t even want to take this banner down come November. It brings that much joy! Super simple to put together and can be reused year after year.
I do quite a few Cricut crafts so check them out here. I also have some fun Halloween DIYs for you like this Bluey costume and Coco (Miguel) costume.
So what is this banner even talking about? If you found my post you likely already know, but let me refresh your memory.
When was the ‘Its Frickin Bats’ video made?
7 years ago. Can you believe it’s been 7 years?! This little girl is the cutest.
Who said ‘Its Frickin Bats’?
This cute little girl’s name is Katie Ryan. She and her mom have a cute little Youtube channel. Her instagram is pretty active and you can find the it’s frickin bats girl now here.
It's Frickin Bats Banner
It's Frickin Bats. I love Halloween. This viral classic is the perfect silly Halloween banner for your spooky or cute decor needs.
Materials
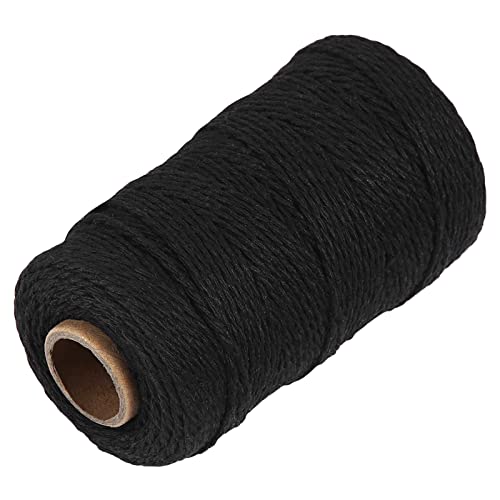
- Metallic kraft board
- Craft string
Tools
- Cricut
Instructions
- Open the Cricut Design file: https://design.cricut.com/landing/project-detail/63560f80260a40570d44732a
- Load in your Kraft board
- Cut the Kraft board using the instructions on Cricut Design space
- Set out the banner in order
- Thread the craft string through the holes
- Hang up your banner wherever you'd like!
Recommended Products
As an Amazon Associate and member of other affiliate programs, I earn from qualifying purchases.

How to create a banner in Cricut Design Space
For my banners I like to first create the full banner on Design Space using whatever text I like and then I add in circles where I’d like my holes.
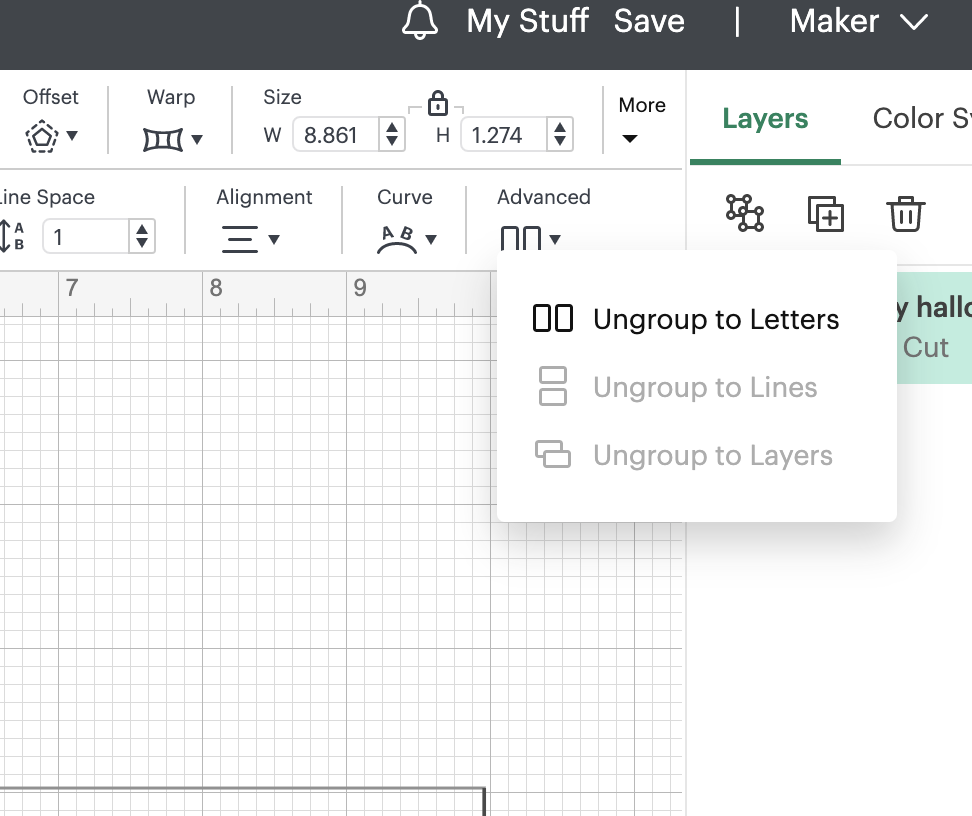
- Write a sentence of what you’d like your banner to say.
- Ungroup the sentence to letters.
- Add circles where you’d like to thread the string.
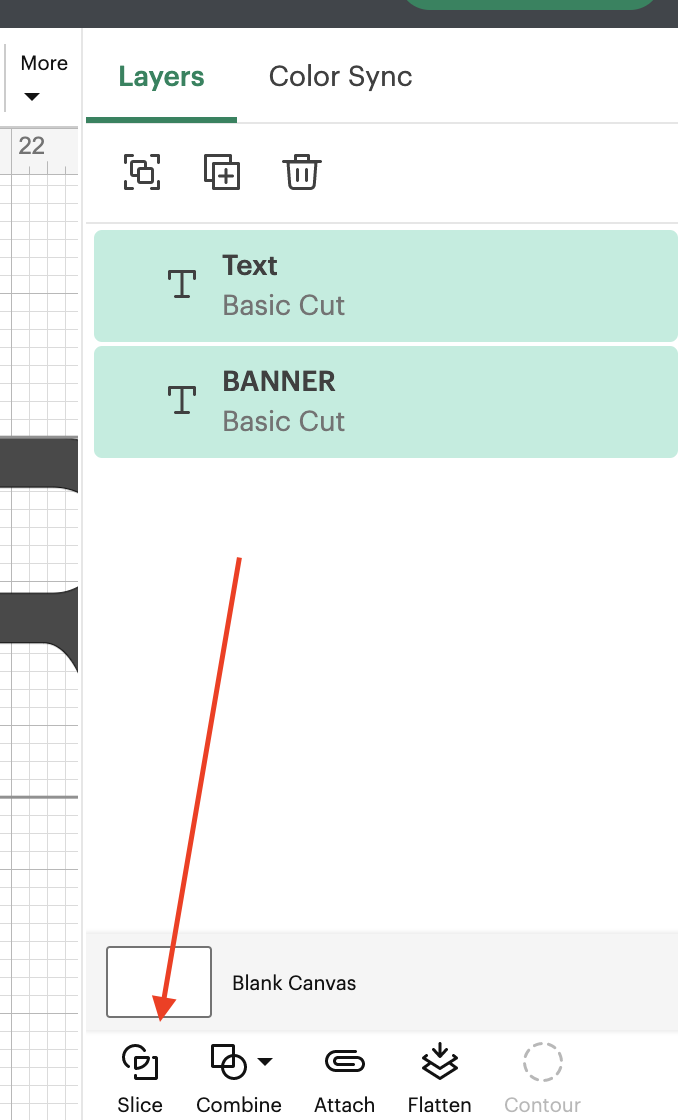
- Use the slicing feature to create the hole in each letter.
Note about the slicing feature – you can only slice 2 things at a time. So if it’s grayed out and not an option, you may have only one, or too many things selected.
You’re totally welcome to just use a hole punch instead of figuring out the slicing feature too! If you’re interested in a video tutorial of how to do that please comment belowe I’d be happy to do that for you!
Tip: Make sure your letters are set out and you string them in the same pattern. If you flip them over to string them, your sentence will be backwards!
3D Bats
How cute are these 3D bats I put on my banner?! I got mine from Temu for dirt cheap. You can also pick them up at Amazon. They’re the same… one will just take longer to get to you and is a little cheaper because of that!
Well. that’s it. Easy right?! Can’t wait to see the ‘Its Frickin Bats’ banner in your home too.