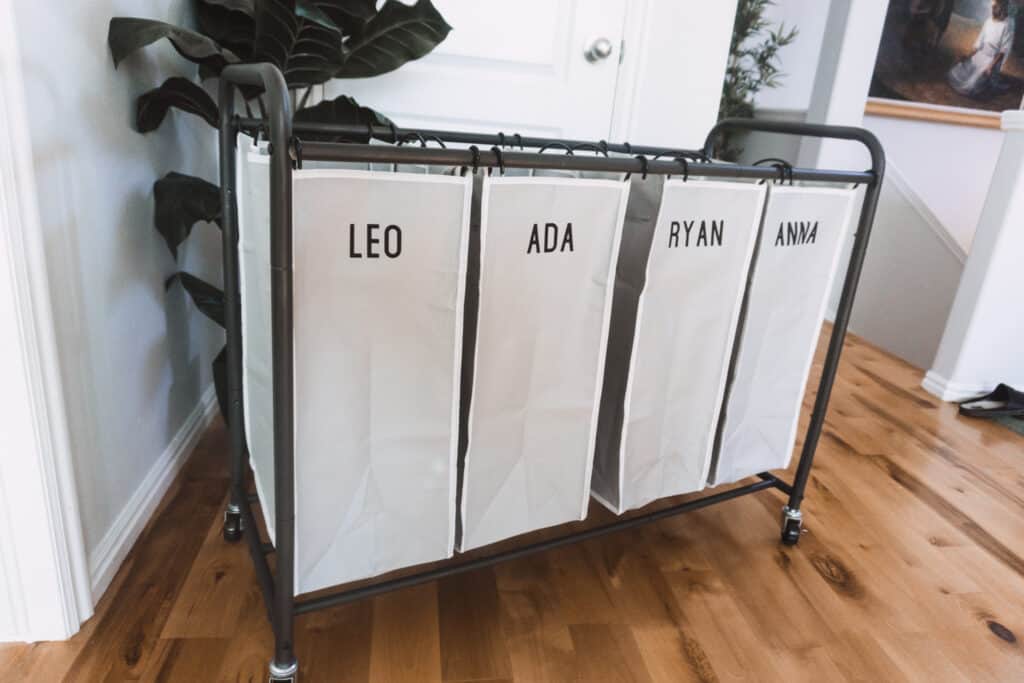
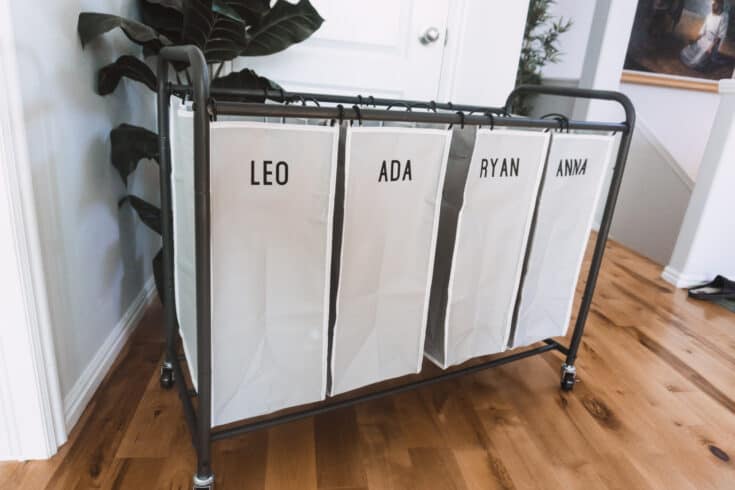
This laundry sorter is moveable and customizable using infusible ink! You can use regular iron-on as well. It has helped our laundry situation so much.
Infusible Ink blanks are awesome but there are lots of alternate infusible ink blanks you can use similar to the one in this post! I also have a post about Cricut’s infusible ink blanks as well. While you’re here be sure to check out all my Cricut posts.
My husband requested I get separate laundry baskets for each person. I’m not sure why it took us this long to do that, but that’s a different topic.
I had recently learned about infusible ink at the time and really wanted to figure out a way I could use it. Amazon had the perfect option for us. There are other sizes of this laundry sorter as well so they might have the perfect option for you as well! I suggest getting the same one like me to make sure the steps are the same and don’t ruin the material. Not everything will take infusible ink well.

Infusible Ink Tips
I suggest making your design not too heavy on the weeding. You need to weed the material with your hands, not a weeding tool.
You also may want some latex gloves. The ink can transfer as you weed to the negative space from your fingers. I’ve messed up a few projects not wearing gloves. However, you can just be cognizant of that and try not to touch any of the sticky parts as you weed.


Laundry Sorter DIY
This laundry sorter is moveable and customizable using infusible ink! You can use regular iron-on as well. It has helped our laundry situation so much.
Materials
- Laundry Sorter
- Infusible Ink
Tools
- Teflon Sheet
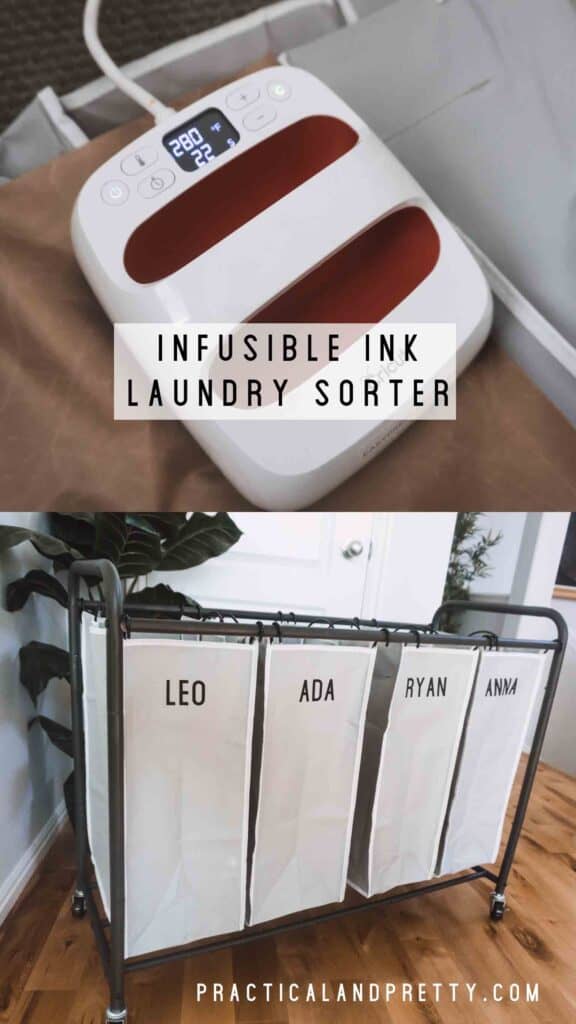
- EasyPress 2
- Cricut
- Cardstock
- Butcher Paper (included with your Infusible Ink)
Instructions
Create and cut your Cricut file. Be sure to mirror for iron-on!
- Weed your material using your fingers.
- Disassemble the sorter by removing the metal parts.
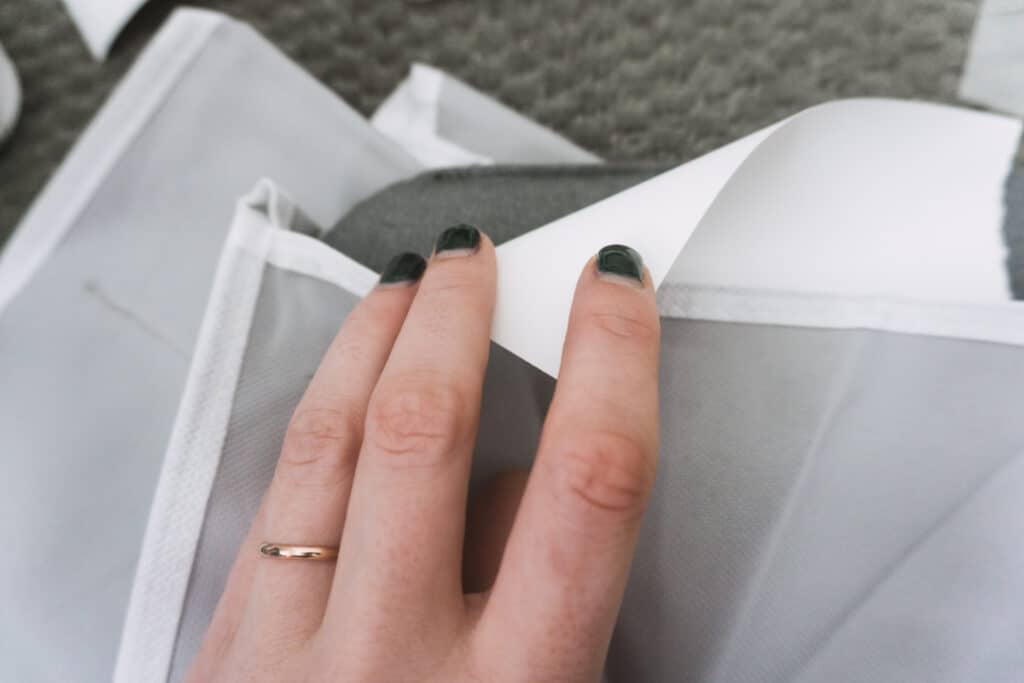
- Place the fabric part on your Easy Press mat with the cardstock between the two layers of fabric.
- Place your Infusible Ink where you’d like it.
- Place the butcher paper over the vinyl then the Teflon sheet.
- Heat your EasyPress to 345 and place it on the Teflon sheet for 45 seconds.
- Allow the materials to fully cool before you remove any part of the stack. If you do ‘ghosting’ can happen which will look like shadows.
Recommended Products
As an Amazon Associate and member of other affiliate programs, I earn from qualifying purchases.
-
 Cricut Explore Air 2, Mint
 -
 Cricut EasyPress 2 - Heat Press Machine For T Shirts and HTV Vinyl Projects, Raspberry, 9" x 9"
 -
 3 Pack 12 x 16" PTFE Teflon Sheet for Heat Press Transfer Non Stick Paper Reusable Heat Resistant Craft Mat,Protects Iron,for Heat Press Machines
 -
 Cricut 2006784 Transfer Sheet Black, 2 Count
 -
 ROMOON 4 Bag Laundry Sorter Cart, Laundry Hamper Sorter with Heavy Duty Rolling Wheels for Clothes Storage, Grey


