• Skip to main content
  • Skip to primary sidebar
  • Skip to footer

Practical and Pretty logo

  • HOME
  • DYEING
  • DIY
  • PARTIES
  • CRICUT
  • SHOP
  • ABOUT
  • CART
You are here: Home / DIY / Personalized Matching Family Christmas Pajamas with Cricut Maker

October 30, 2019

Personalized Matching Family Christmas Pajamas with Cricut Maker

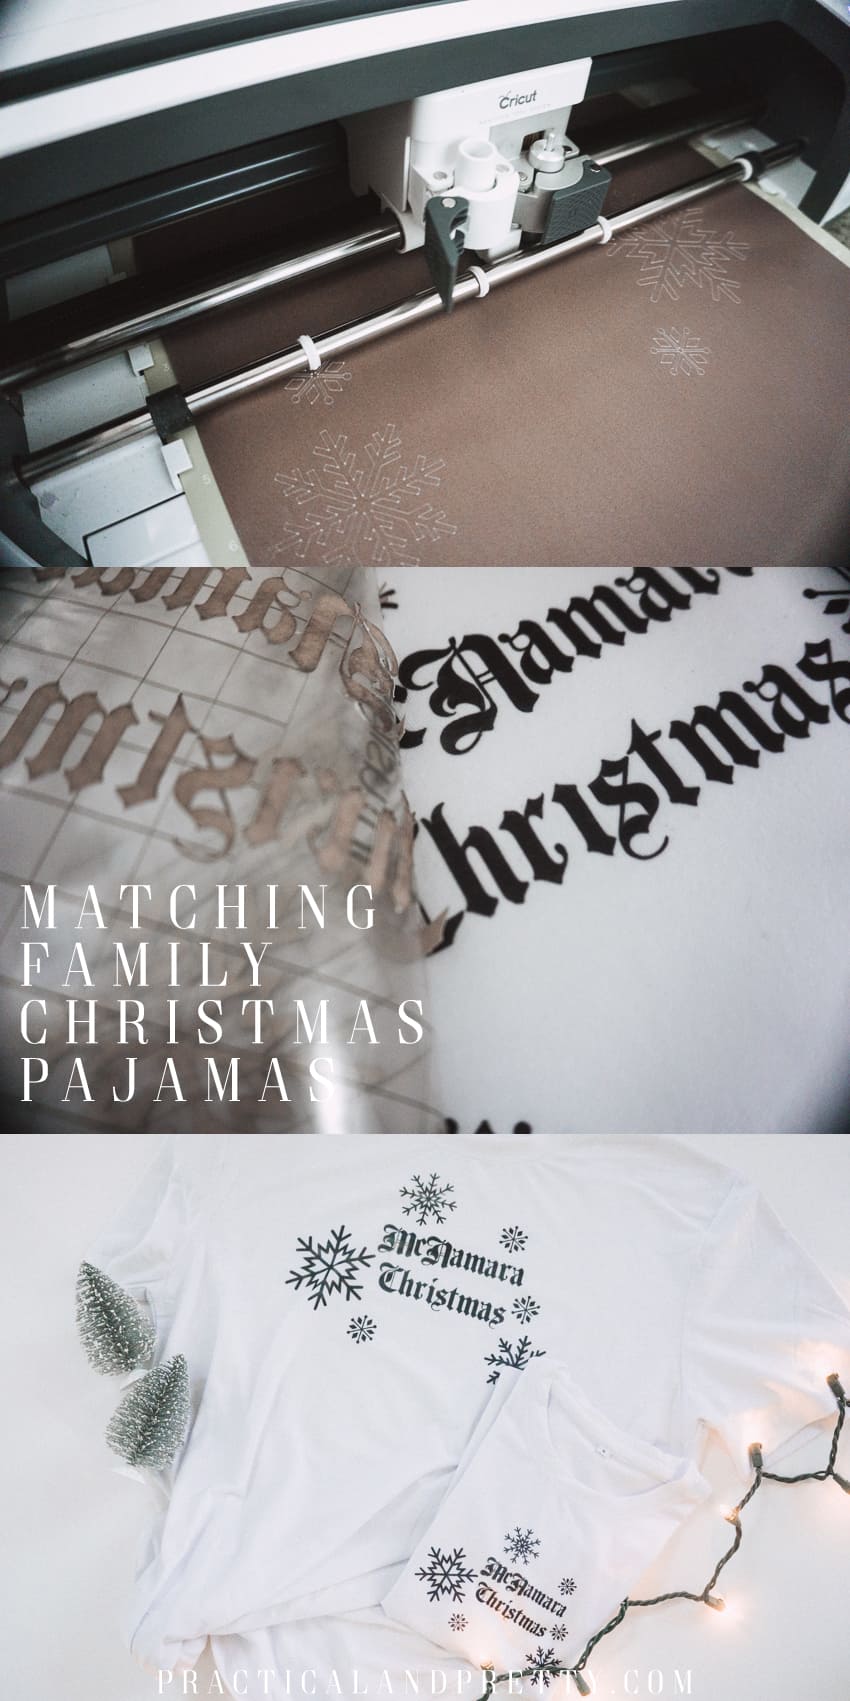
Make your matching family Christmas pajamas unique with infusible ink and the Cricut. Never used infusible ink before? I walk you through it!

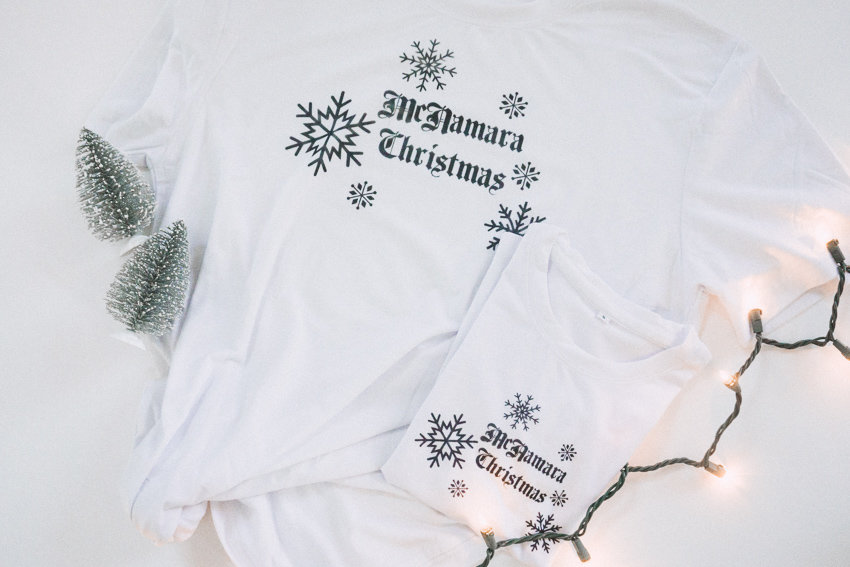
For those of you who have followed along for a while, you might know how monochromatic I tend to be. I haven’t done much by way of Christmas pajamas in the past because they usually feel too colorful for my tastes. I took the situation into my own hands with these matching family Christmas pajamas. They are subtle but 100% the McNamaras. If you see these and you think ‘wow we would want the opposite of what this lady is doing’ then I have some great news for you! I will provide this specific cut file so you can put your family name in, but if you hate this font or even the fact that it’s only black and white and has snowflakes, I’ll show you how to make your pajamas custom to YOU and your family.

Make your matching family Christmas pajamas as unique as you with infusible ink and the Cricut. Never used infusible ink before? I walk you through it!

This was my first attempt using Infusible Ink. I am by no means an expert, but because I’m a fresh newbie, hopefully I’ll explain some places I got confused a little more clearly.

What you’ll need to make your matching family Christmas pajamas

Infusible Ink 

T Shirt Blanks

Weeding Tool

Cricut (Maker or Explore Air 2)

EasyPress 2

EasyPress Mat

Cardstock

Here is the cut file I used for my project! Click ‘Customize’ and update it to your family name!

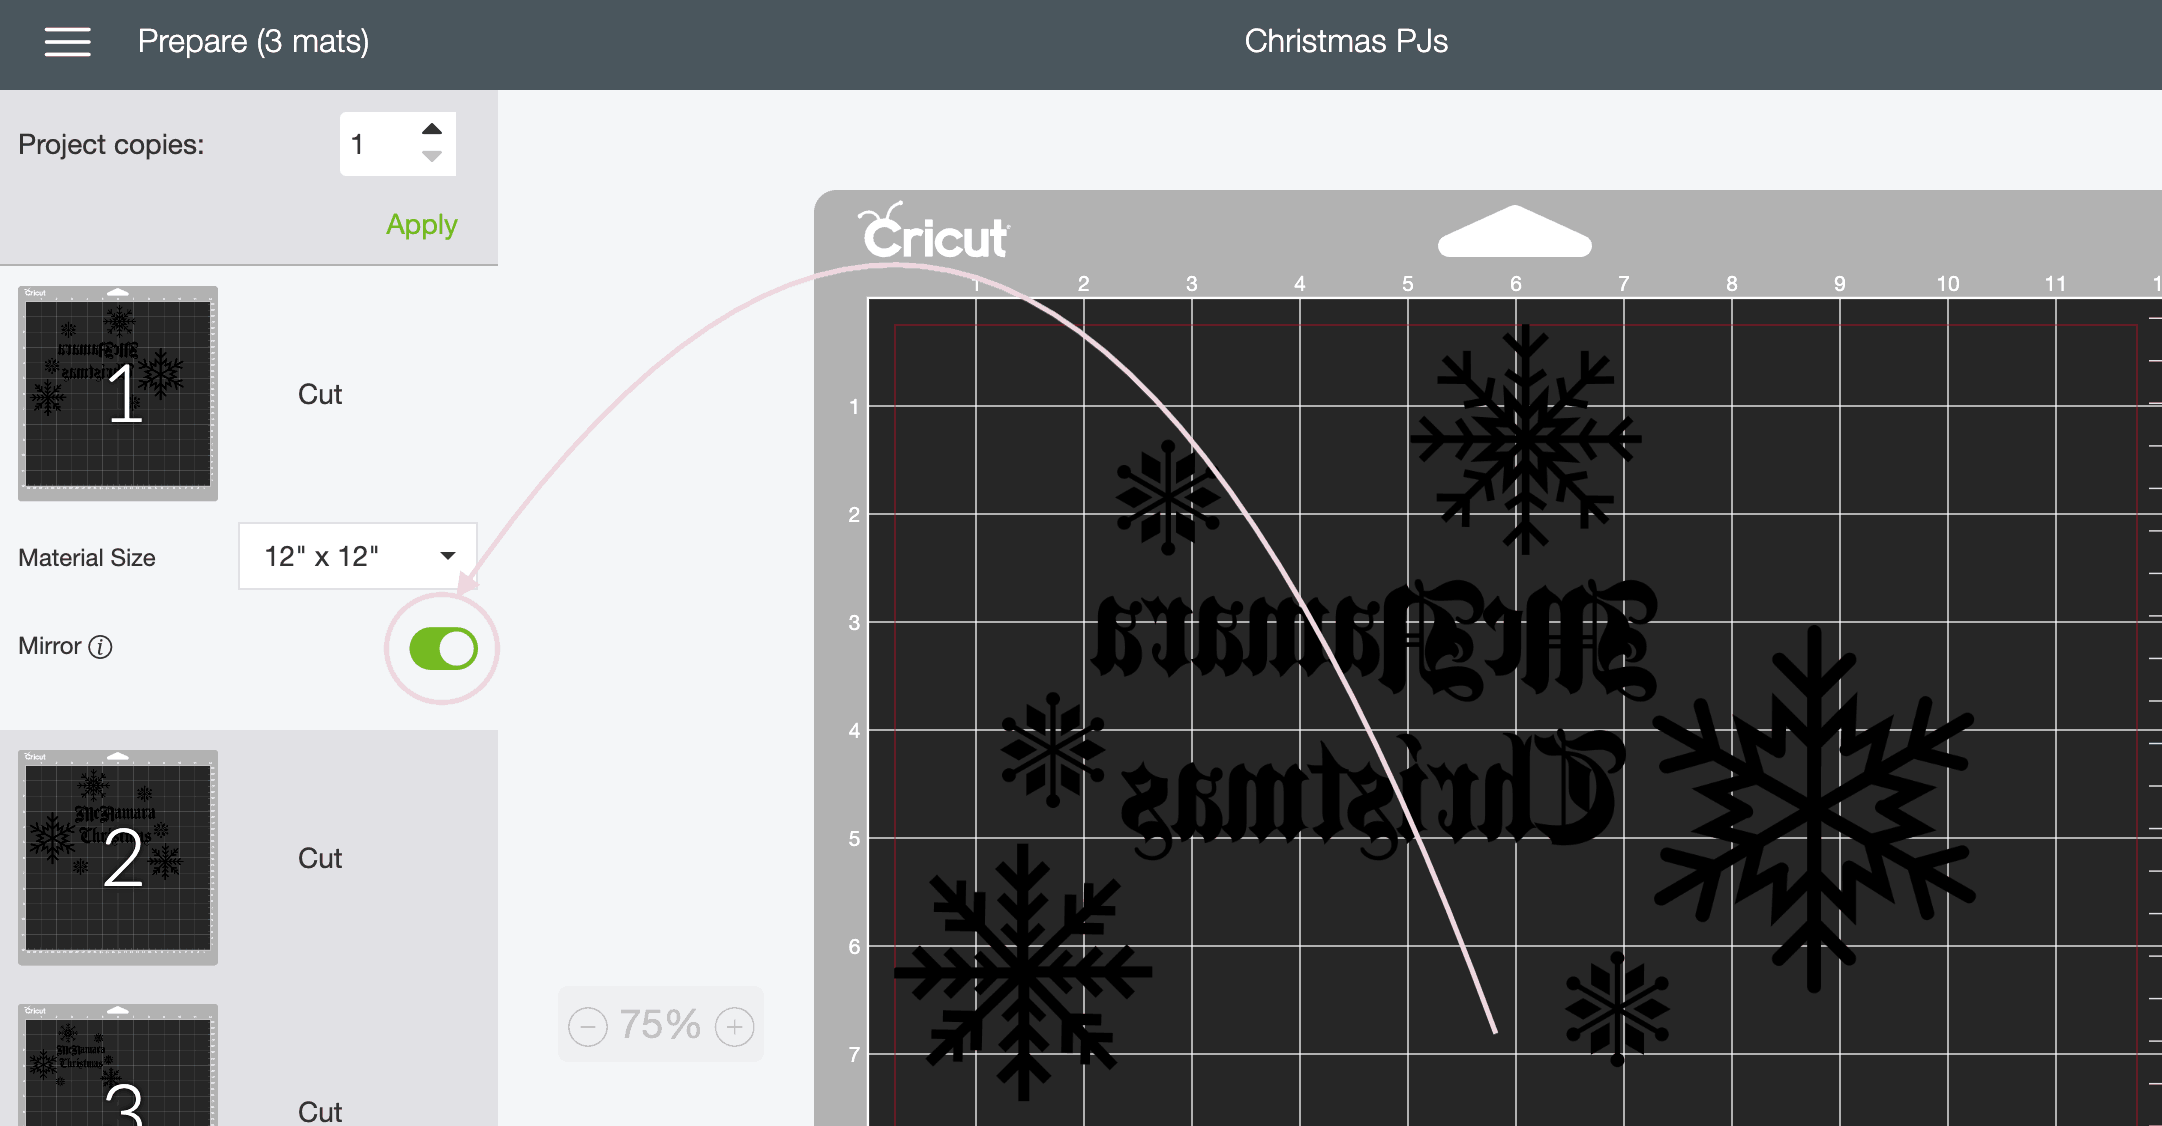
When you open up your first roll of Infusible Ink you will find two rolls of 12″x12″ ink transfer sheets and 2 pieces of 12″x12″ butcher paper. To cut infusible ink with your Cricut Maker, you will select ‘Infusible Ink’ as your material and place your Infusible Ink transfer sheet with the tape side facing down. There is transfer tape built into each roll (super handy) and as long as that is touching your mat side, you will be just fine.

DON’T FORGET TO MIRROR FOR IRON ON! Just like our regular iron on tutorials you are going to want to switch the toggle to ‘mirror for iron on’.

mirror for iron on design space

Infusible Ink Instructions

I used my Cricut Maker for this project but you can also use an Explore Air 2! The Cricut Maker is an incredible tool for any crafter cutting everything as thin as fabric and tissue paper to as thick as tooling leather. They also have come up with some brilliant new tools for engraving, debossing, perforating and so much more. Check out this Disneyland coupon book I made using those tools.

Once your sheet is all loaded you will start your cutting. I suggest a hot cup of cocoa for this step.

Cricut Maker cutting infusible ink

Once your file has finished cutting, you will weed the sheet. If you have worked with vinyl before this will feel very different. It almost has a similar texture to cardstock! Start with an inconspicuous area to begin so you can get a feel for how sticky/not sticky the sheet truly is. I found the weeding tool wasn’t even totally necessary for a lot of it because of how stiff the ink sheet is.

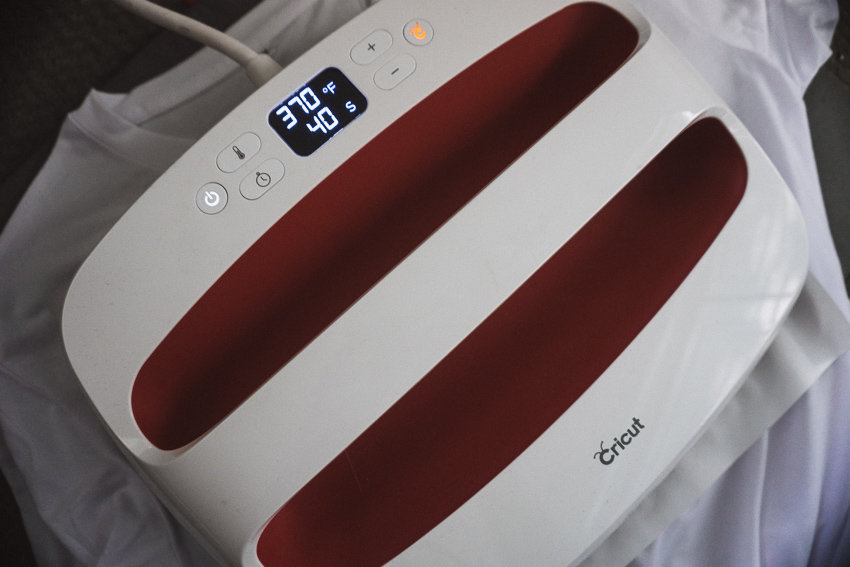
Head over to Cricut’s Heat Transfer Guide for exact instructions on how to iron on your shirt. For Infusible Ink on a T-Shirt Blank, it told me to heat for 40 seconds at 385 degrees.

easypress 2 infusible ink

Let your t-shirt cool and remove the top transfer tape area. There is a layer of the ink sheet that will also lift off leaving a vibrant black on your shirt. I felt like a straight up magician.

how to remove infusible ink plastic

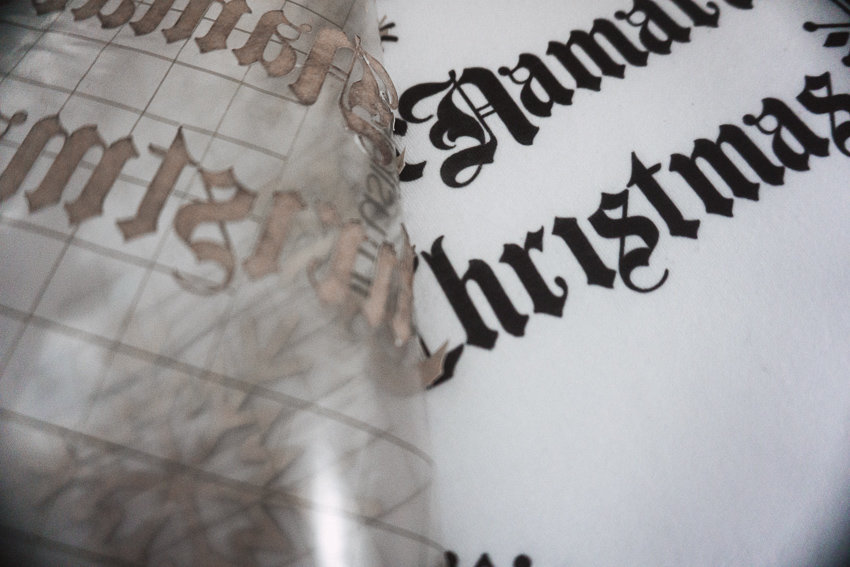
They don’t call it Infusible Ink for no reason, check out how flat the final product is! It’s literally infused into the fabric. It will not peel or lift like normal vinyl.

Make your matching family Christmas pajamas as unique as you with infusible ink and the Cricut. Never used infusible ink before? I walk you through it!

Make your matching family Christmas pajamas as unique as you with infusible ink and the Cricut. Never used infusible ink before? I walk you through it!

I had so much fun with Infusible Ink I decided to try out some of their coaster blanks. I created this post for you as well so you can see how I used infusible ink to make Christmas coasters for Santa’s milk or hot cocoa!

Filed Under: Christmas, Cricut, DIY, Tips Tagged With: apparel, Christmas, christmas diy, cricut, diy, quick diy, tips

Reader Interactions

Comments

  1. Louise Nygaard says

    October 31, 2019 at 3:47 pm

    so classy!

    Reply

Trackbacks

  1. 25+ Personalized Gifts to make with a Cricut | Suburban Wife, City Life says:
    November 20, 2019 at 7:53 am

    […] Personalized Stockings Personalized Gift Tags Hostess Gift Ideas Personalized Wood Christmas Sign Matching Family Christmas PJs Letter to Santa Wood Sign Custom Coasters Disney Christmas Shirts Personalized Santa Bags […]

    Reply

Leave a Reply Cancel reply

Your email address will not be published. Required fields are marked *

Primary Sidebar

SEARCH

I’m Anna!

Welcome!

I’m Anna and love practical and pretty things. You will find DIYs here as well as party ideas and of course, natural dyeing tutorials. I’m so glad you’re here.

FEATURED ON

PARTIES

DIY Custom Tablecloths

Customize a tablecloth to your event using this step by step tutorial for custom tablecloths. This was for a birthday party but it will apply to any event!

Blippi Party Ideas and Supplies

Customize this party hat to your color scheme and needs for your next fun party! I show you how I made a simple pom pom and assembled the hat.

Birthday Blippi Shirt

This silly Blippi shirt is perfect for the birthday child or you could even make a few for all the guests! They will get a kick out of what it says. 

Free ‘It Is Your Birthday’ Banner

it is your birthday banner

NATURAL DYEING

Forest Fairy Costume Featuring Tie Dye

How to Dye with Pine Cones

pine cone dye vat

Dye with Quebracho for a Beautiful Red

If you're looking for a beautiful red natural dye, look no further than quebracho! This gave the most beautiful hue and was a simple process.

How to Dye with Turmeric Video Tutorial

Here I will show you how I dye with turmeric to get a rich orange and yellow color. I demonstrate you in real time with a video!

CRICUT PROJECTS

DIY Disneyland Coupons with New Maker Tools

This coupon book of fun Disneyland coupons is a great idea for your next Disneyland trip! I'll walk you through how I created it with my Cricut Maker Tools.

DIY Yoga Shirts with Your Cricut

Random Acts of Kindness Cards

Use these little kindness cards to spread kindness on February 17th or any day you want to celebrate random acts of kindness!

DIY Bath Salt Recipe with Free Sticker Label

This simple bath salt recipe is an easy way to gift a nice DIY to your favorite person and I included a label to make it feel even more custom.

Footer

Copyright © 2023 Practical and Pretty on the Brunch Pro Theme