DIY
DIY is my jam. I love making practical and pretty things that I can use over and over. Save yourself some money and get some creative energy out here.
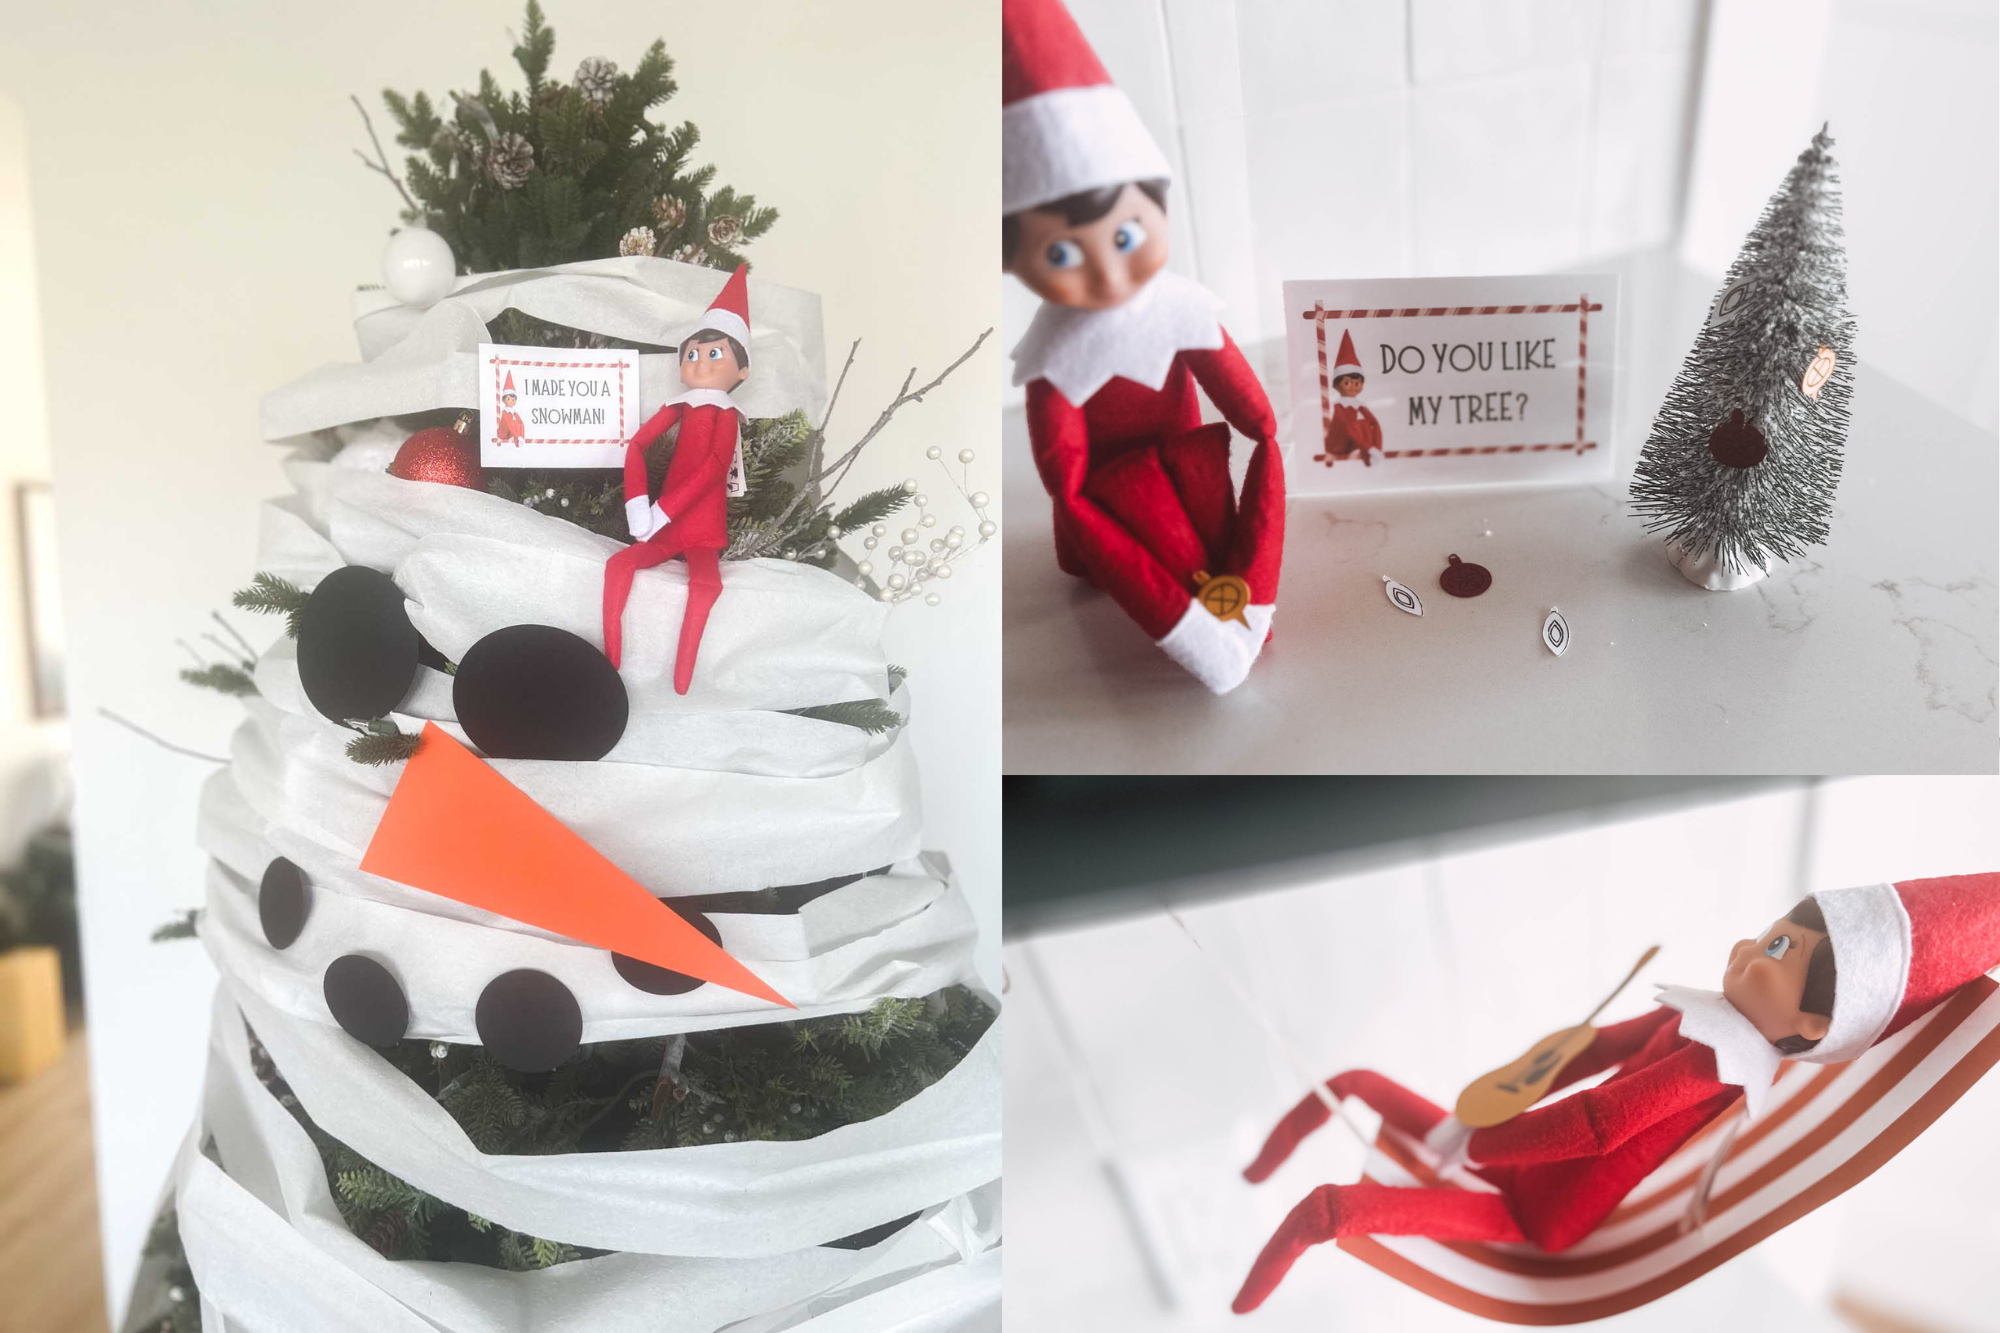
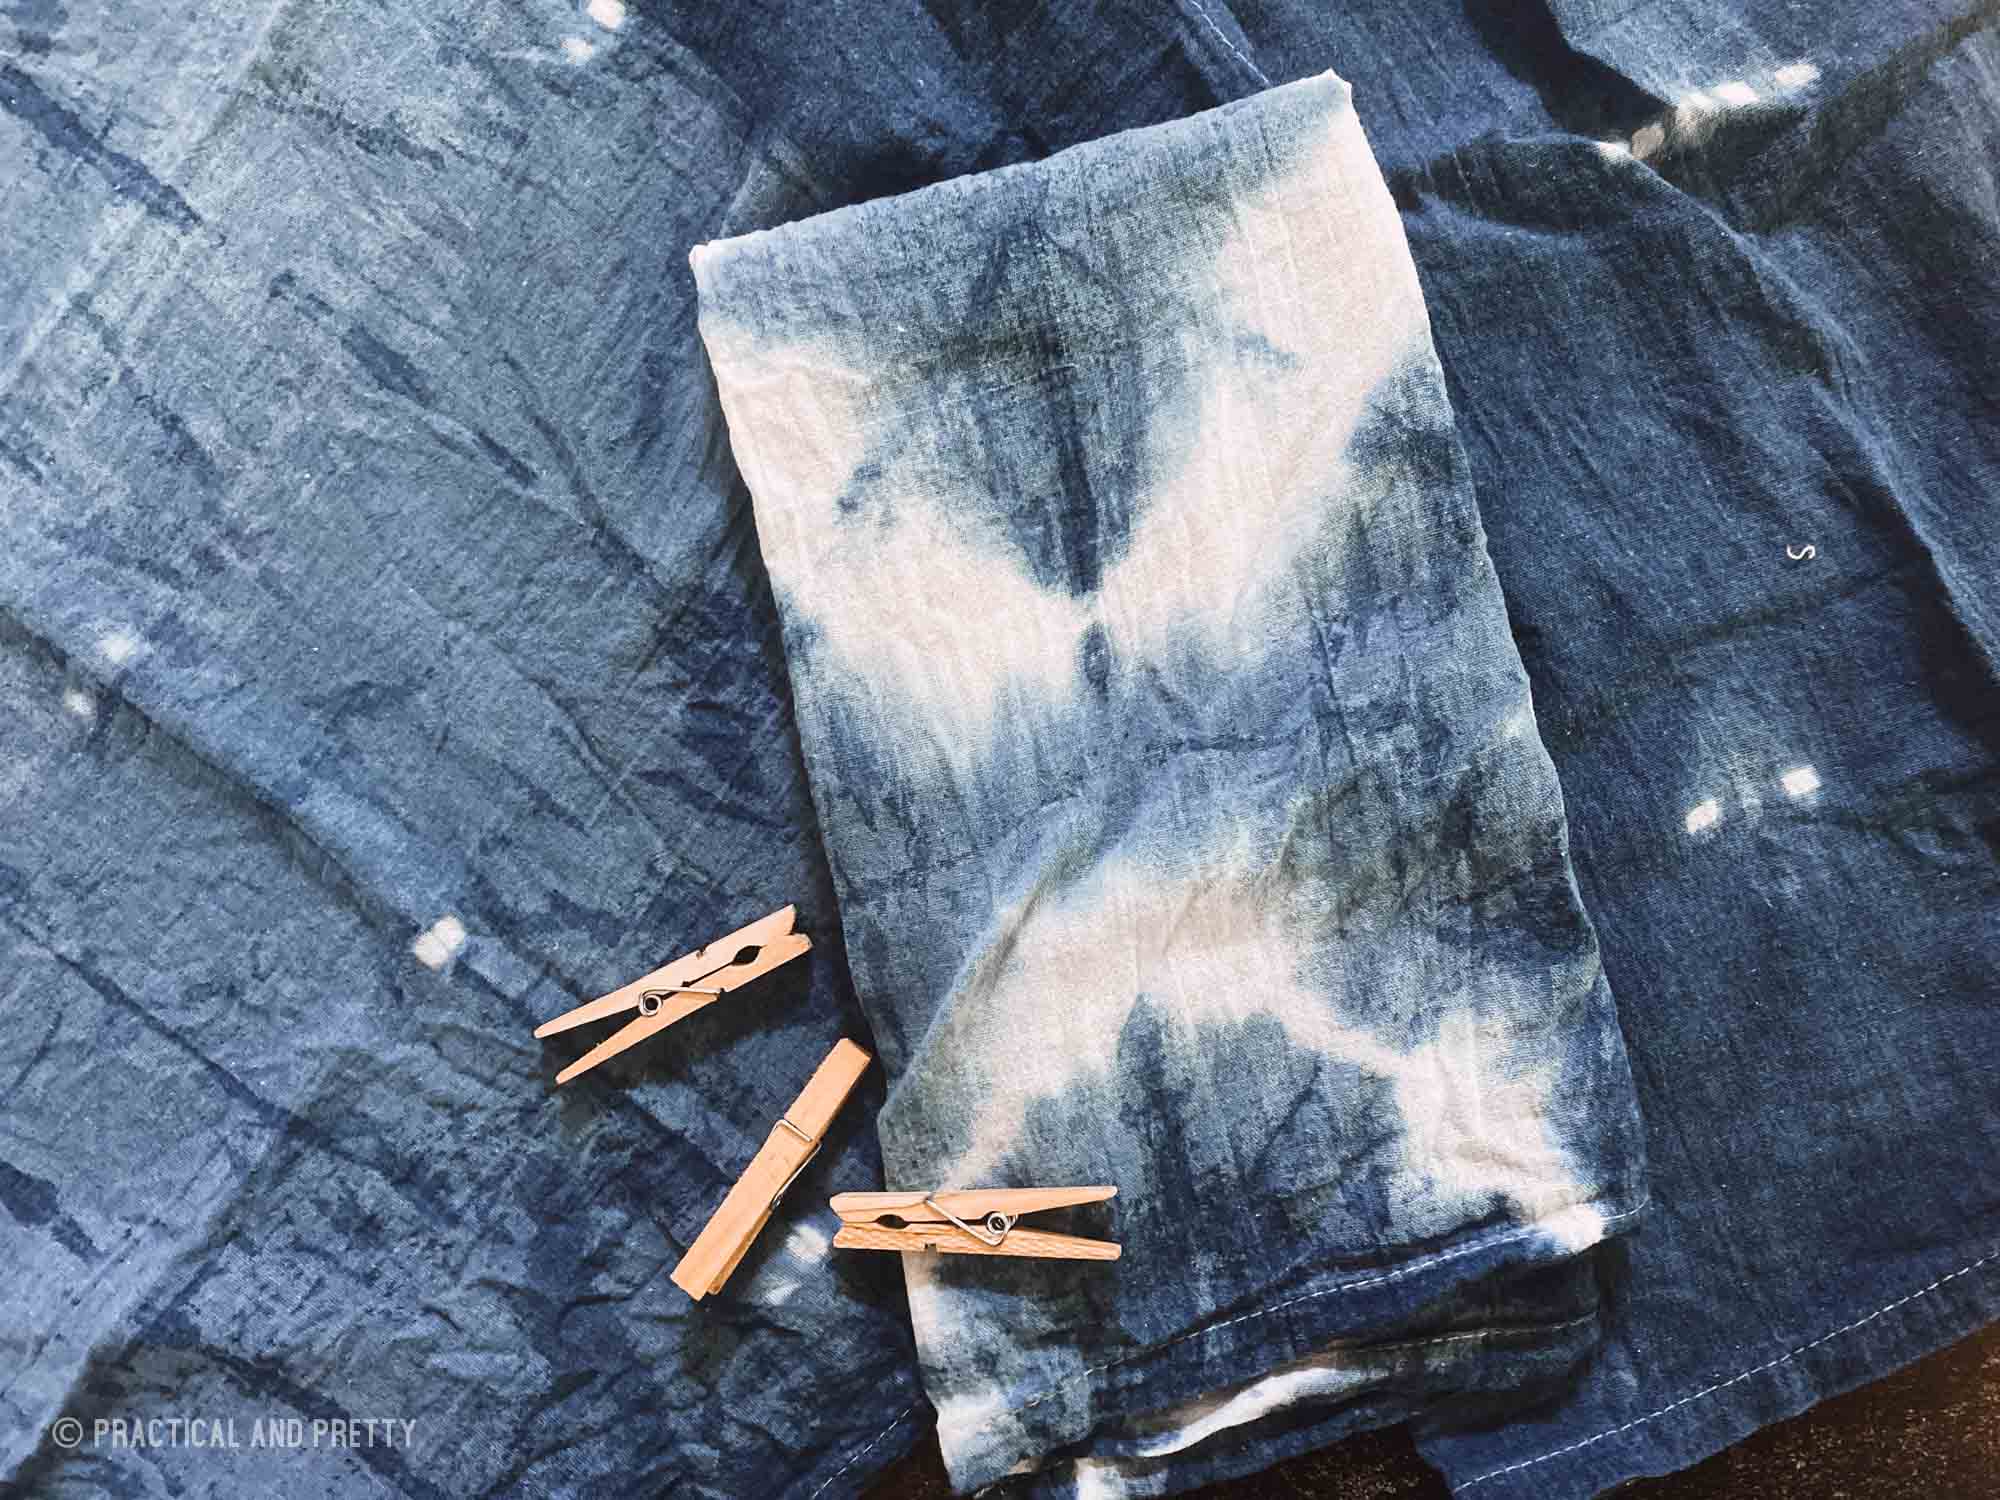
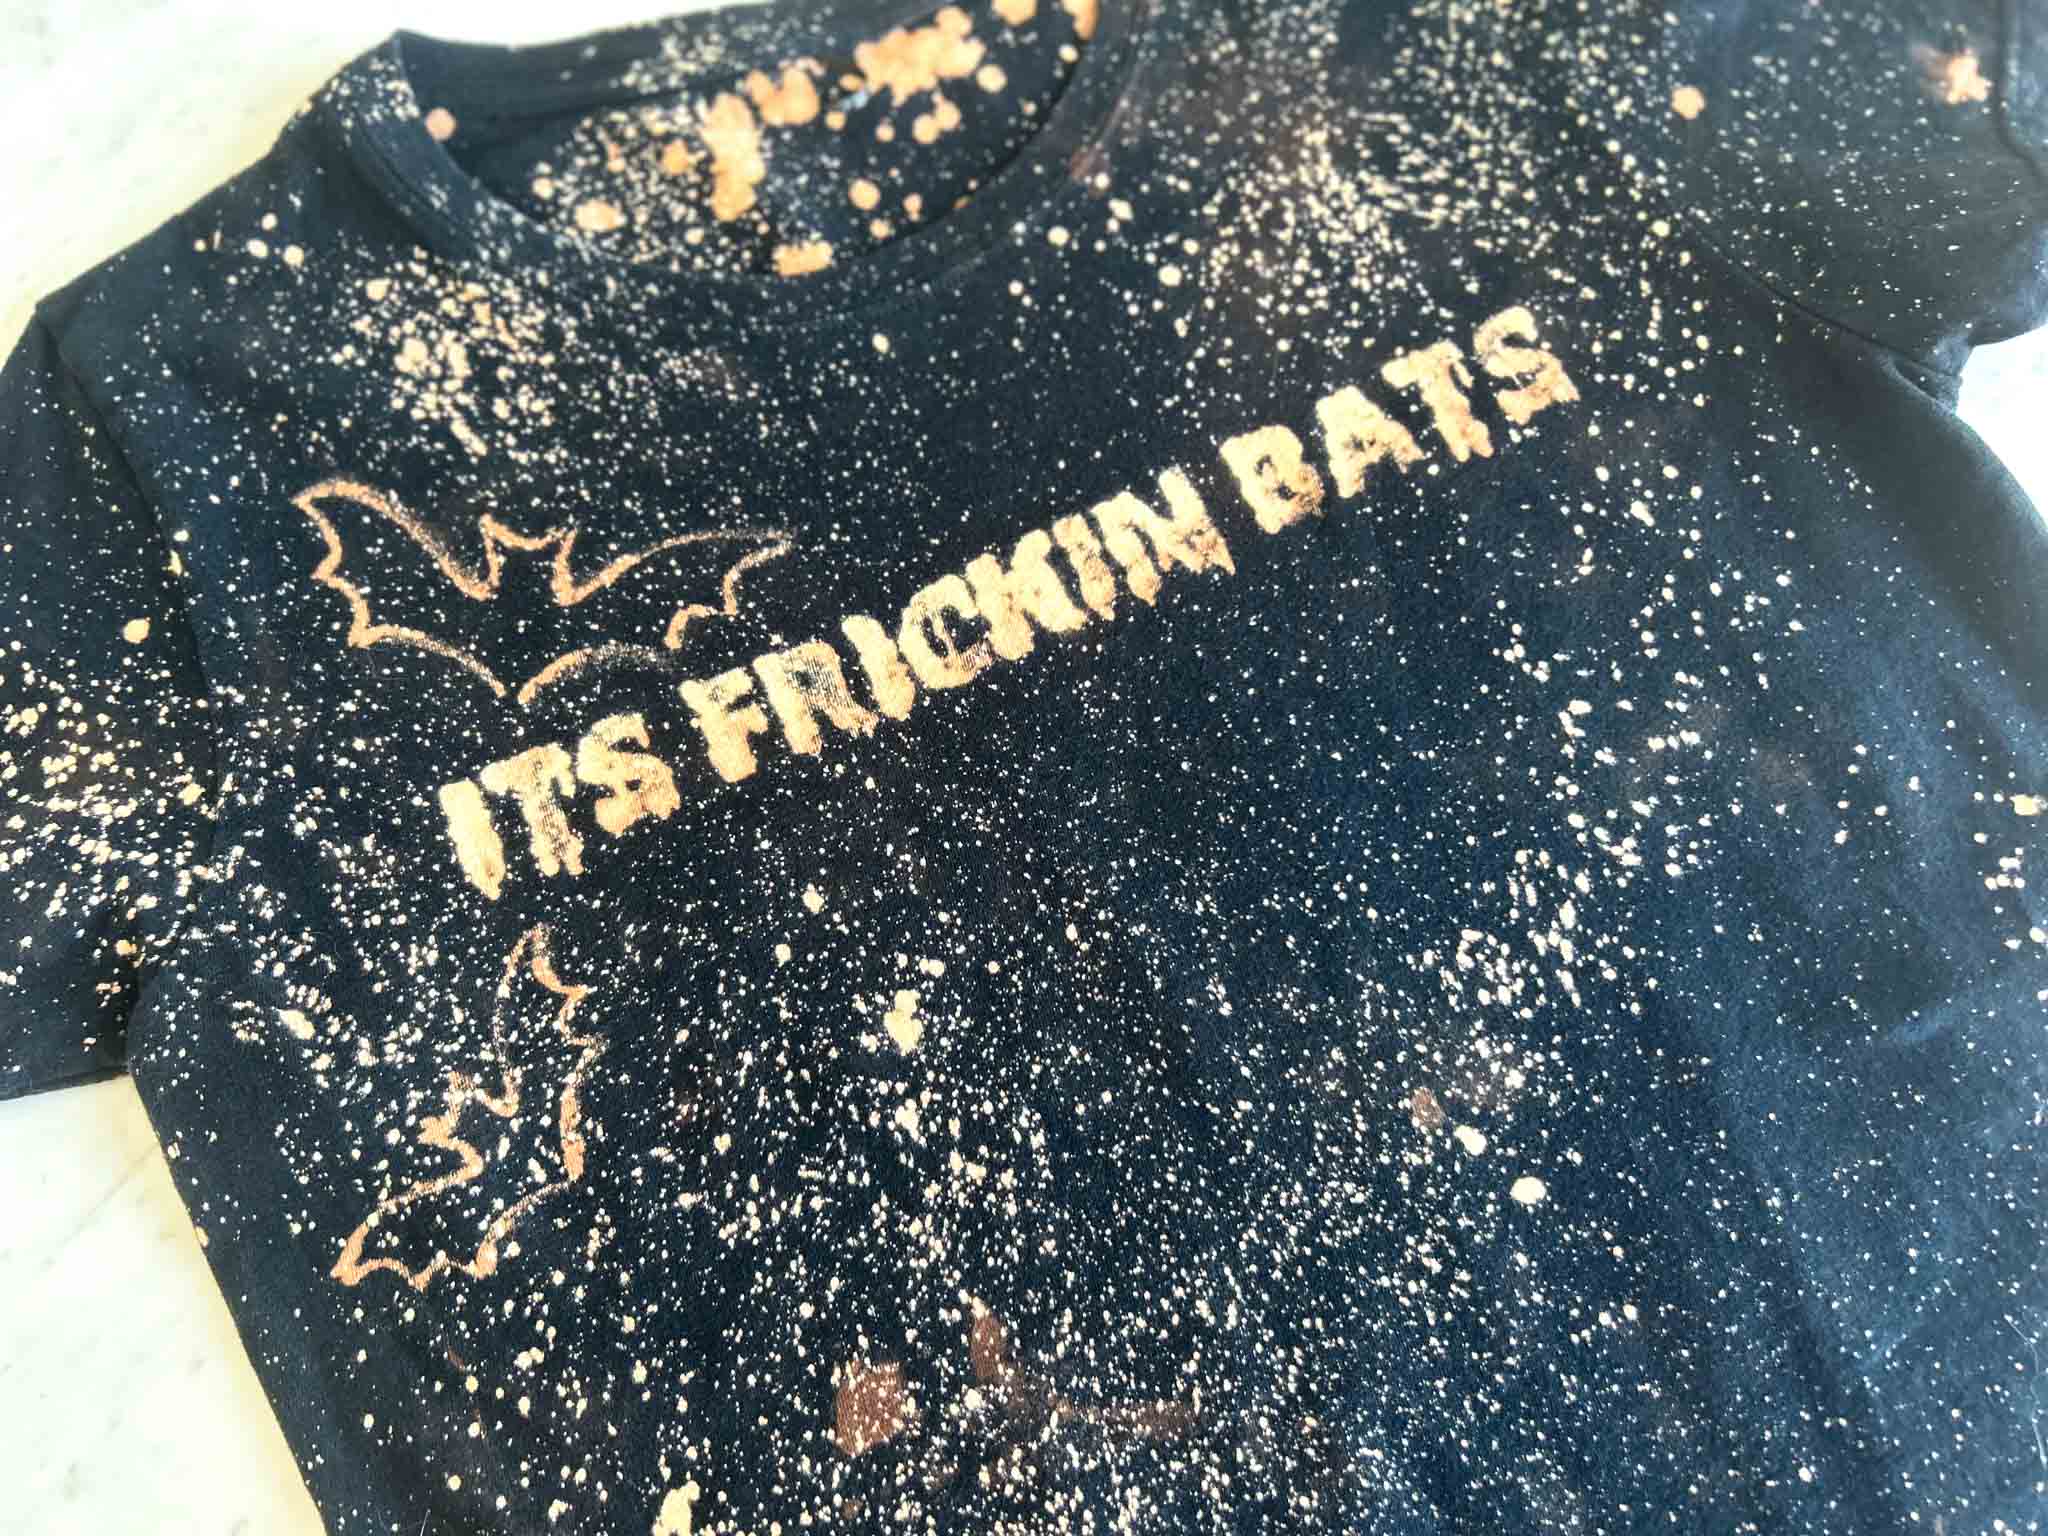
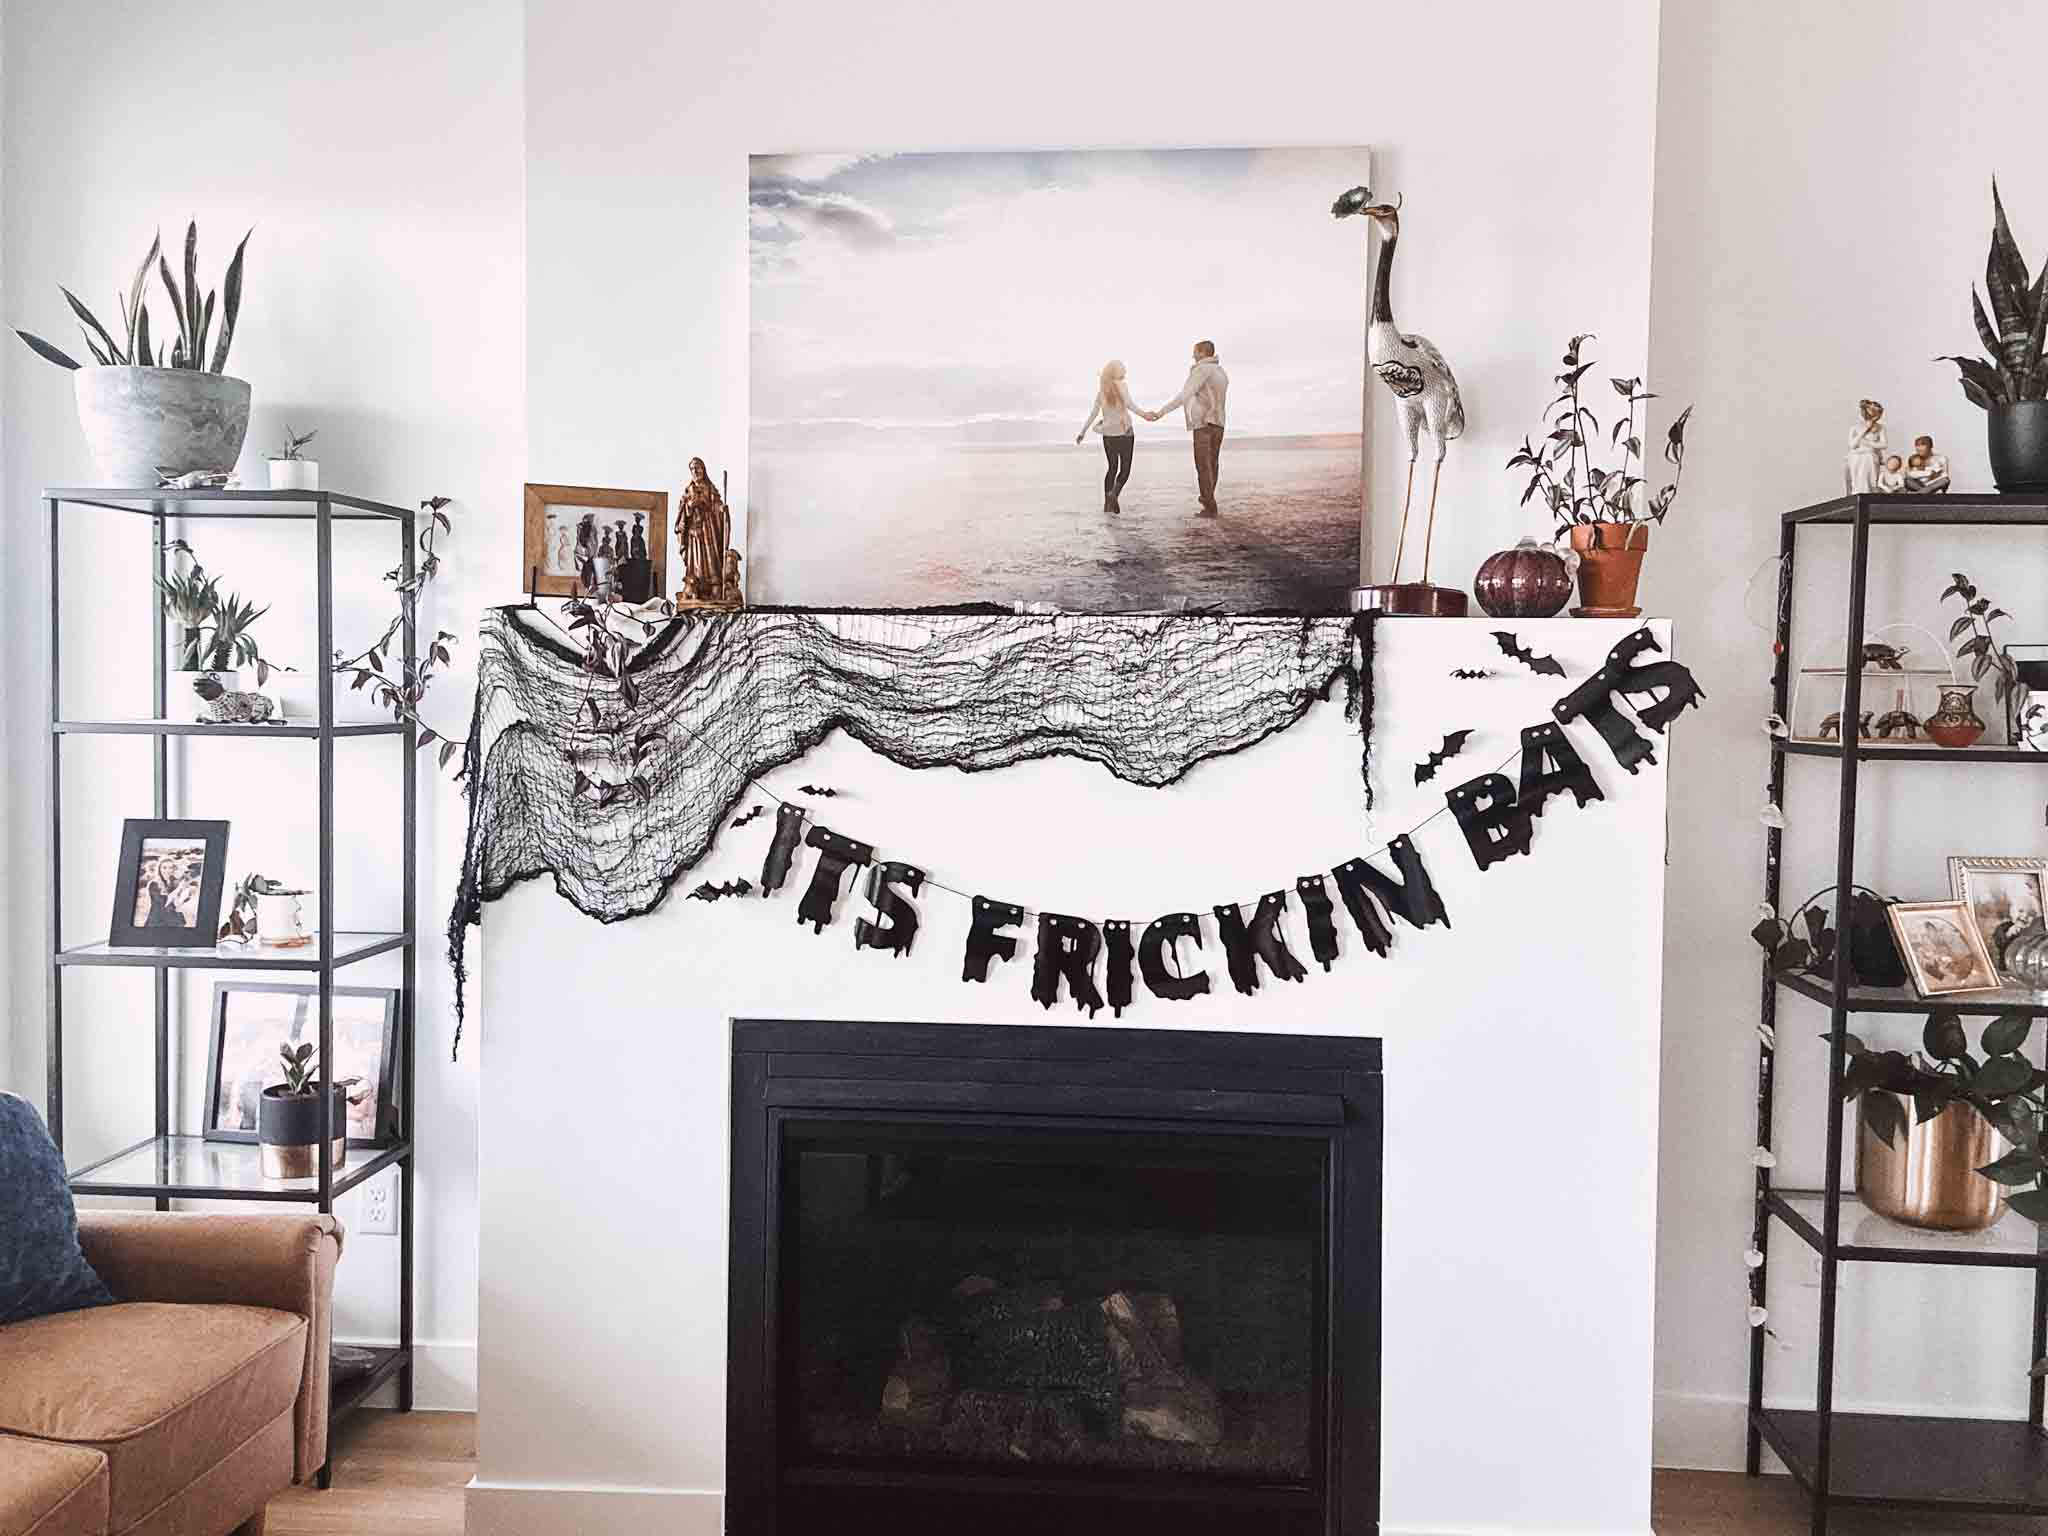
Tie dye, parties and DIY
DIY is my jam. I love making practical and pretty things that I can use over and over. Save yourself some money and get some creative energy out here.