• Skip to main content
  • Skip to primary sidebar
  • Skip to footer

Practical and Pretty logo

  • HOME
  • DYEING
  • DIY
  • PARTIES
  • CRICUT
  • SHOP
  • ABOUT
You are here: Home / Sewing / DIY Mickey Stuffed Animal

November 7, 2019

DIY Mickey Stuffed Animal

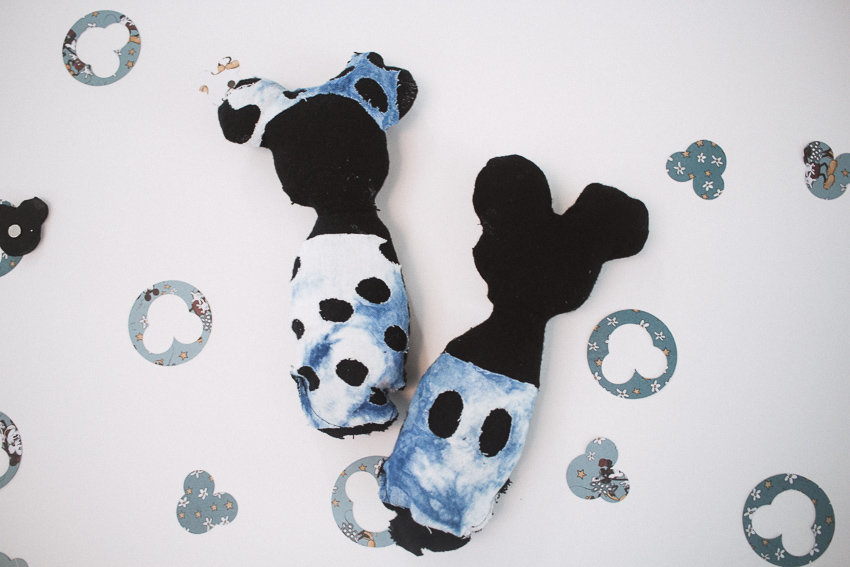
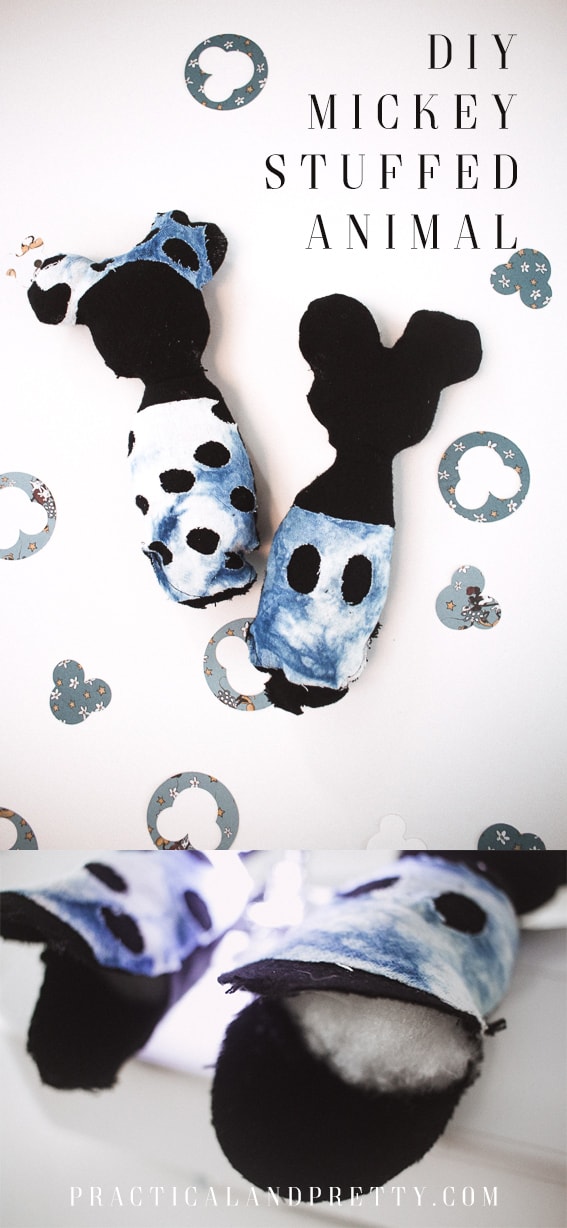
Use this free cut file to create a mickey stuffed animal and BONUS I have a Minnie stuffed animal for you to create too using just a few materials.

I recently made a gift basket for my husband to surprise him with a Disney trip but wanted to add in something my son would like. These Mickey stuffed animals turned out SO cute and you can customize them to your style too. I’ve got a cut file for you and will walk you through step by step. 

Use this free cut file to create a mickey stuffed animal and BONUS I have a minnie stuff animal for you to create too using just a few materials.

What I Used for My Mickey Stuffed Animal

  • Cricut Maker
  • Black felt
  • Tie dye cotton towel (You could also use iron on! That was my first idea then I decided to incorporate some tie dye.)
  • Sewing Machine
  • Rotary Blade
  • Rotary Cutter
  • EasyPress 2
  • Fabric Grip Mat
  • If using fabric instead of iron-on you’ll also want HeatNBond
  • Polyfill
  • Mickey Cut File
  • Minnie Cut File

If your felt isn’t the correct dimensions you will start but cutting your felt to fit on your fabric grip mat.

cutting felt to cricut mat size

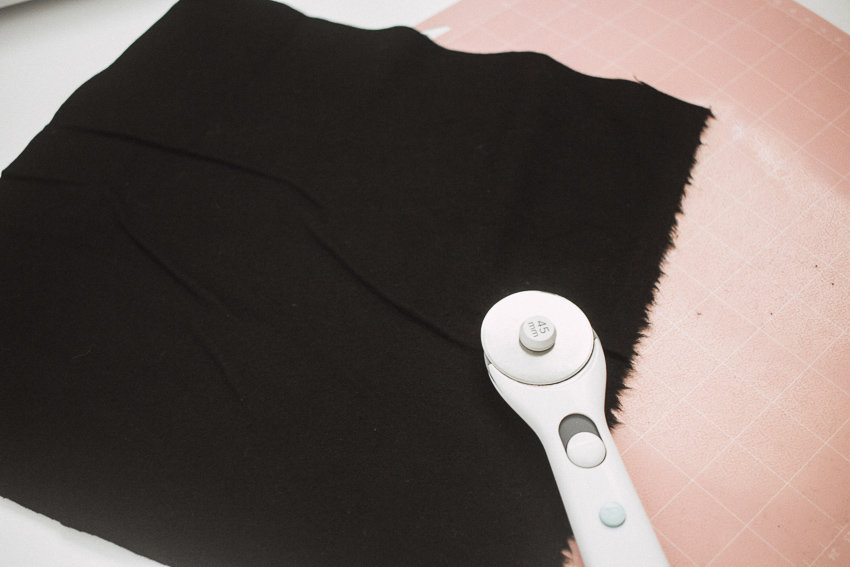
Lay the felt flat on the mat and feed it through your machine. Load your Rotary Blade and let it do it’s work.

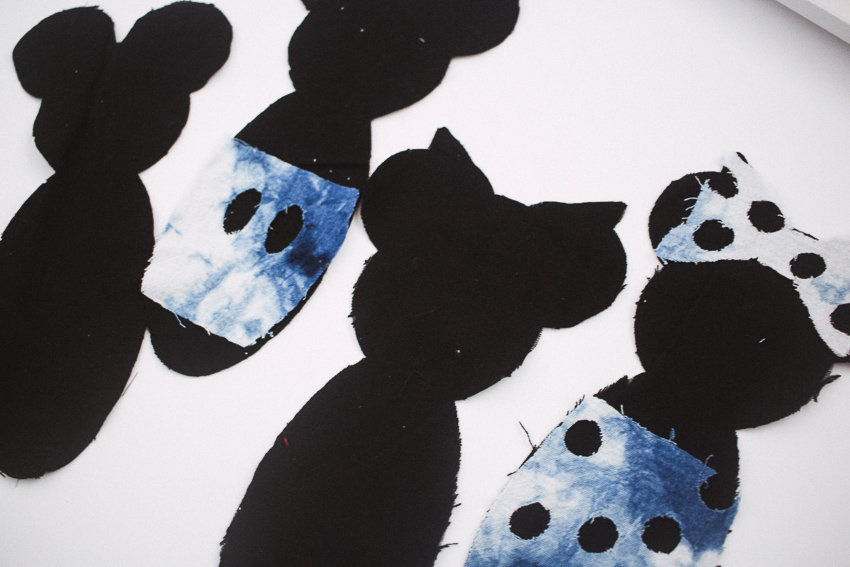
After you have cut out all pieces of your cut file you will lay them out. Spray the HeatNBond on the back of the cotton fabric. If you are using iron on you will weed it and place it where it goes. Use your EasyPress 2 at 280 degrees for 30 seconds.

fusible fabric stuffed animal

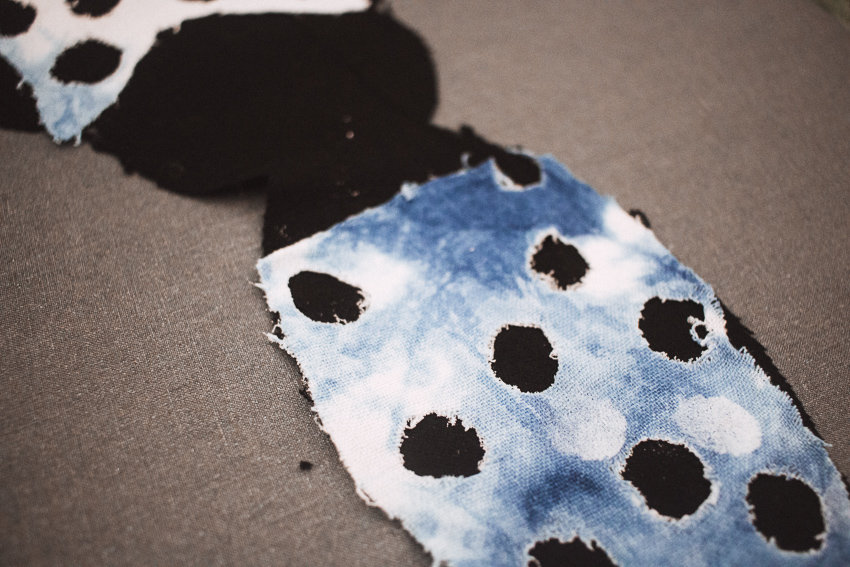
Your pieces should now look like the picture below and you are ready to start sewing! Place the front sides of the fabric together and sew around the edges leaving the bottoms open.

mickey stuffed animal pattern

Flip it inside out to insert the Polyfill. I stuffed them pretty tight so they had a good shape. 

mickey stuffed animal

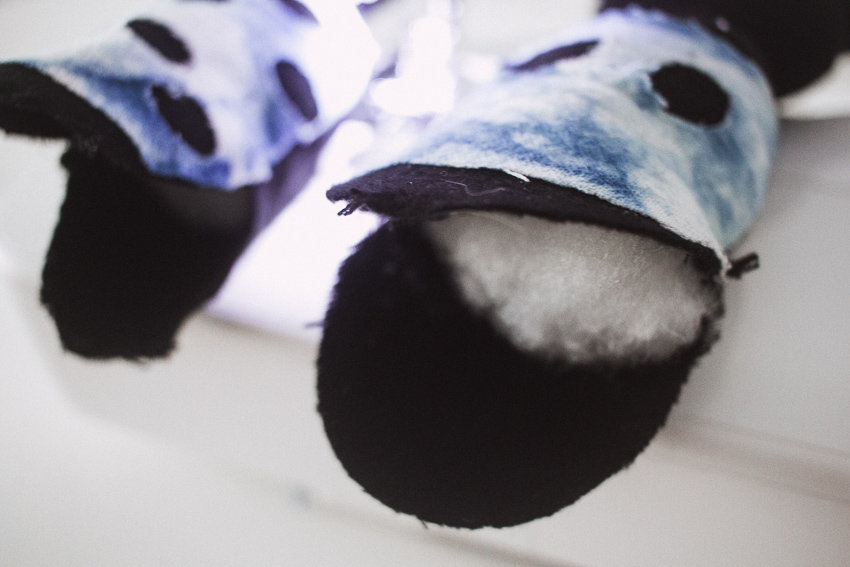
Use your sewing machine to sew up the bottoms. You can also hand stitch them if you’re a perfectionist. These were for my son who does not care so I just stitched them up quick!

Use this free cut file to create a mickey stuffed animal and BONUS I have a minnie stuff animal for you to create too using just a few materials.

Filed Under: Cricut, DIY, Dyeing, Sewing Tagged With: cricut, disney, diy, sewing

Reader Interactions

Leave a Reply Cancel reply

Your email address will not be published. Required fields are marked *

Primary Sidebar

SEARCH

I’m Anna!

Welcome!

I’m Anna and love practical and pretty things. You will find DIYs here as well as party ideas and of course, natural dyeing tutorials. I’m so glad you’re here.

FEATURED ON

PARTIES

DIY Custom Tablecloths

Customize a tablecloth to your event using this step by step tutorial for custom tablecloths. This was for a birthday party but it will apply to any event!

Blippi Party Ideas and Supplies

Customize this party hat to your color scheme and needs for your next fun party! I show you how I made a simple pom pom and assembled the hat.

Birthday Blippi Shirt

This silly Blippi shirt is perfect for the birthday child or you could even make a few for all the guests! They will get a kick out of what it says. 

Free ‘It Is Your Birthday’ Banner

it is your birthday banner

NATURAL DYEING

Best Tie Dye Brands Compared

what is the best tie dye brand

Refresh Used Crib Sheets

crib sheets tie dye

Geode Tie Dye

Forest Fairy Costume Featuring Tie Dye

CRICUT PROJECTS

It’s Frickin Bats

Fabric Growth Chart with Cricut Joy

The Cricut Joy is the perfect tool to create a height chart! I walk you through how to cut the iron on and then create a cute fabric height chart. 

DIY Disneyland Coupons with New Maker Tools

This coupon book of fun Disneyland coupons is a great idea for your next Disneyland trip! I'll walk you through how I created it with my Cricut Maker Tools.

DIY Yoga Shirts with Your Cricut

Footer

Copyright © 2023 Practical and Pretty on the Brunch Pro Theme