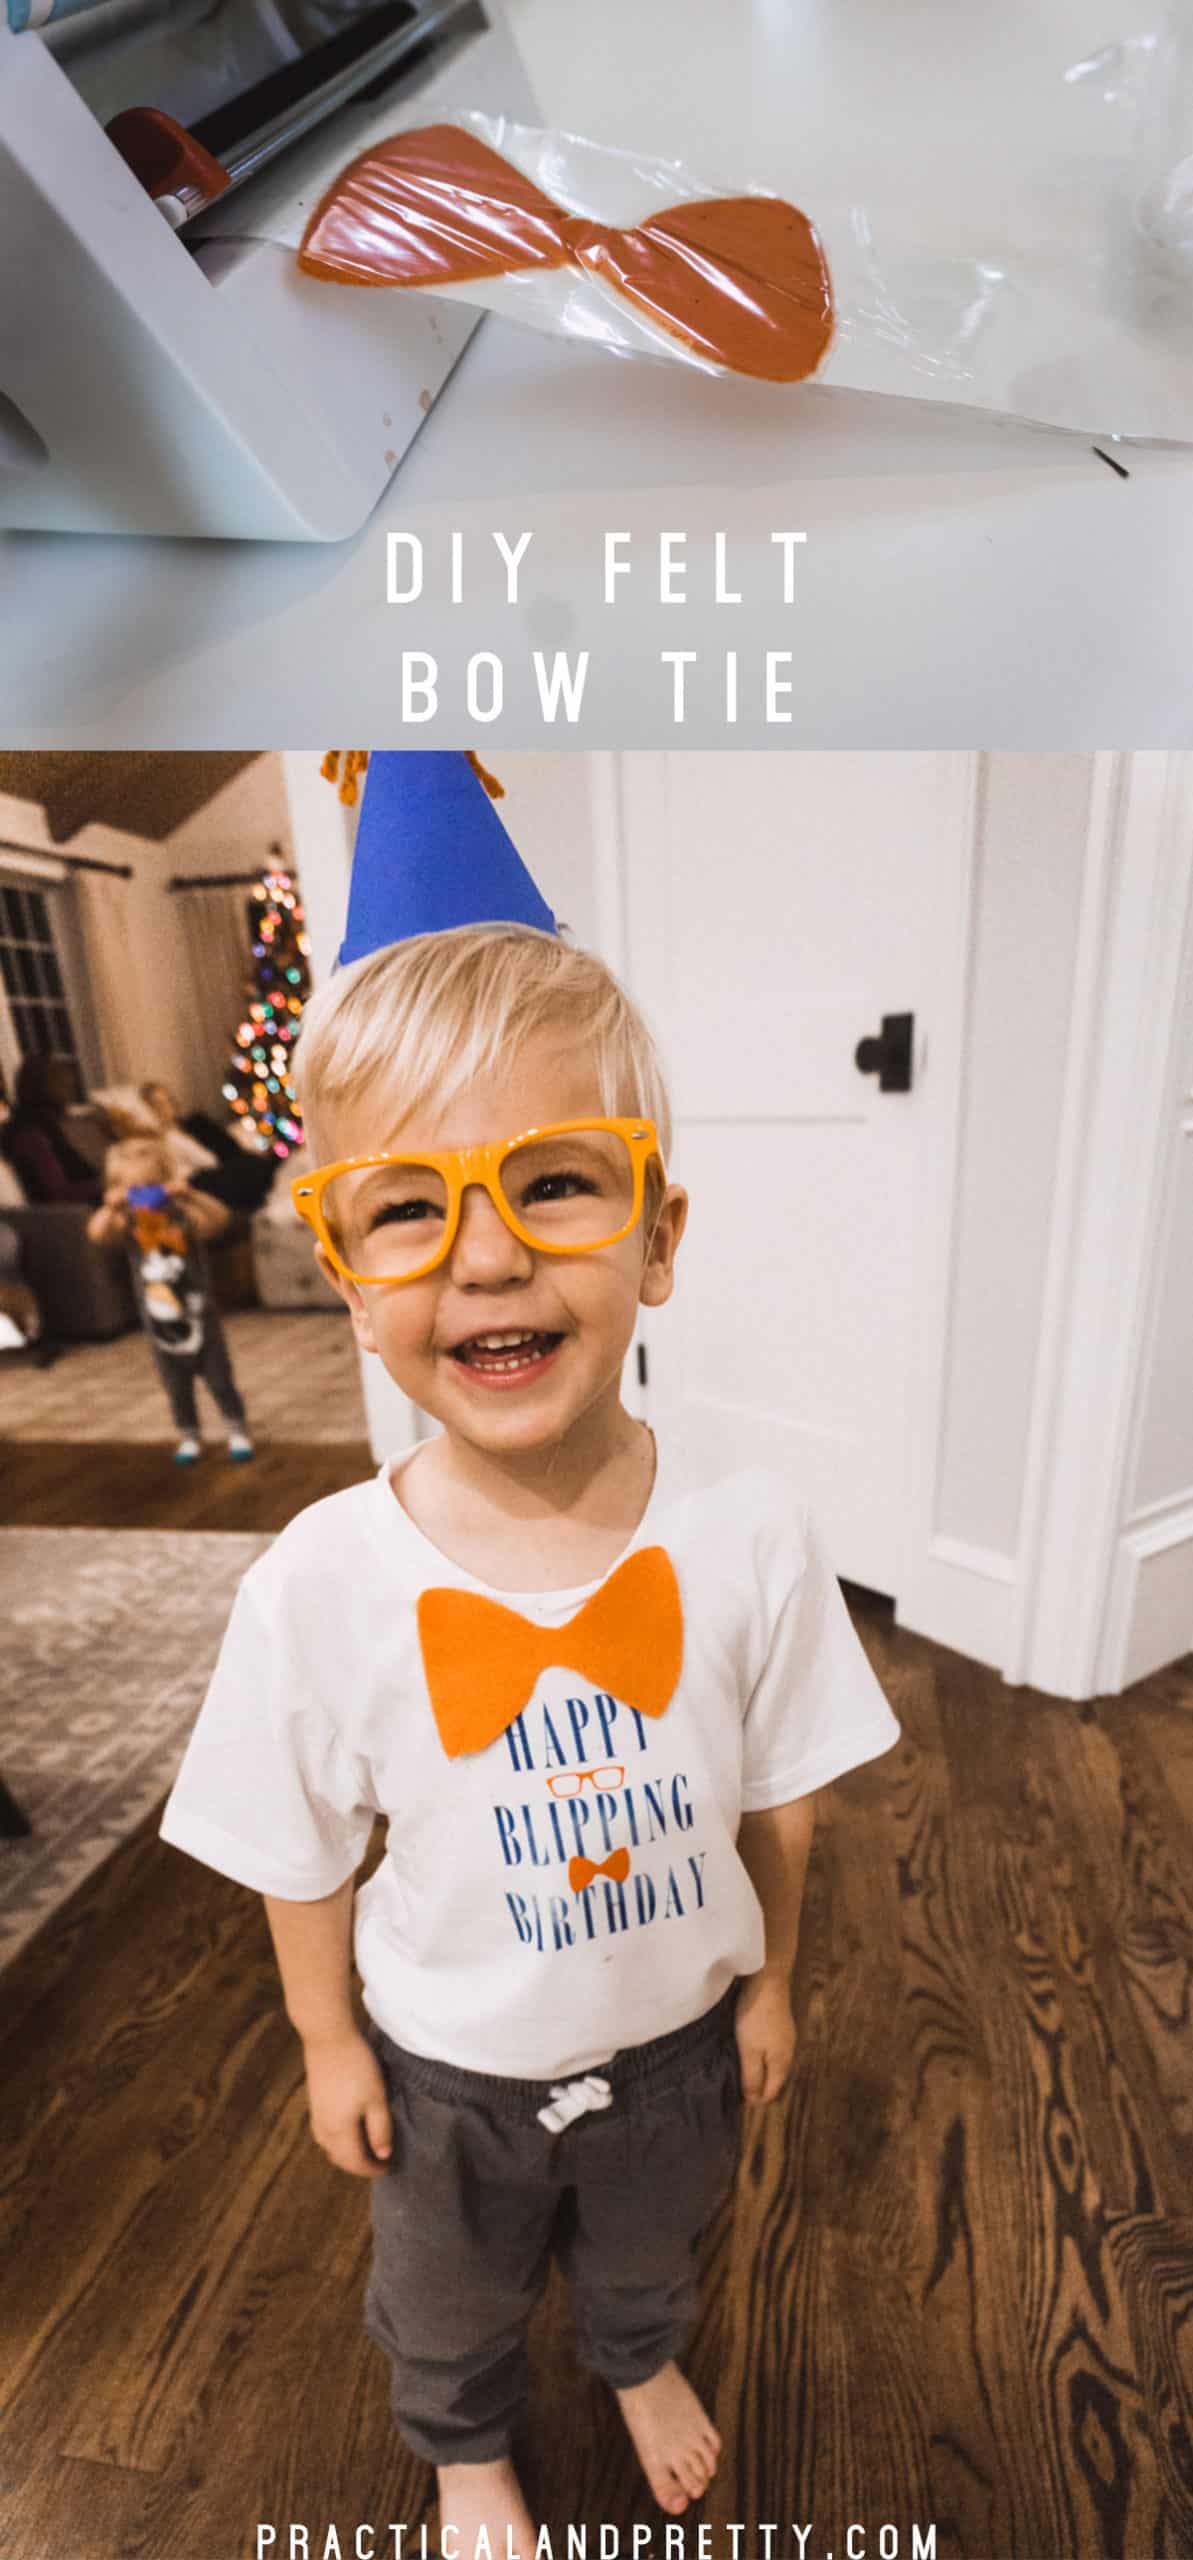
This simple DIY bow tie is a perfect little party favor or quick fun project for kids. See how I incorporated them into a Blippi-themed birthday bash.
These were a HUGE hit at our Blippi party! You could customize them to a lot of different events and uses too if you’re not throwing a party!
What you need for your DIY Bow Tie
Start by opening the cut file linked above. Duplicate the file for as many bow ties as you’d like.
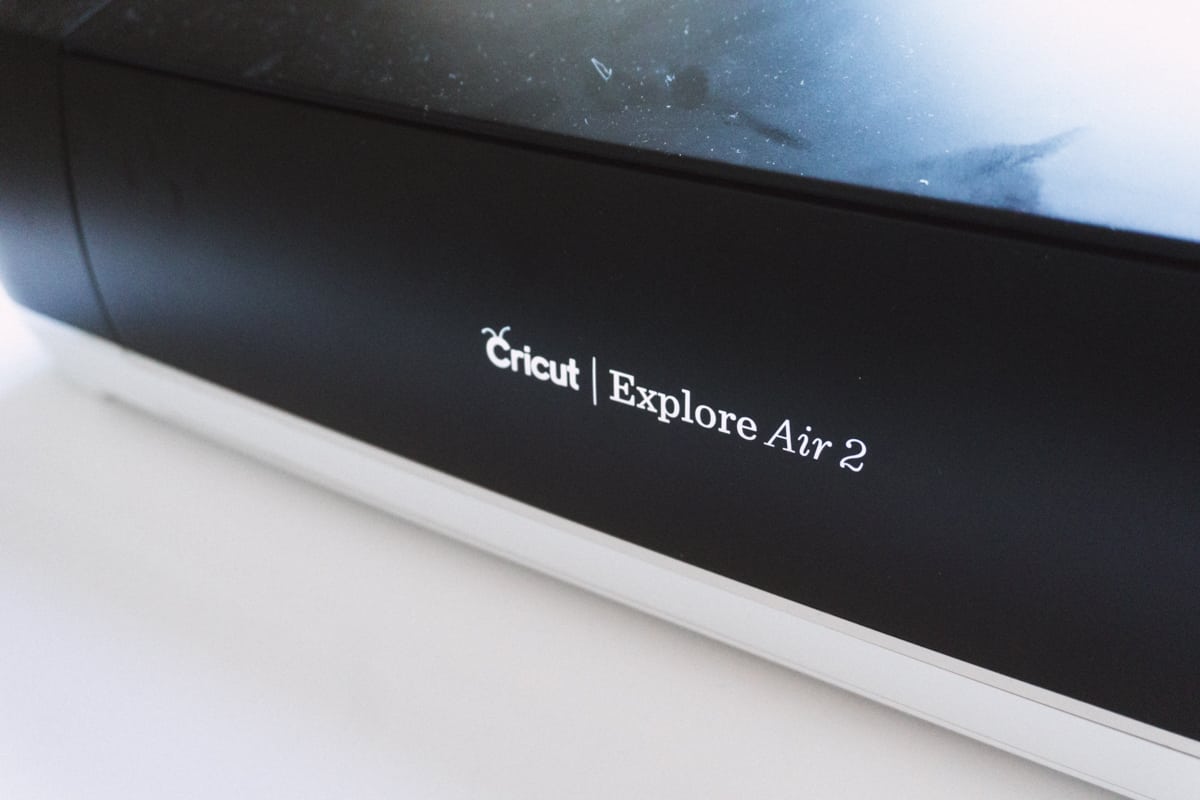
Load your felt onto your mat and use your Explore Air to cut out the file.
After your bowties are all cut, you are going to run each one through your Xyron Creative Station! I used the 3″ tape runner for these.
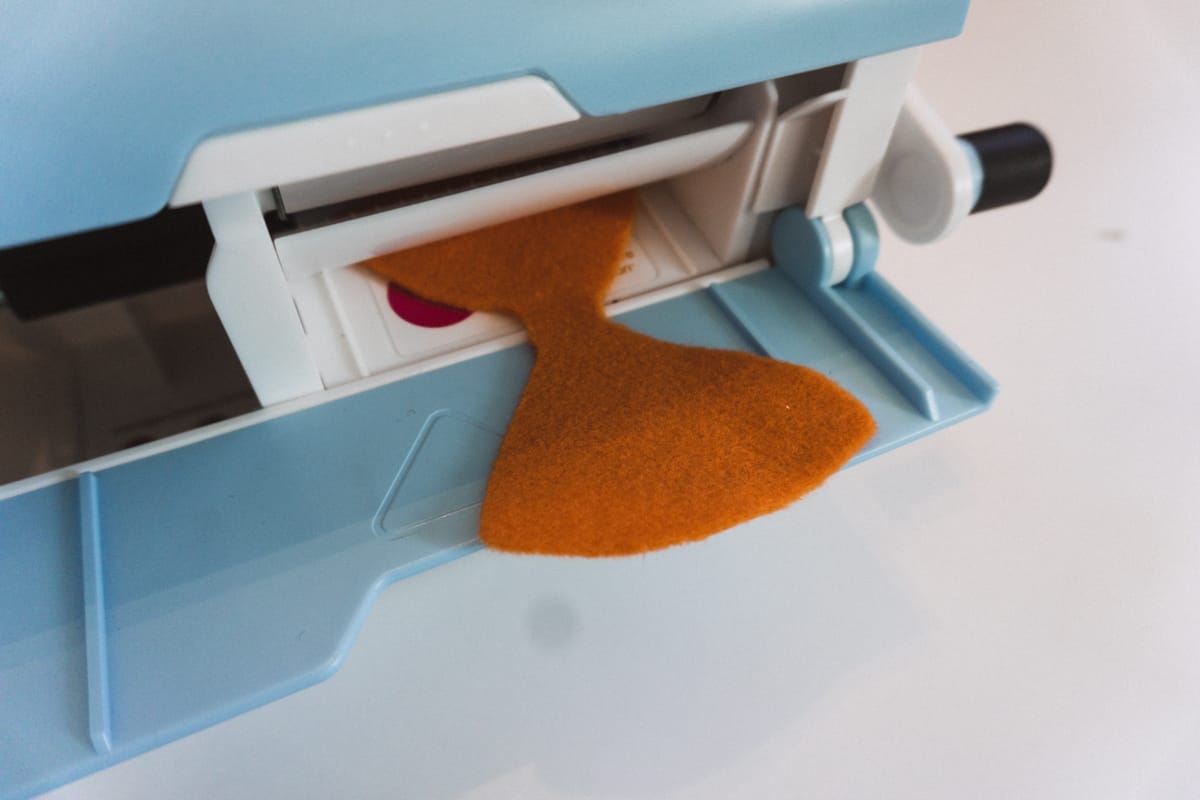
If it’s struggling to get through, gently tug the opposite side of the runner from the back and it should slip right though. These Creative Stations can handle pretty thick materials. I promise it will fit!
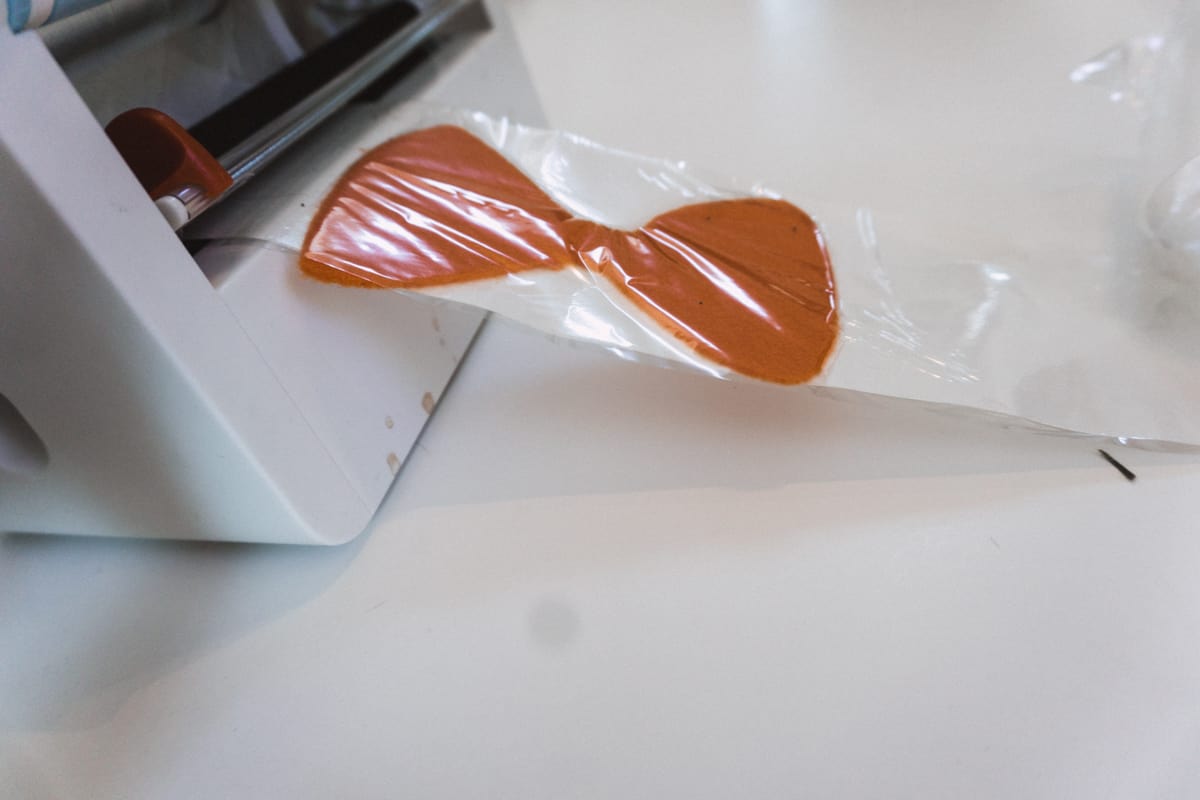
I kept the plastic on each of my bowties so that they wouldn’t get dirty. It also prevented them from getting sticky where I didn’t want it.
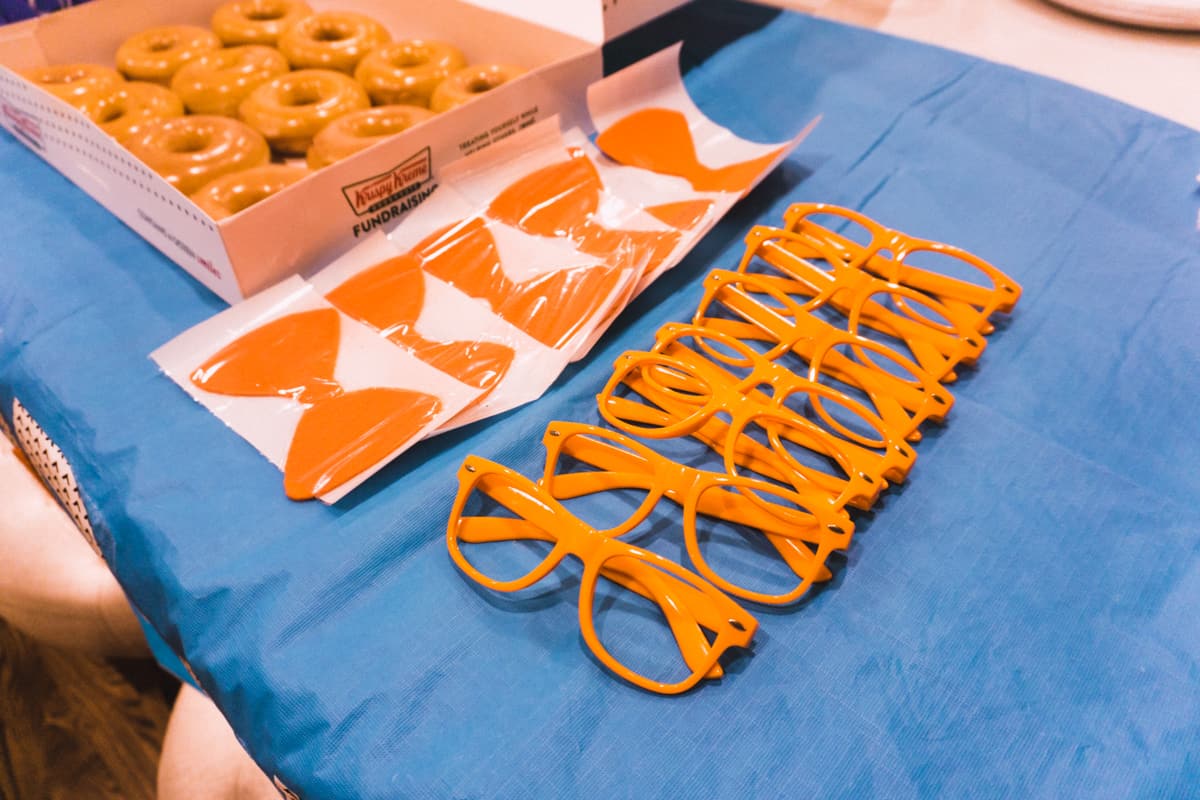
I laid them all out on the party table next to the glasses which you can find here. I just popped the lenses out! They were a huge hit and honestly didn’t look too dumb on adults either.
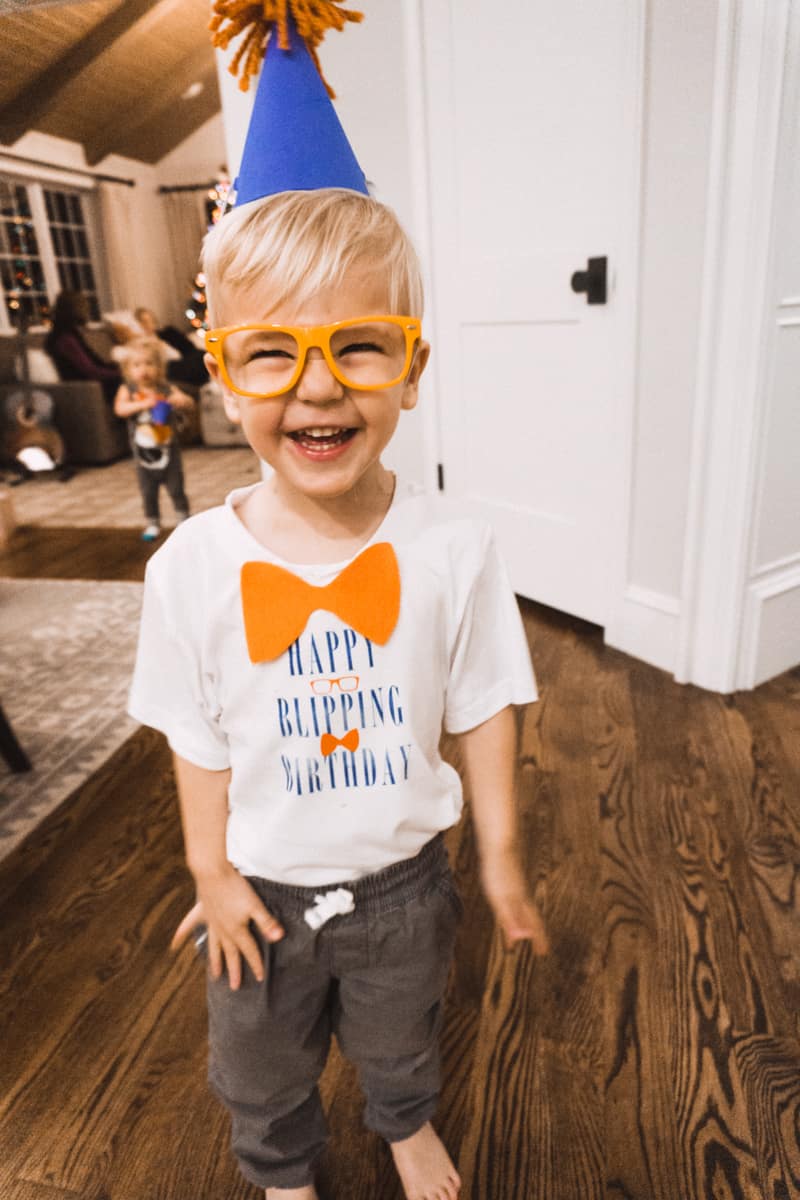
These bow ties were a HUGE hit! You can see how stoked my toddler was to dress up like Blippi and it was a super simple DIY you can whip up the day of the party! Not that that’s what I did. (Yes it was.)
If you are throwing a Blippi party I think you might also get a kick out of all the tutorials linked below!


