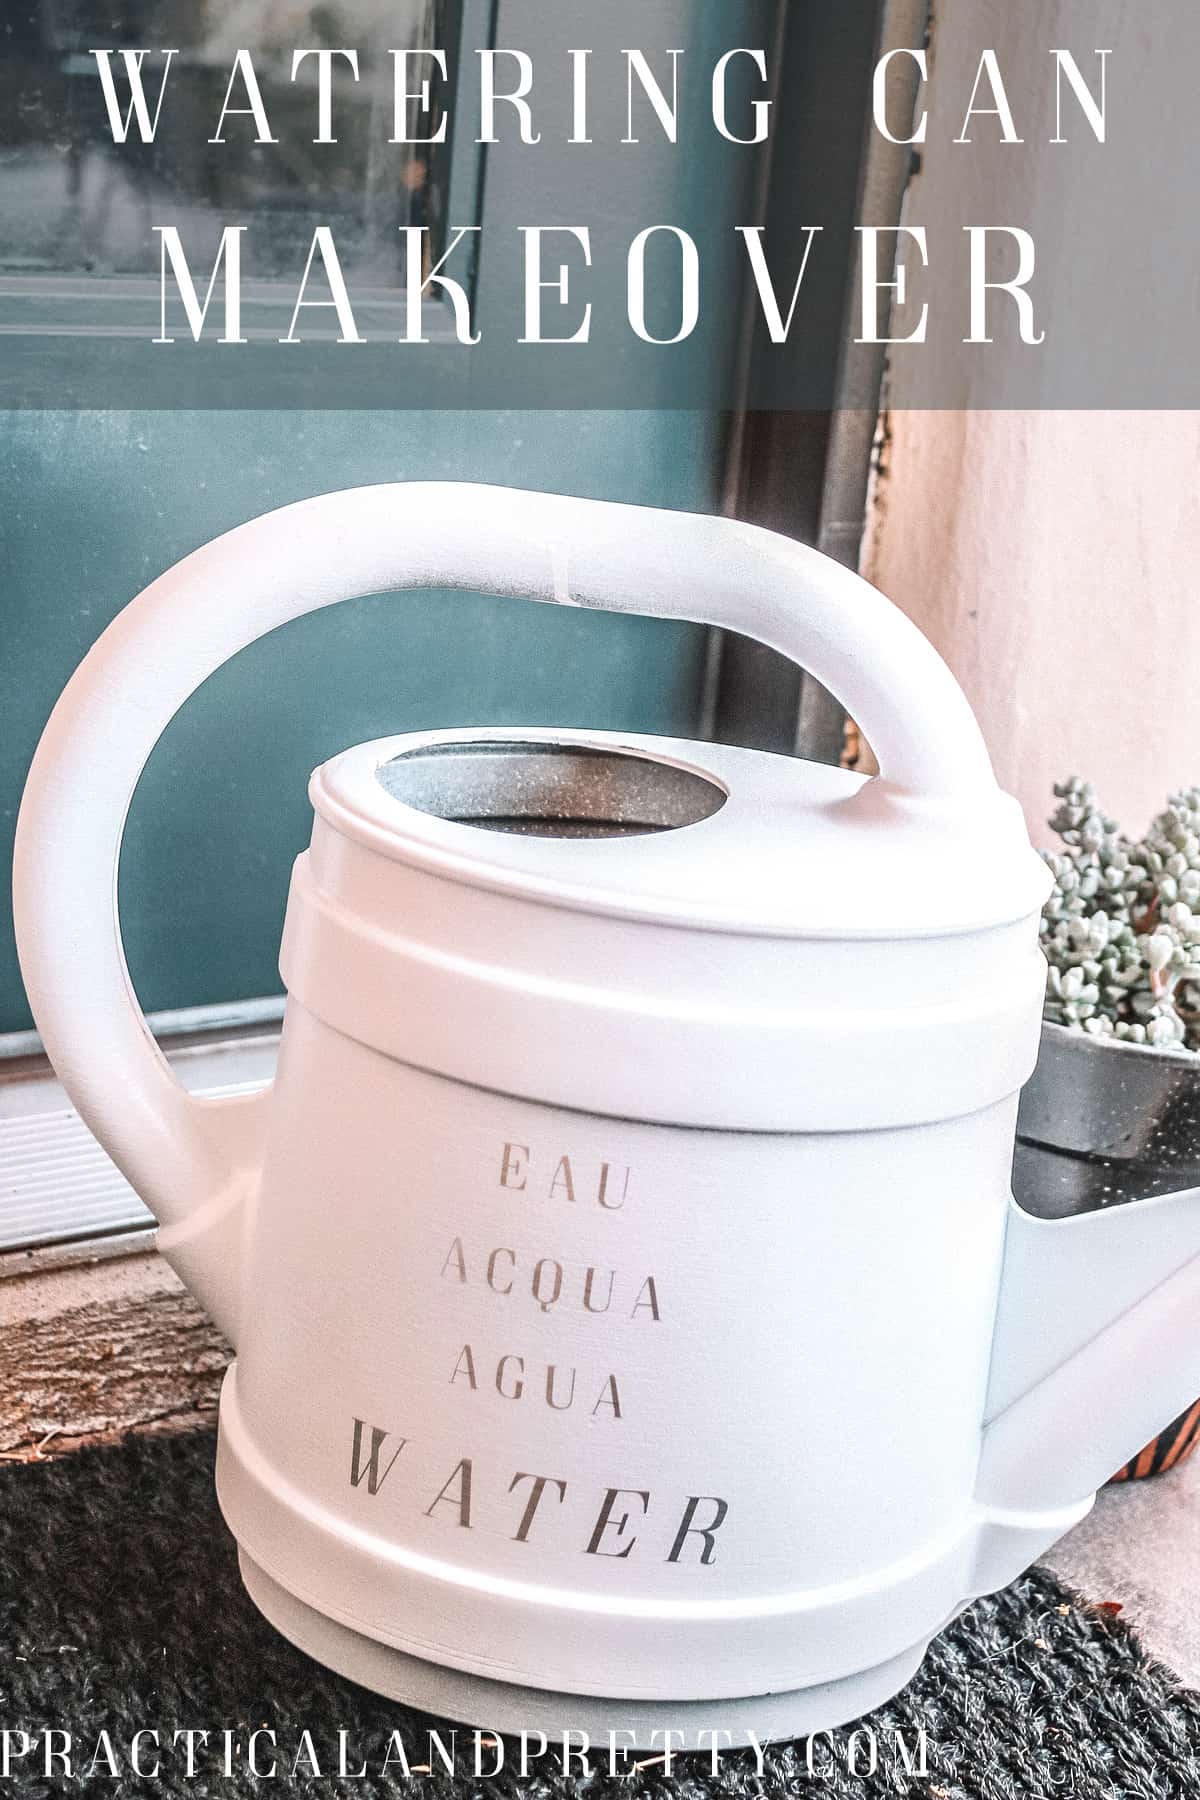
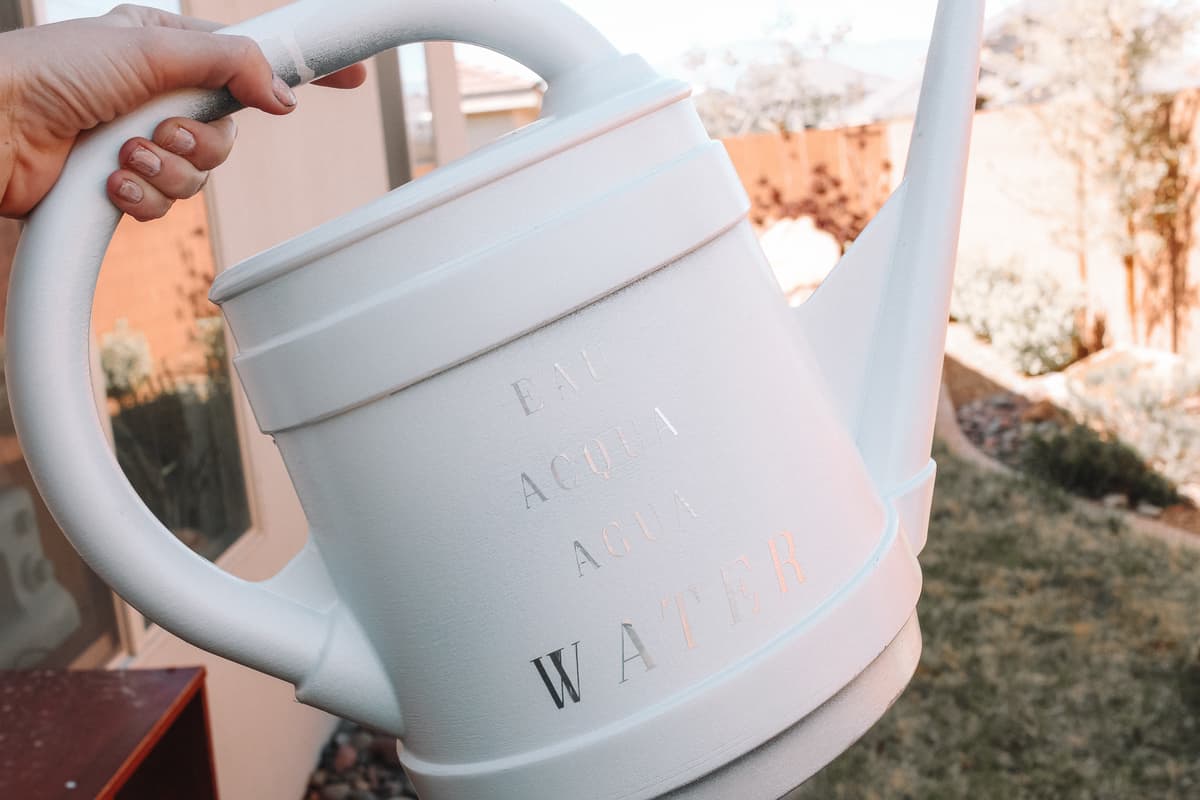
Makeover your watering can or use what I did as inspiration to do your own thing! All I used was vinyl, spray paint and my Cricut.
They have some really beautiful watering cans now but they’re so expensive! It’s hard to justify spending $30 on one when you can get a plastic one at the dollar store. With spring coming I wanted to jazz mine up a bit!
What you’ll need for your watering can makeover
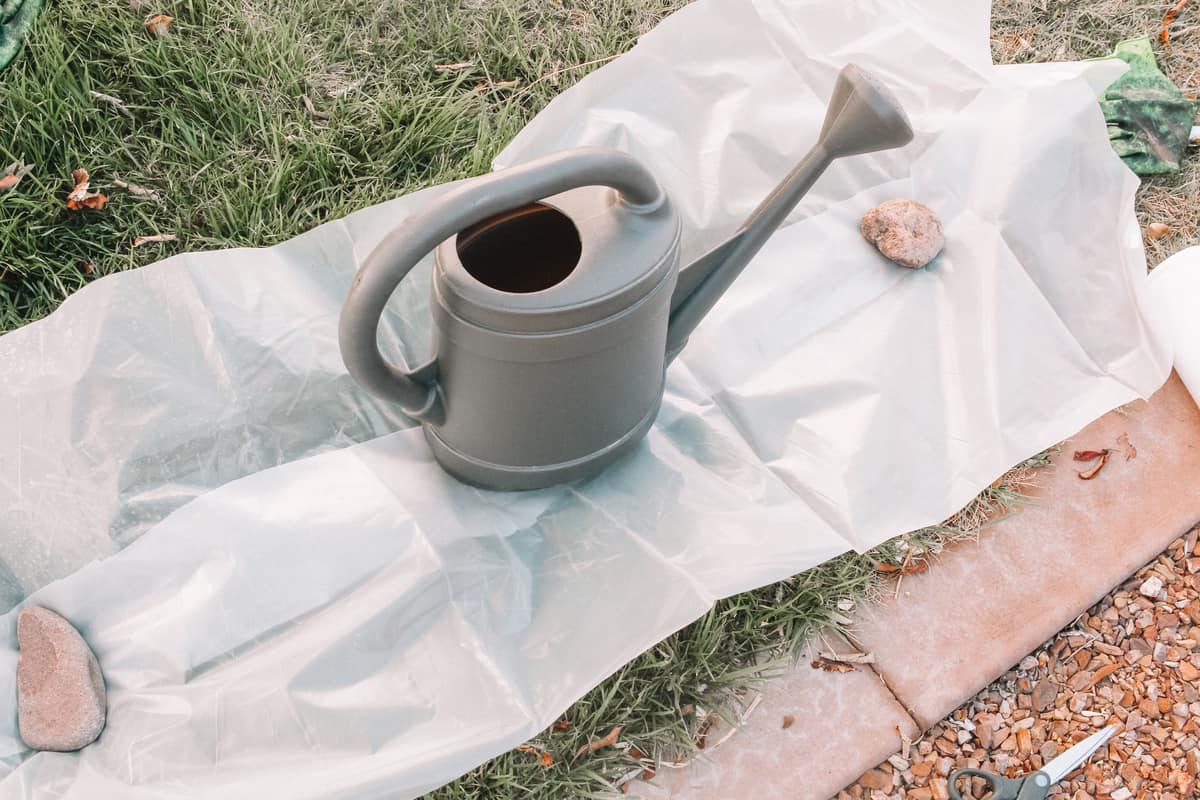
Start by spray painting your can. Because this is plastic, you may want to lay it on its’ side. When you prop it up, the spray paint can drip off the sides. It was really windy where I was so I needed to prop it up with rocks but I thought I’d tell you just in cast you feel like the spray paint is slipping off the sides!
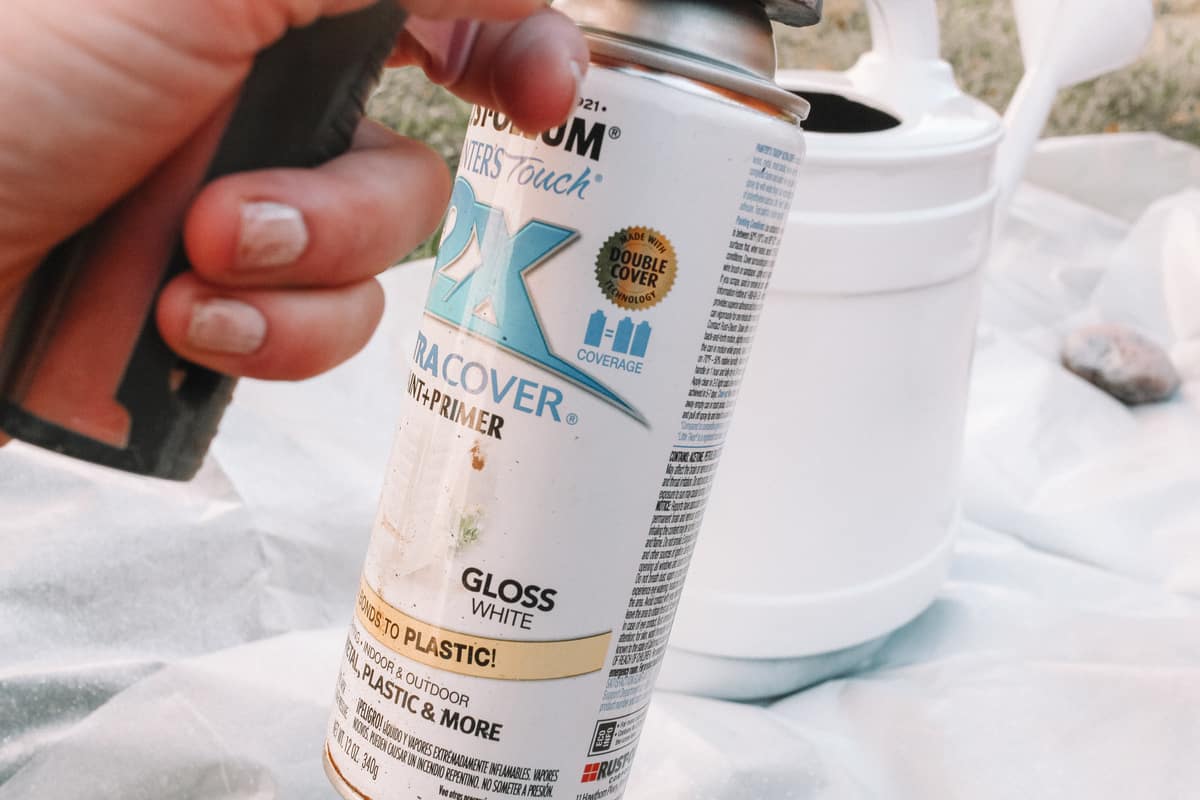
Once that dries, spray on your acrylic sealant. Again, because this is plastic, we don’t want it to peal off! The transfer tape you will be using can pull up the spray paint really easily but not so much the sealant!
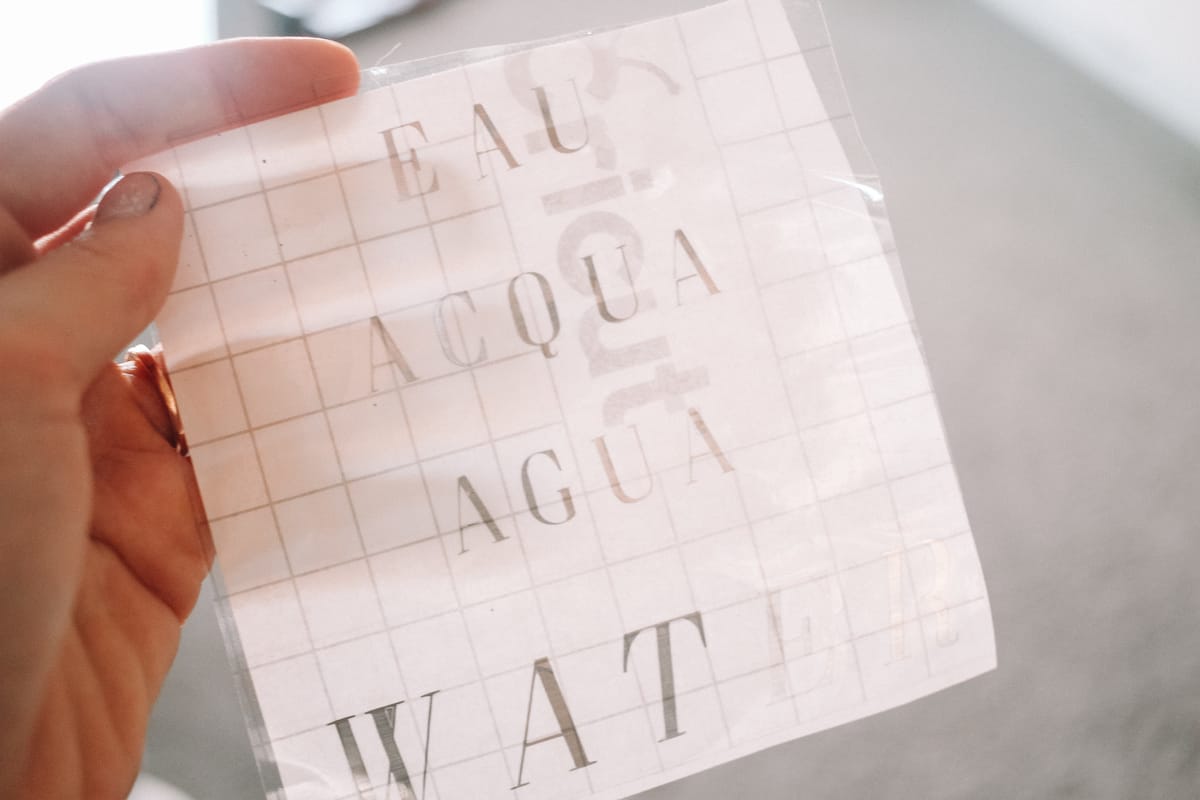
Now you will cut out your shape with the Cricut. I made this file for you to upload or if you’d rather it say something else, design it in Design Space!
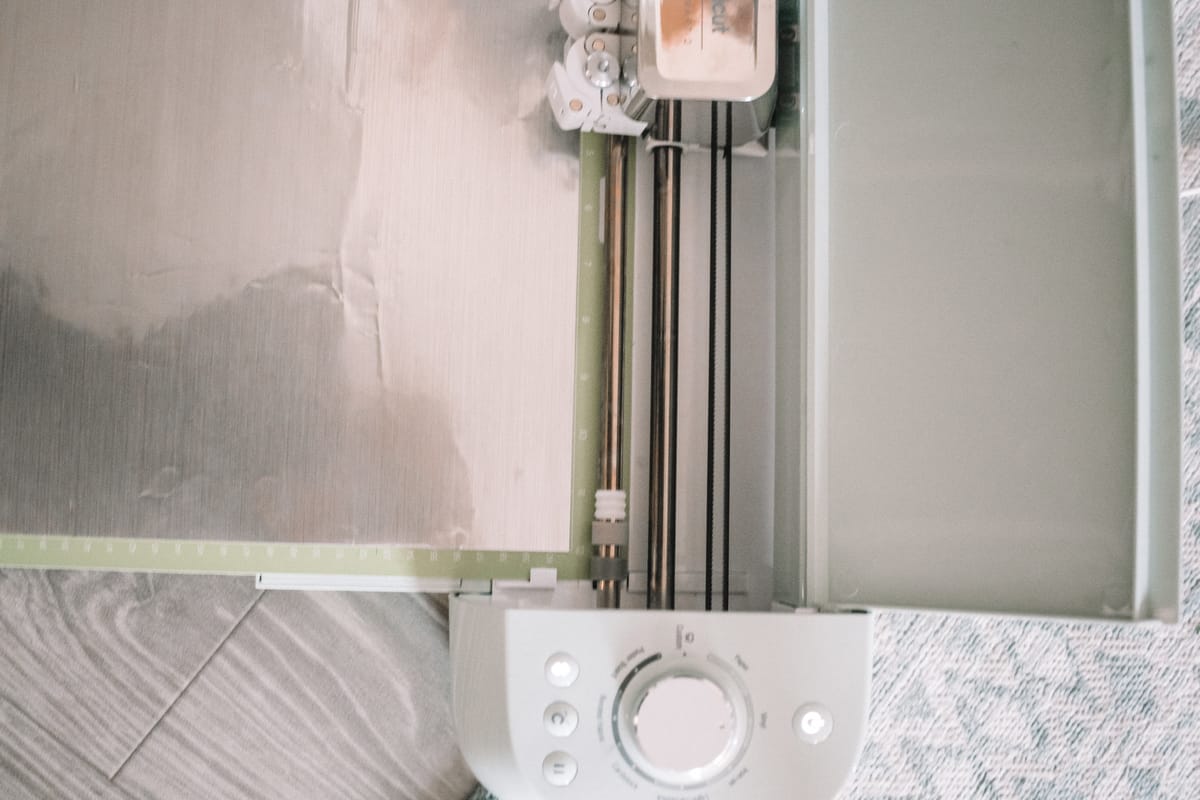
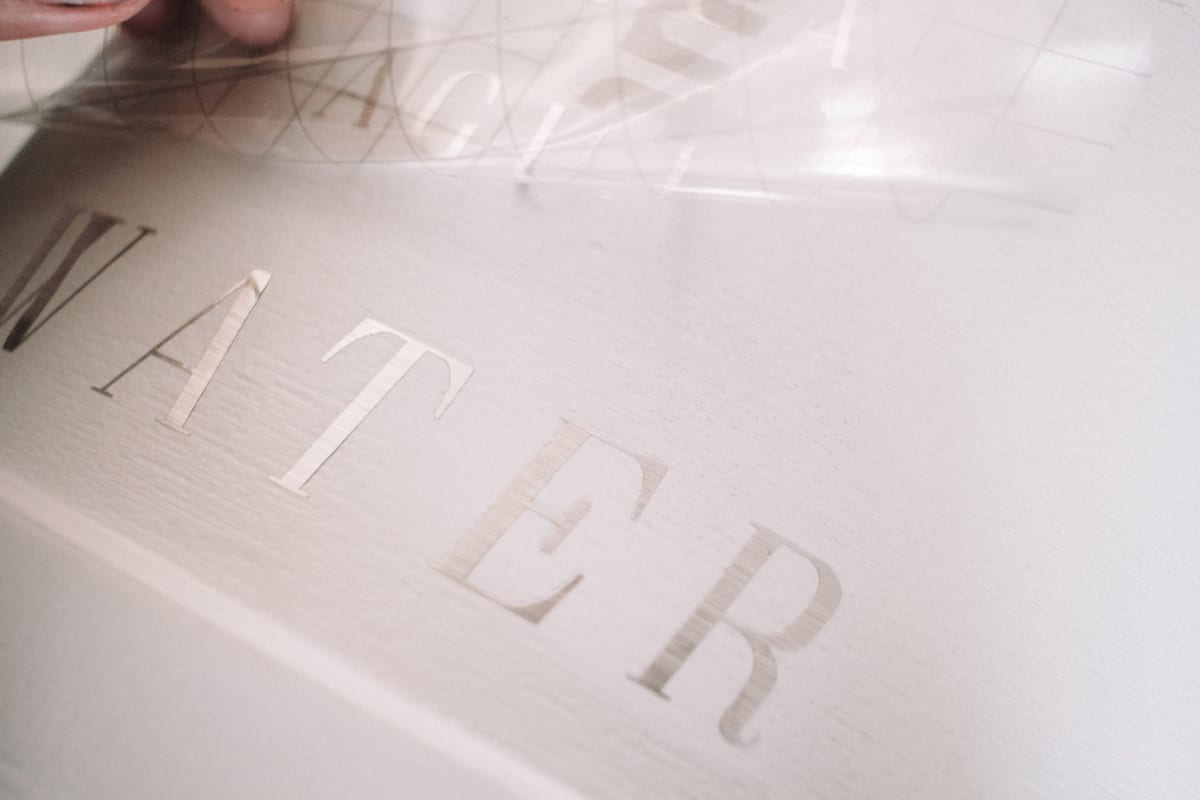
Weed your vinyl using a weeder. (I highly suggest getting this whole tool set!) Use the transfer tape to put it in your can and you are all done!
If you want to leave your watering can outside, I’d suggest doing one last layer of sealant so the letters on on there for good.
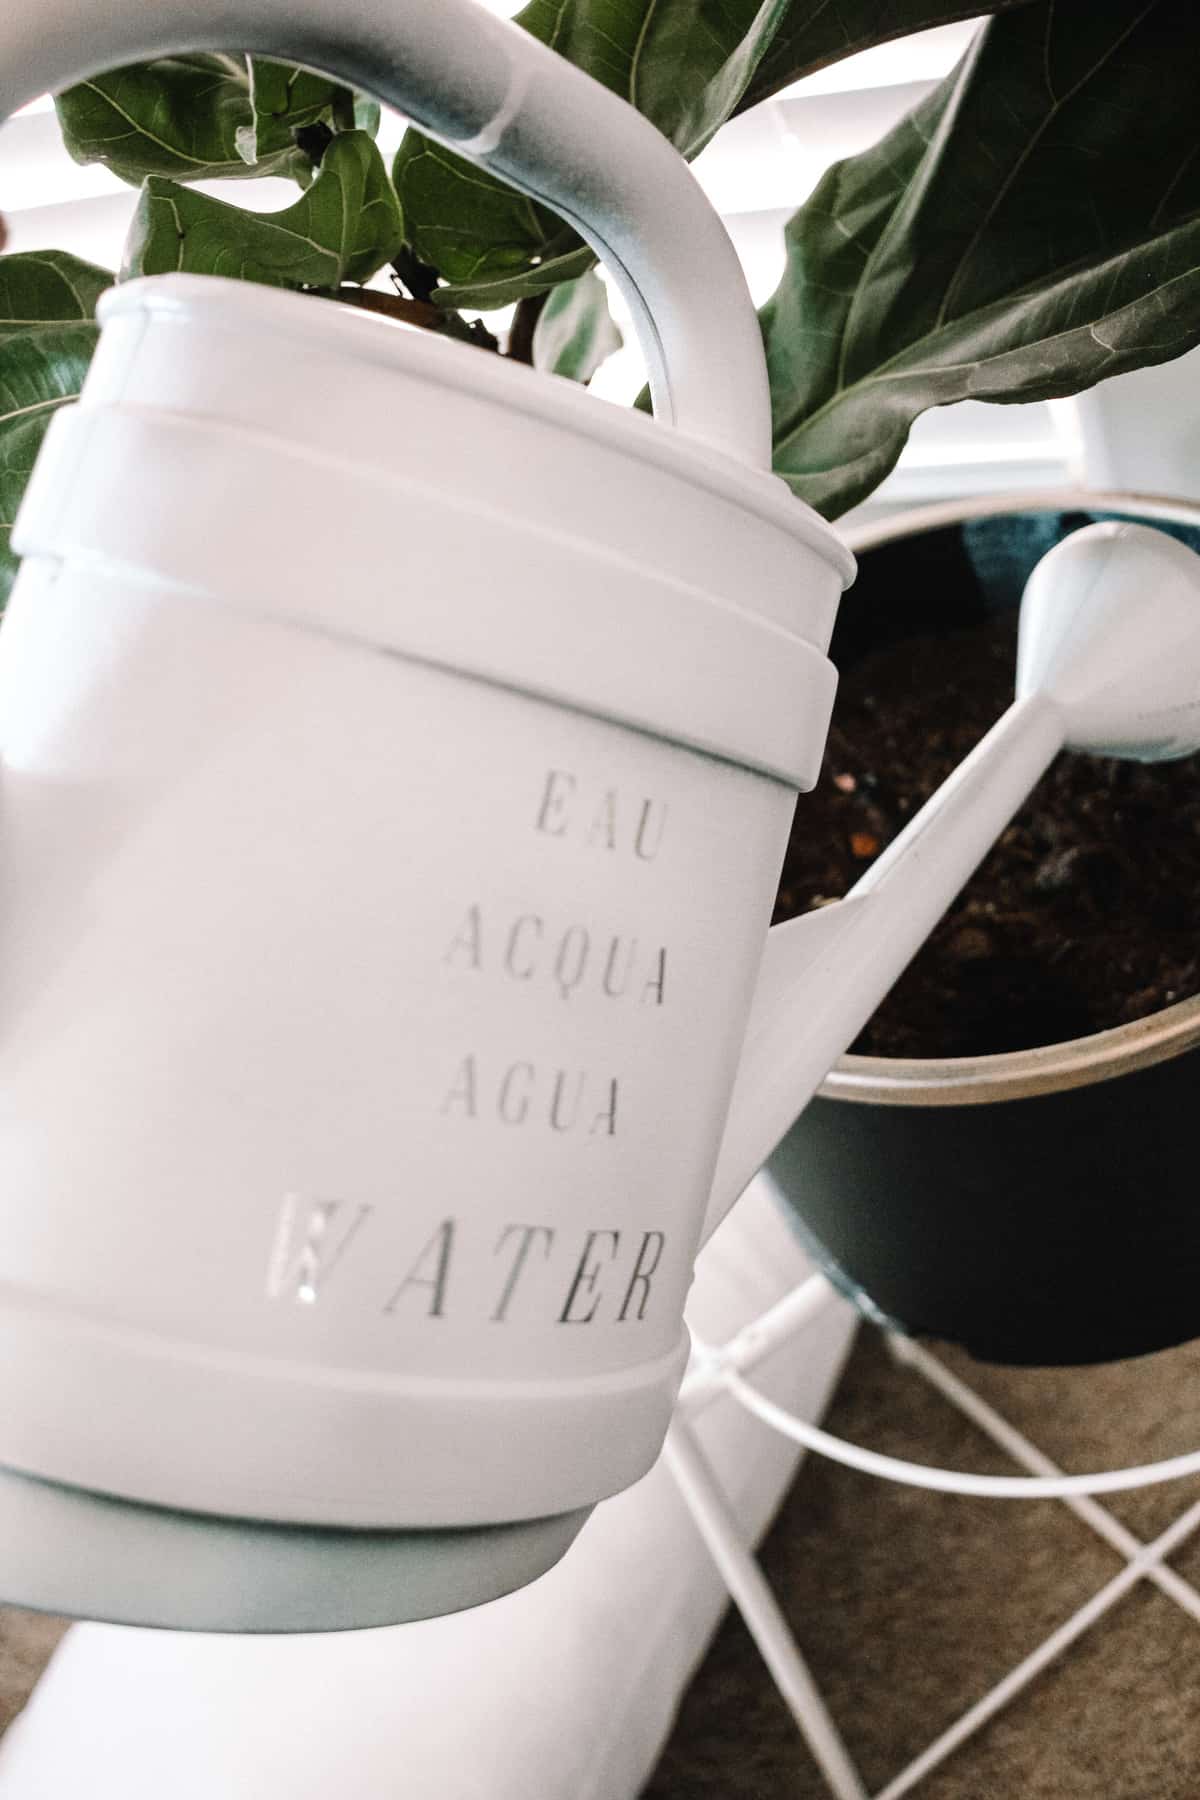
This is a fun little makeover you can do in a day that is just perfect for Spring! If you liked this post you might also like this swimsuit cover DIY, this Mickey Mouse sweater (cut file) I made, and you can see this planter in a couple of these photos too.


