Reverse tie dye is one of the coolest ways to upcycle a dark shirt, hoodie, or tote bag. But if you’ve ever tried painting or spraying bleach onto fabric and didn’t get the results you hoped for, you might be wondering…
How strong should your bleach solution be for reverse tie dye?
I saw people in a Reddit group experimenting with bleach painting, and I had to try it. But before jumping into a full project, I wanted to test different bleach dilutions to see how each ratio affected the fabric. Spoiler: the results were VERY different.
Here’s the video of this project if you’d prefer to watch that!
In this post, I’ll walk you through:
- The bleach-to-water ratios I tested
- How I applied each one
- What the final results looked like
- And which strength I recommend for painting with bleach
Let’s get into it 👇
Supplies I Used for the Bleach Ratio Test
To keep things consistent, here’s what I used:
- Plain black cotton fabric (same type across all tests)
- Household bleach (regular chlorine bleach)
- Plastic cups and measuring spoons
- Paintbrush
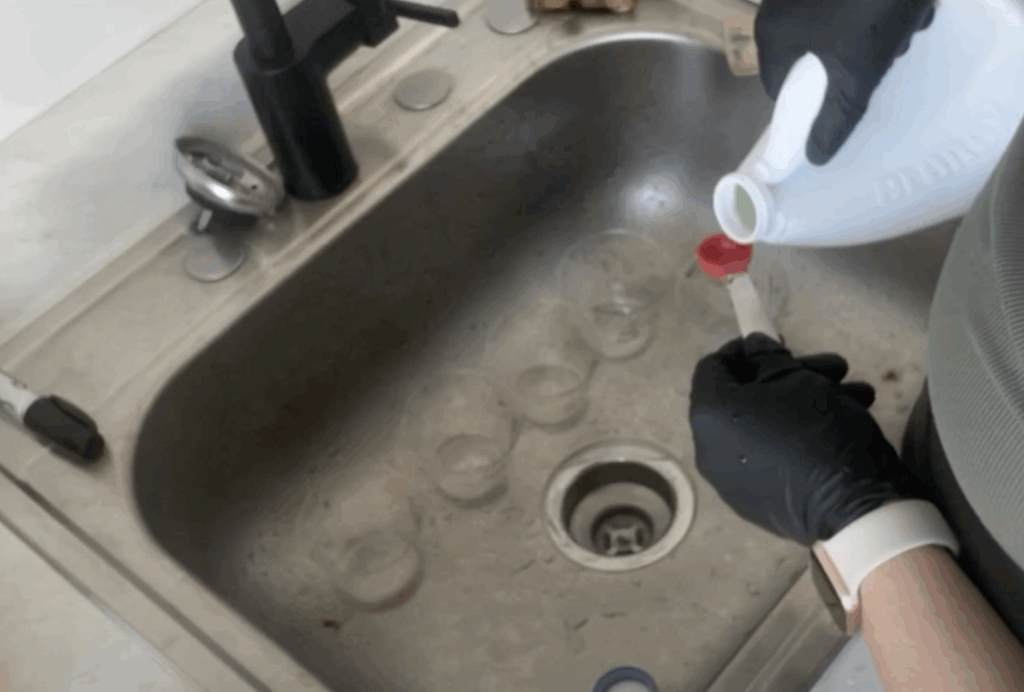
- Optional: Hydrogen peroxide (to stop the bleach reaction — more on that later)
The Ratios I Tested
Here’s a breakdown of the five bleach-to-water ratios I used:
| Cup | Bleach (teaspoons) | Water (teaspoons) | Notes |
|---|---|---|---|
| 1 | 1 | 4 | Very diluted |
| 2 | 2 | 3 | Lightly diluted |
| 3 | 3 | 2 | Medium strength |
| 4 | 4 | 1 | Strong |
| 5 | 5 | 0 (straight bleach) | Full strength |
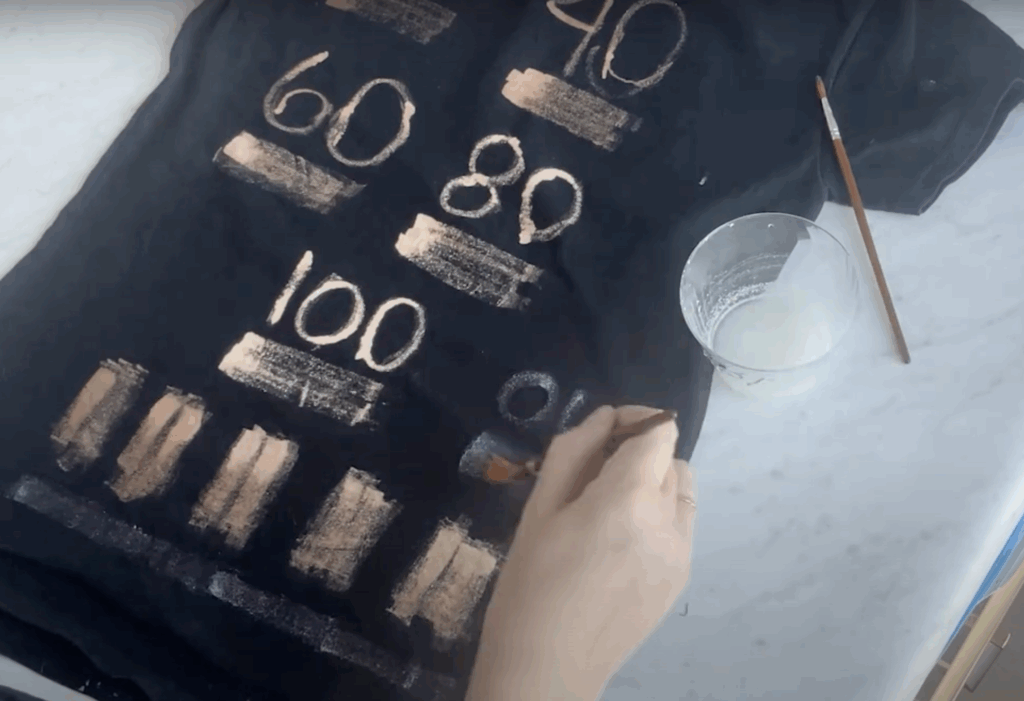
I labeled each cup so I could keep track, then used a paintbrush to apply the solution in labeled sections on my test fabric.
How I Applied the Bleach
I painted each ratio directly onto dry fabric and let the bleach develop fully. Some people use hydrogen peroxide or bleach neutralizer to stop the chemical reaction early — but I didn’t do that for this test. I wanted to see the maximum effect of each dilution.
Note: If you’re doing this on your own clothes, I recommend using peroxide after 5–10 minutes to prevent damage.

The Results: What Each Bleach Ratio Did
Here’s what I noticed about each one:
- 1:4 (very diluted): Barely visible. You could maybe use this for a subtle effect, but it’s not ideal for bold designs.
- 2:3 (lightly diluted): A slight lift in color, more visible, but still soft.
- 3:2 (medium): The sweet spot! It gave the most controlled and even bleach marks without being overly harsh.
- 4:1 (strong): Very intense results, quick acting, but started to break down the fibers faster.
- Straight bleach: Super quick bleaching, very bold — but also risky. It frayed the fabric edges slightly and could damage thinner shirts.

So… What’s the Best Bleach Ratio for Reverse Tie Dye?
✅ If you’re painting with bleach and want defined, clean lines, the 3:2 bleach-to-water ratio gave me the best balance between bold color removal and fabric safety.
✅ If you’re using a spray bottle, I’d dilute even more (like 1:1 or 2:3 bleach-to-water) to avoid oversaturation or splatter.
❌ I don’t recommend using straight bleach unless you’re going for a very distressed or grungy look — or working fast with thick fabric.
Bonus: What About White Brite?
I also did a quick comparison with White Brite, which is another option for reverse dyeing. It works best when used like a soak or paste, but it’s not ideal for painting — the lines aren’t crisp, and it’s harder to control.
👉 Want to learn more about White Brite vs. bleach?
Read my full comparison here
Final Thoughts
If you’re trying reverse tie dye painting for the first time, I highly recommend testing a few ratios before committing to your final piece. Everyone’s fabric and bleach brand are a little different!
For me, the best bleach ratio for reverse tie dye painting was:
3 parts bleach to 2 parts water.
It gave me strong results without destroying the fabric — and I’ll definitely be using it again.
🎥 Want to see the full experiment in action?
Watch the video here:
More Reverse Tie Dye Tutorials You’ll Love:
- Reverse Tie Dye with Toilet Bowl Cleaner
- White Brite vs. Bleach: Which is Better?
- 15 Common Tie Dye Mistakes and How to Avoid Them
- Free Fold Guide for Tie Dye Projects


