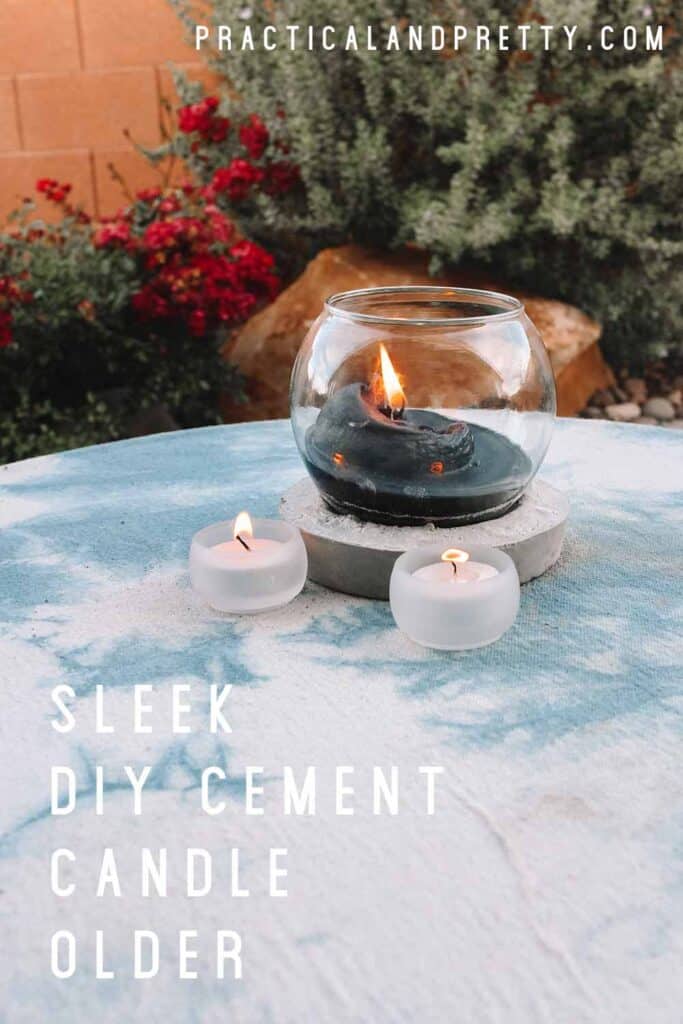
This cement diy was created using almost exclusively dollar store materials but looks SO beautiful and classy. Perfect for creating a hygge space too.
You’ll have a lot more cement after you complete this project so why not make one of these gorgeous cement vanity mirrors while you’re at it? Also super inexpensive! Want to make your own candle? That’s super simple too. This is a DIY frankincense candle.
All you need to complete this fun DIY is cement, plastic molds and a glass bowl! I got almost everything at the dollar store. So simple!
If you don’t love the look of my black, you can always find options for you to match your style exactly as you’d like. Whether you prefer straight edges of squares or bright colors, there is a candle that would look beautiful in this candle holder.
Materials
Steps to complete your cement diy candle holder:
Start by mixing up your cement. Add water to the powder until it is brownie batter consistency.
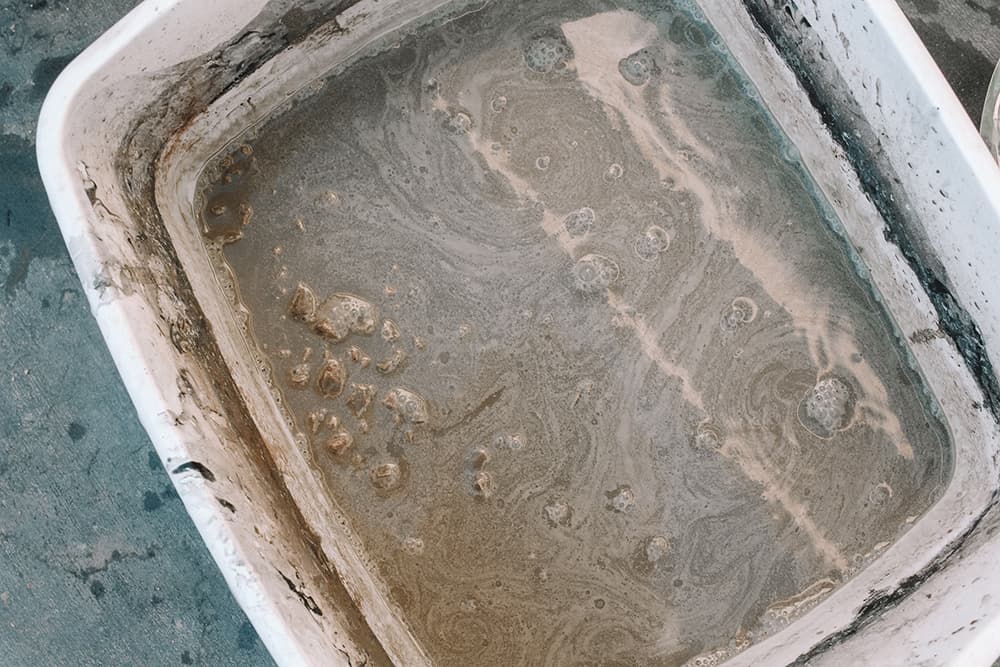
Once that consistency is reached, pour the cement into your planter saucer. Allow to dry until the consistency is a little more firm but not dry. I would say about an hour is perfect.

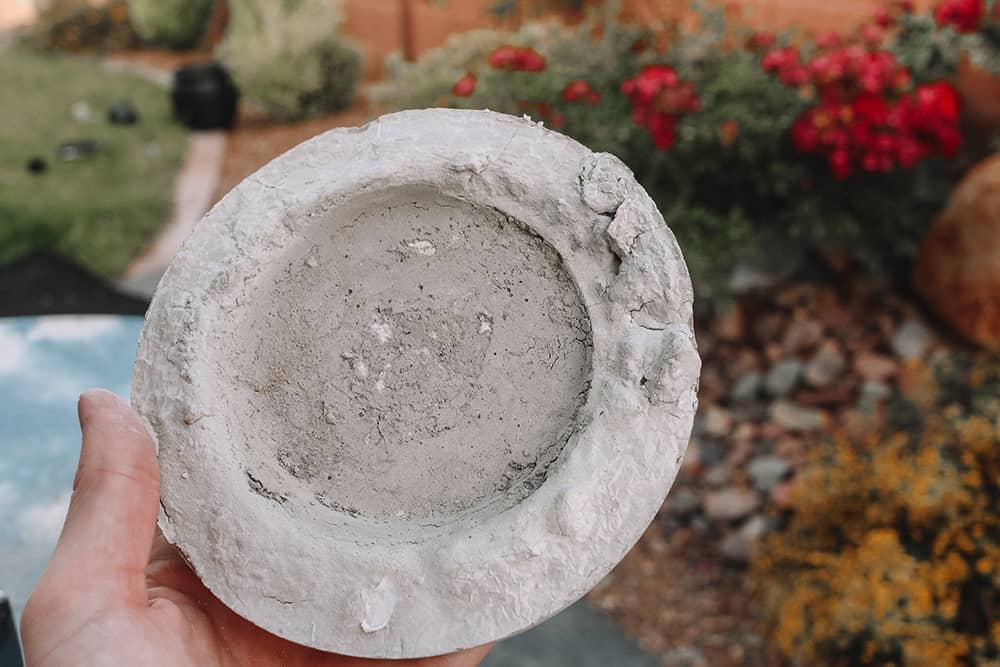
Place the glass bowl in the firmer cement so there is a divot where your class bowl will go. This will just ensure that your bowl sits flat and can’t easily tip over!
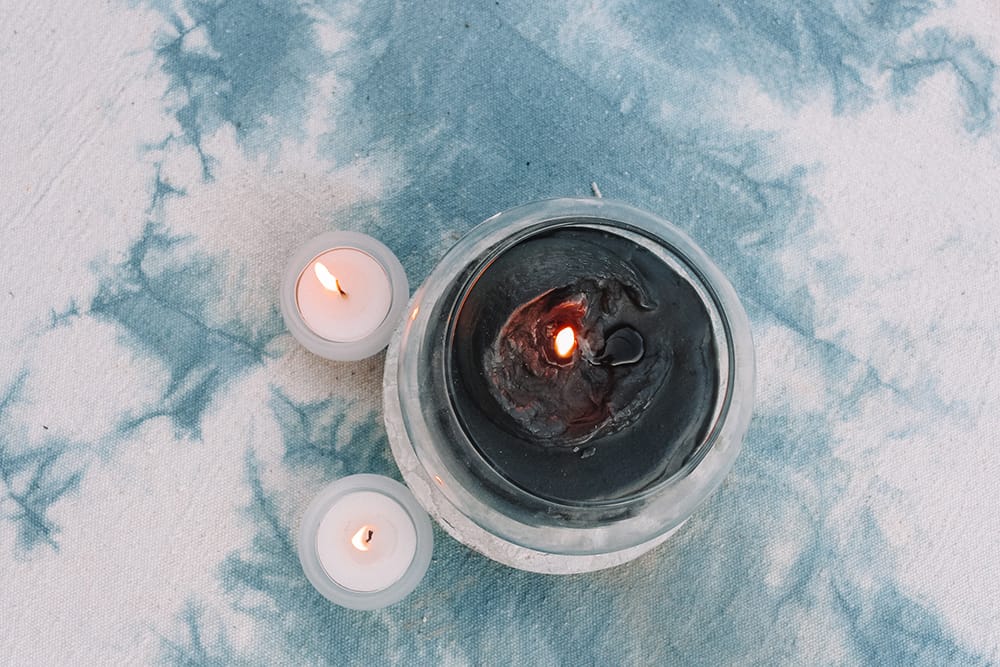
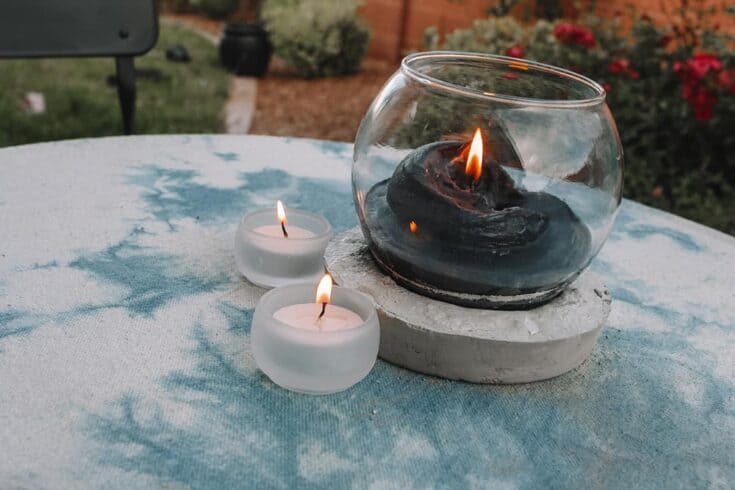
Once the cement is completely dry (let it sit at least 24 hours, if not more) you are ready to put your candle in the bowl and display your beautiful candle holder!
Candle Holder Cement DIY
This beautiful cement diy was created using almost exclusively dollar store materials but looks SO beautiful and classy. Perfect for creating a little hygge space too.
Materials
- Cement
- Glass Bowl or Cup
- Candle
- Planter Saucer
Instructions
- Start by mixing up your cement. Add water to the powder until it is brownie batter consistency.
- Once that consistency is reached, pour the cement into your planter saucer. Allow to dry until the consistency is a little more firm but not dry. I would say about an hour is perfect.
- Place the glass bowl in the firmer cement so there is a divot where your class bowl will go. This will just ensure that your bowl sits flat and can’t easily tip over!
- Once the cement is completely dry (let it sit at least 24 hours, if not more) you are ready to put your candle in the bowl and display your beautiful candle holder!
Recommended Products
As an Amazon Associate and member of other affiliate programs, I earn from qualifying purchases.


How simple is that? The look is so trendy and modern. Plus, the cement will go with any color.
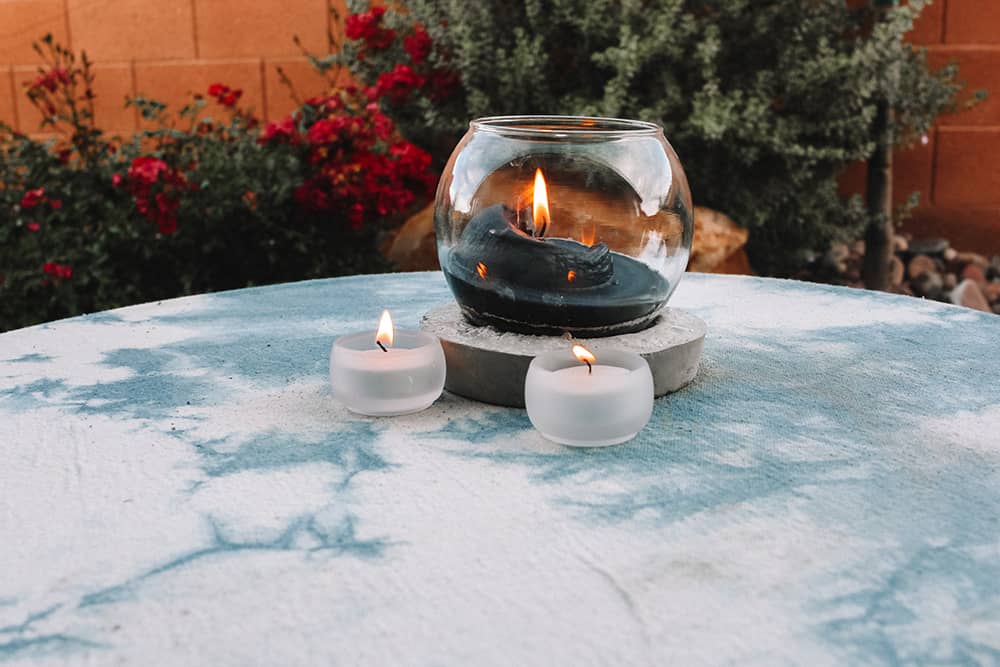
One thing I love about this candle holder is the cement makes it very sturdy for outdoor use. I loved the round candle too because as it melted it made the coolest shapes! Also because it was outside in the heat, it was ok to be melting even when it wasn’t lit! I love how it turned out as it melted even more than when I first put the candle in.