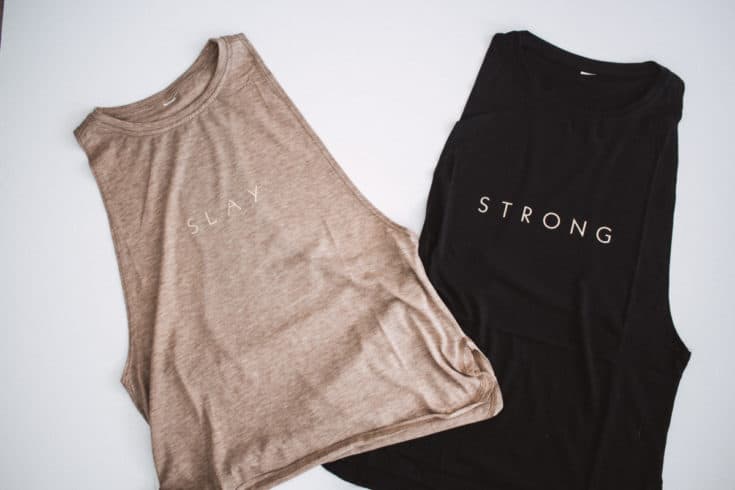
Customize your workout tank tops with this simple tutorial. I’ve got everything outlined for you from the materials to the finished product.
I recently went to a fun blogger conference and wanted something cute to wear. When I go to blogger conferences I always try to show off JUST a tad by making some of my own stuff.
I used my all-time favorite workout tank tops for this tutorial. If you don’t have a set of these I HIGHLY recommend them. We live in a super hot climate and the breathability of these and flowiness (not a word but you get it) is so breezy. I’ve been on walks, runs, and yoga and have loved them for all!
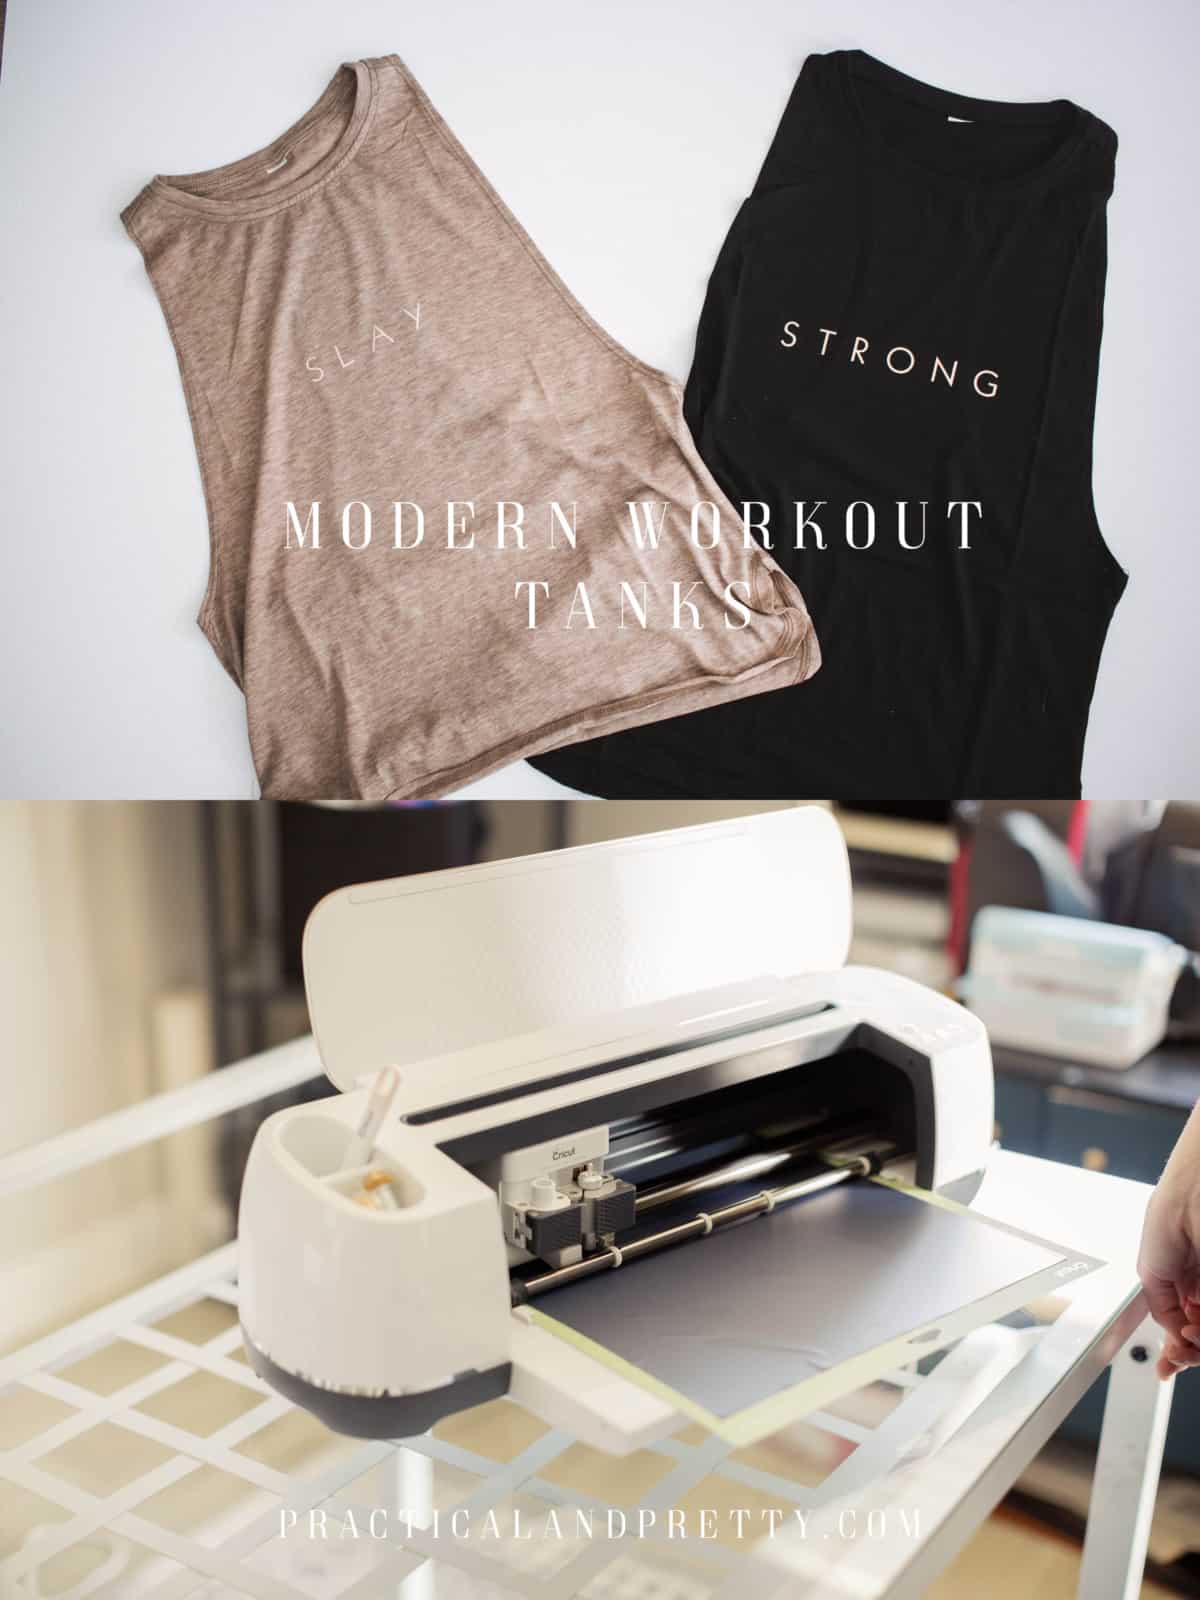
What you need for your custom workout tank tops
If you like my exact designs then please use them! That’s why I made them. In the case you want to make your own, just follow the tutorial below with your own design.
Start by opening the cut file and cutting it out. Never cut iron on? I have a post of all the how-tos for iron on right here.
After the iron on is cut you will weed out the negative space.
Place your iron on where you’d like it and then heat up the area using your EasyPress for 5 seconds. Once it is warm replace your cut file and iron it on for 30 seconds. After this, let it cool down. For sport flex, I like to use a cool peel.
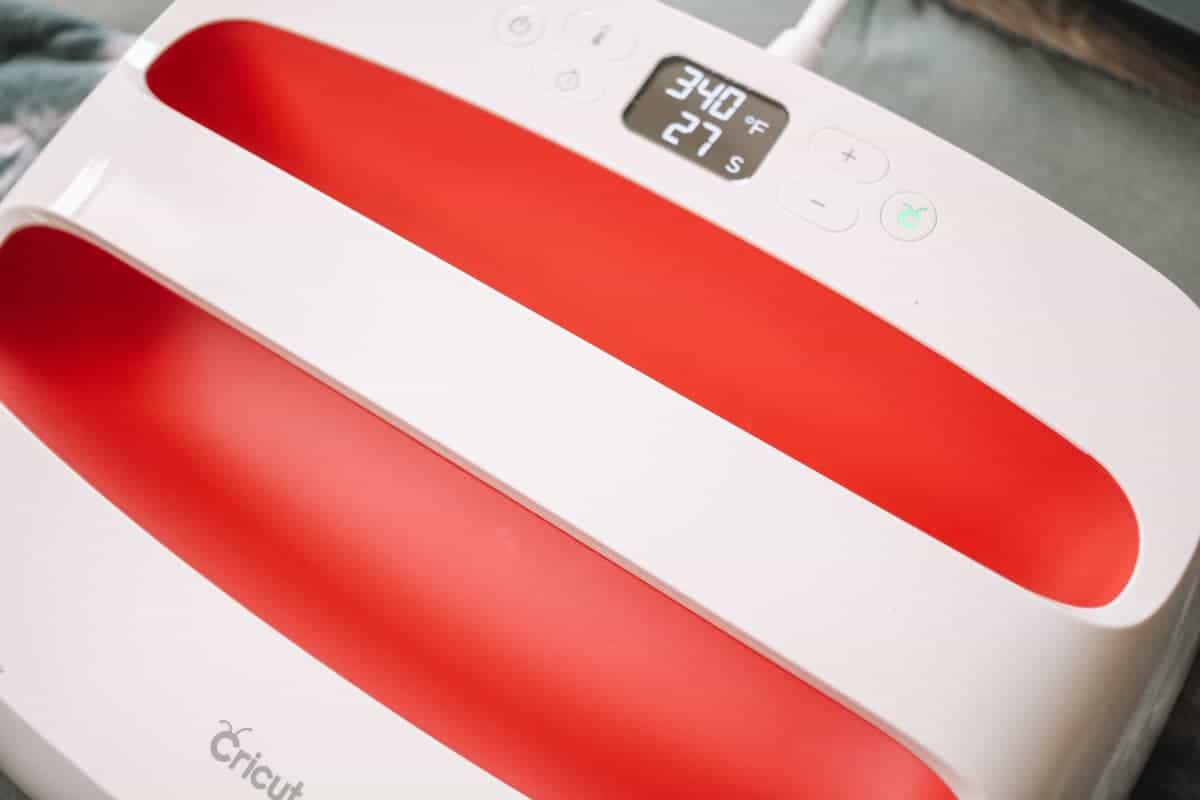
After you have let it cool off, carefully remove your plastic. If the plastic starts to lift, place it back down and repeat the process of holding the heat on it for 30 seconds.
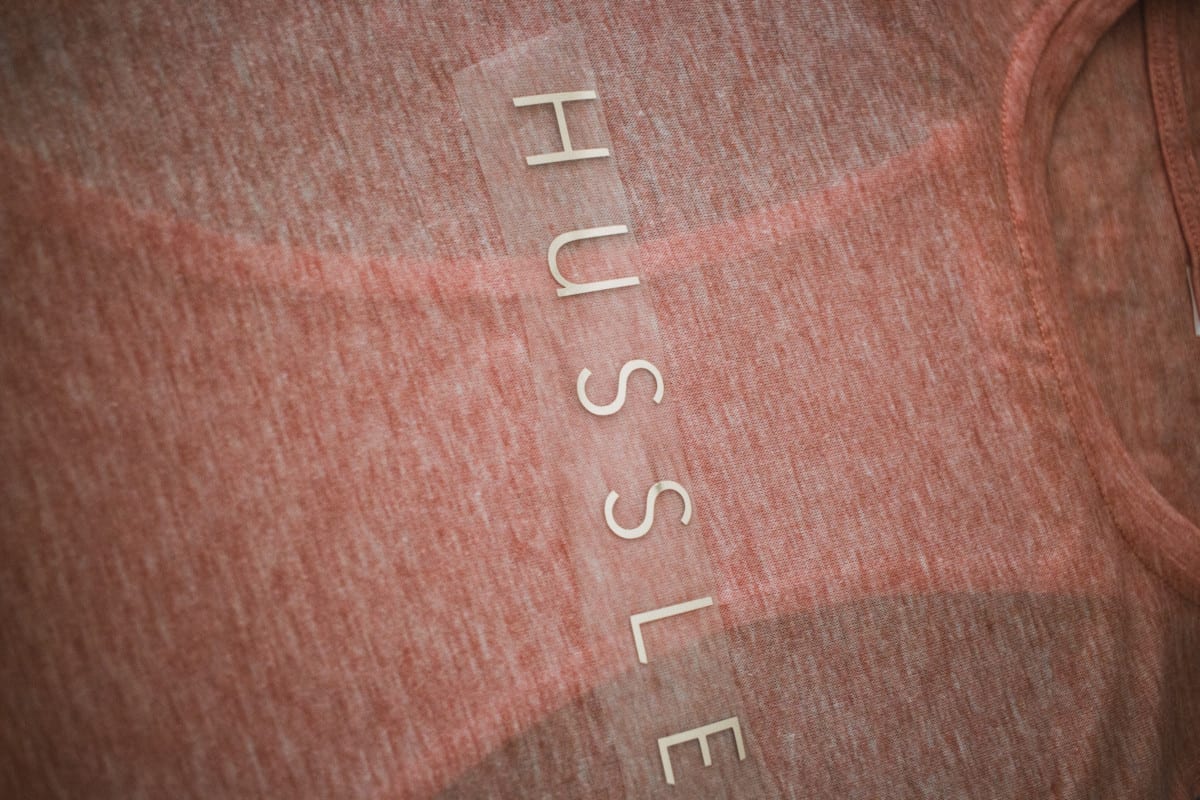
Once you have completely removed your plastic, flip your workout tank over and iron on the backside. This ensures a really solid hold.
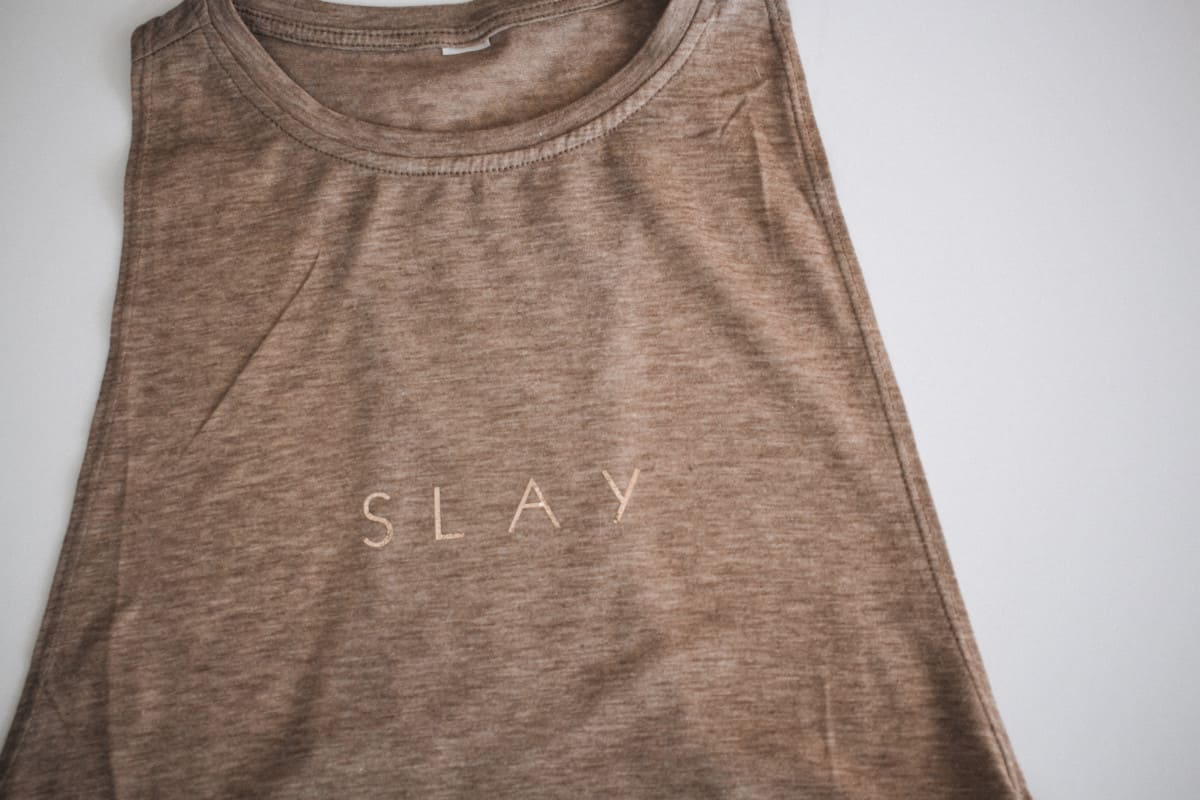
DIY Workout Tanks
Customize your workout tank tops with this simple tutorial. I've got everything outlined for you from the materials to the finished product.
Materials
- Workout Tank tops
- SportFlex Iron On
Tools
- EasyPress 2
- Cricut Maker
- Weeding tool
- This Cut File
Instructions
- Start by opening the cut file and cutting it out. Never cut iron on? I have a post of all the how-tos for iron on right here.
- After the iron on is cut you will weed out the negative space.
- Place your iron on where you'd like it and then heat up the area using your EasyPress for 5 seconds. Once it is warm replace your cut file and iron it on for 30 seconds. After this, let it cool down. For sport flex, I like to use a cool peel.
- After you have let it cool off, carefully remove your plastic. If the plastic starts to lift, place it back down and repeat the process of holding the heat on it for 30 seconds.
- Once you have completely removed your plastic, flip your workout tank over and iron on the backside. This ensures a really solid hold.
Recommended Products
As an Amazon Associate and member of other affiliate programs, I earn from qualifying purchases.
SportFlex will not budge when it’s stretched or washed. For maximum hold, wash your tank inside-out.
I love how these turned out. They look super modern to me and empower me all the same.


