Customize a tablecloth for your event using this step-by-step tutorial for custom tablecloths. This could be used for any event!
Love parties? So do I! I have some fun ones including this Schitt’s Creek party as well as a fun Encanto party.
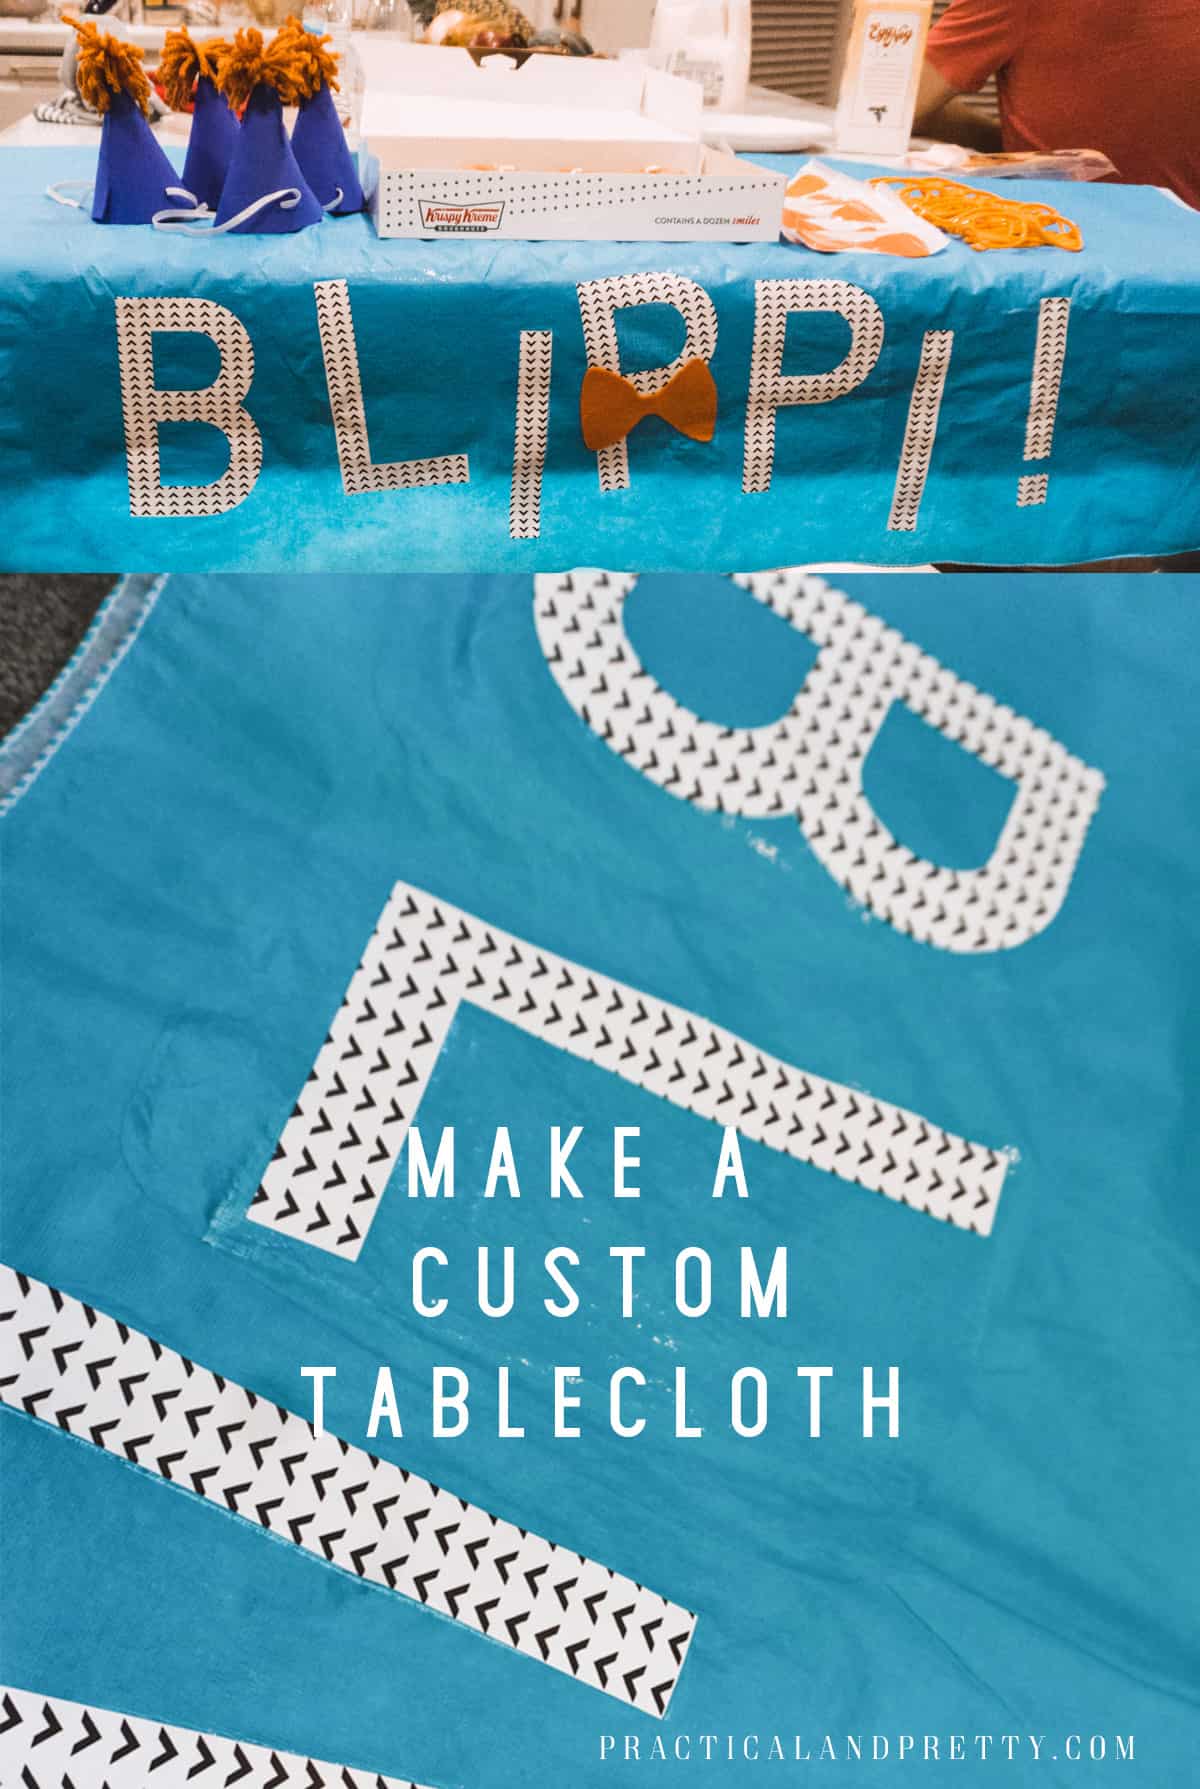
With this tutorial, you can make any tablecloth custom to your party! This specific party I hosted was all about Blippi and I’ve got a lot more Blippi party ideas linked below if you are hosting this particular party too!
What you need for custom tablecloths
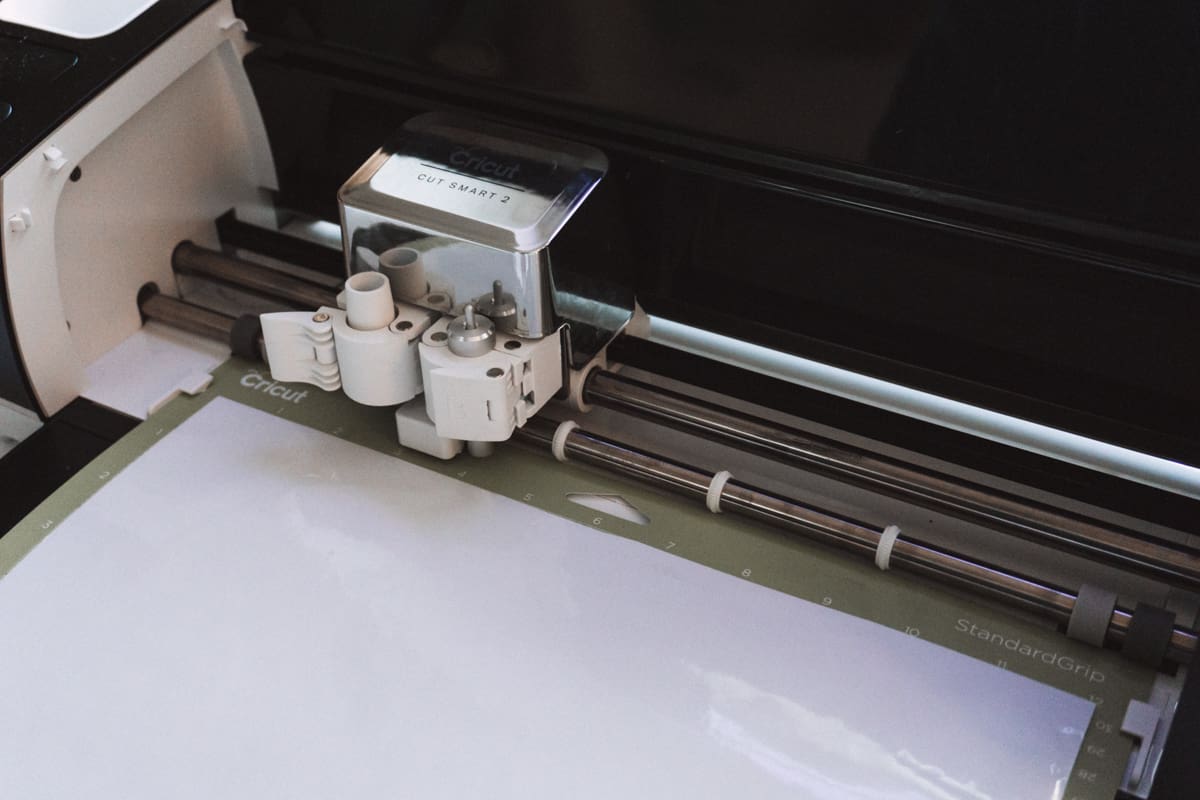
If you are making my specific table cloth you can open up the cut file linked above. I used my Explore Air 2 for this project. The Cricut Explore line is perfect if you’re mostly cutting iron-on, paper vinyl projects.

DIY Custom Tablecloth
Customize a tablecloth for your event using this step-by-step tutorial for custom tablecloths. This was for a birthday party but it will apply to any event!
Materials
- Tablecloth
- Premium Permanent Vinyl
Tools
- Cricut Explore Air 2
- Cut File
Instructions
- Open the cut file link in the post
- Cut out your print file using your Cricut or other cutting machine. The letters will be scrambled so that they fit better on your mat and you will place them individually!
- Weed the negative space of the vinyl
- Place the vinyl on using transfer tape if you wish. For this specific design, transfer tape isn't totally necessary because the pieces are so large.
Recommended Products
As an Amazon Associate and member of other affiliate programs, I earn from qualifying purchases.


After you’ve got your vinyl cut out you’re going to use your weeding tool or fingers to weed out the negative spaces. This project has really large letters so weeding is pretty simple! You may have also noticed that this project didn’t cut things out in alphabetical order. That was on purpose! That made it so I could make a project bigger than a Cricut mat.
Another good thing about these huge letters is you might not even need transfer tape! I didn’t use transfer tape I just picked where I thought the letters would look best and placed them right on!
Before I placed these letters I also laid them all out so I could get an idea of how I wanted the letters placed and where the center would be.
If you want your letters to be straight (not cutesy like this!) I suggest grabbing a yardstick.

After that, you are all done! Another thing I did was add a little bowtie to the P. I had an extra and just thought it would be cute so why not. The link to that tutorial and so many other fun Blippi party DIYs are below!


