• Skip to main content
  • Skip to primary sidebar
  • Skip to footer

Practical and Pretty logo

  • HOME
  • DYEING
  • DIY
  • PARTIES
  • CRICUT
  • SHOP
  • ABOUT
  • CART
You are here: Home / DIY / Cricut / DIY Cloth Banner

October 1, 2018

DIY Cloth Banner

Use my cut files or just use the DIY cloth banner pattern I’ve created for you to make it say what you’d like for your next party!

These specific banners I used for a ‘Gamer’s Paradise’ party but this tutorial can be customized to make your banners say whatever you’d like!
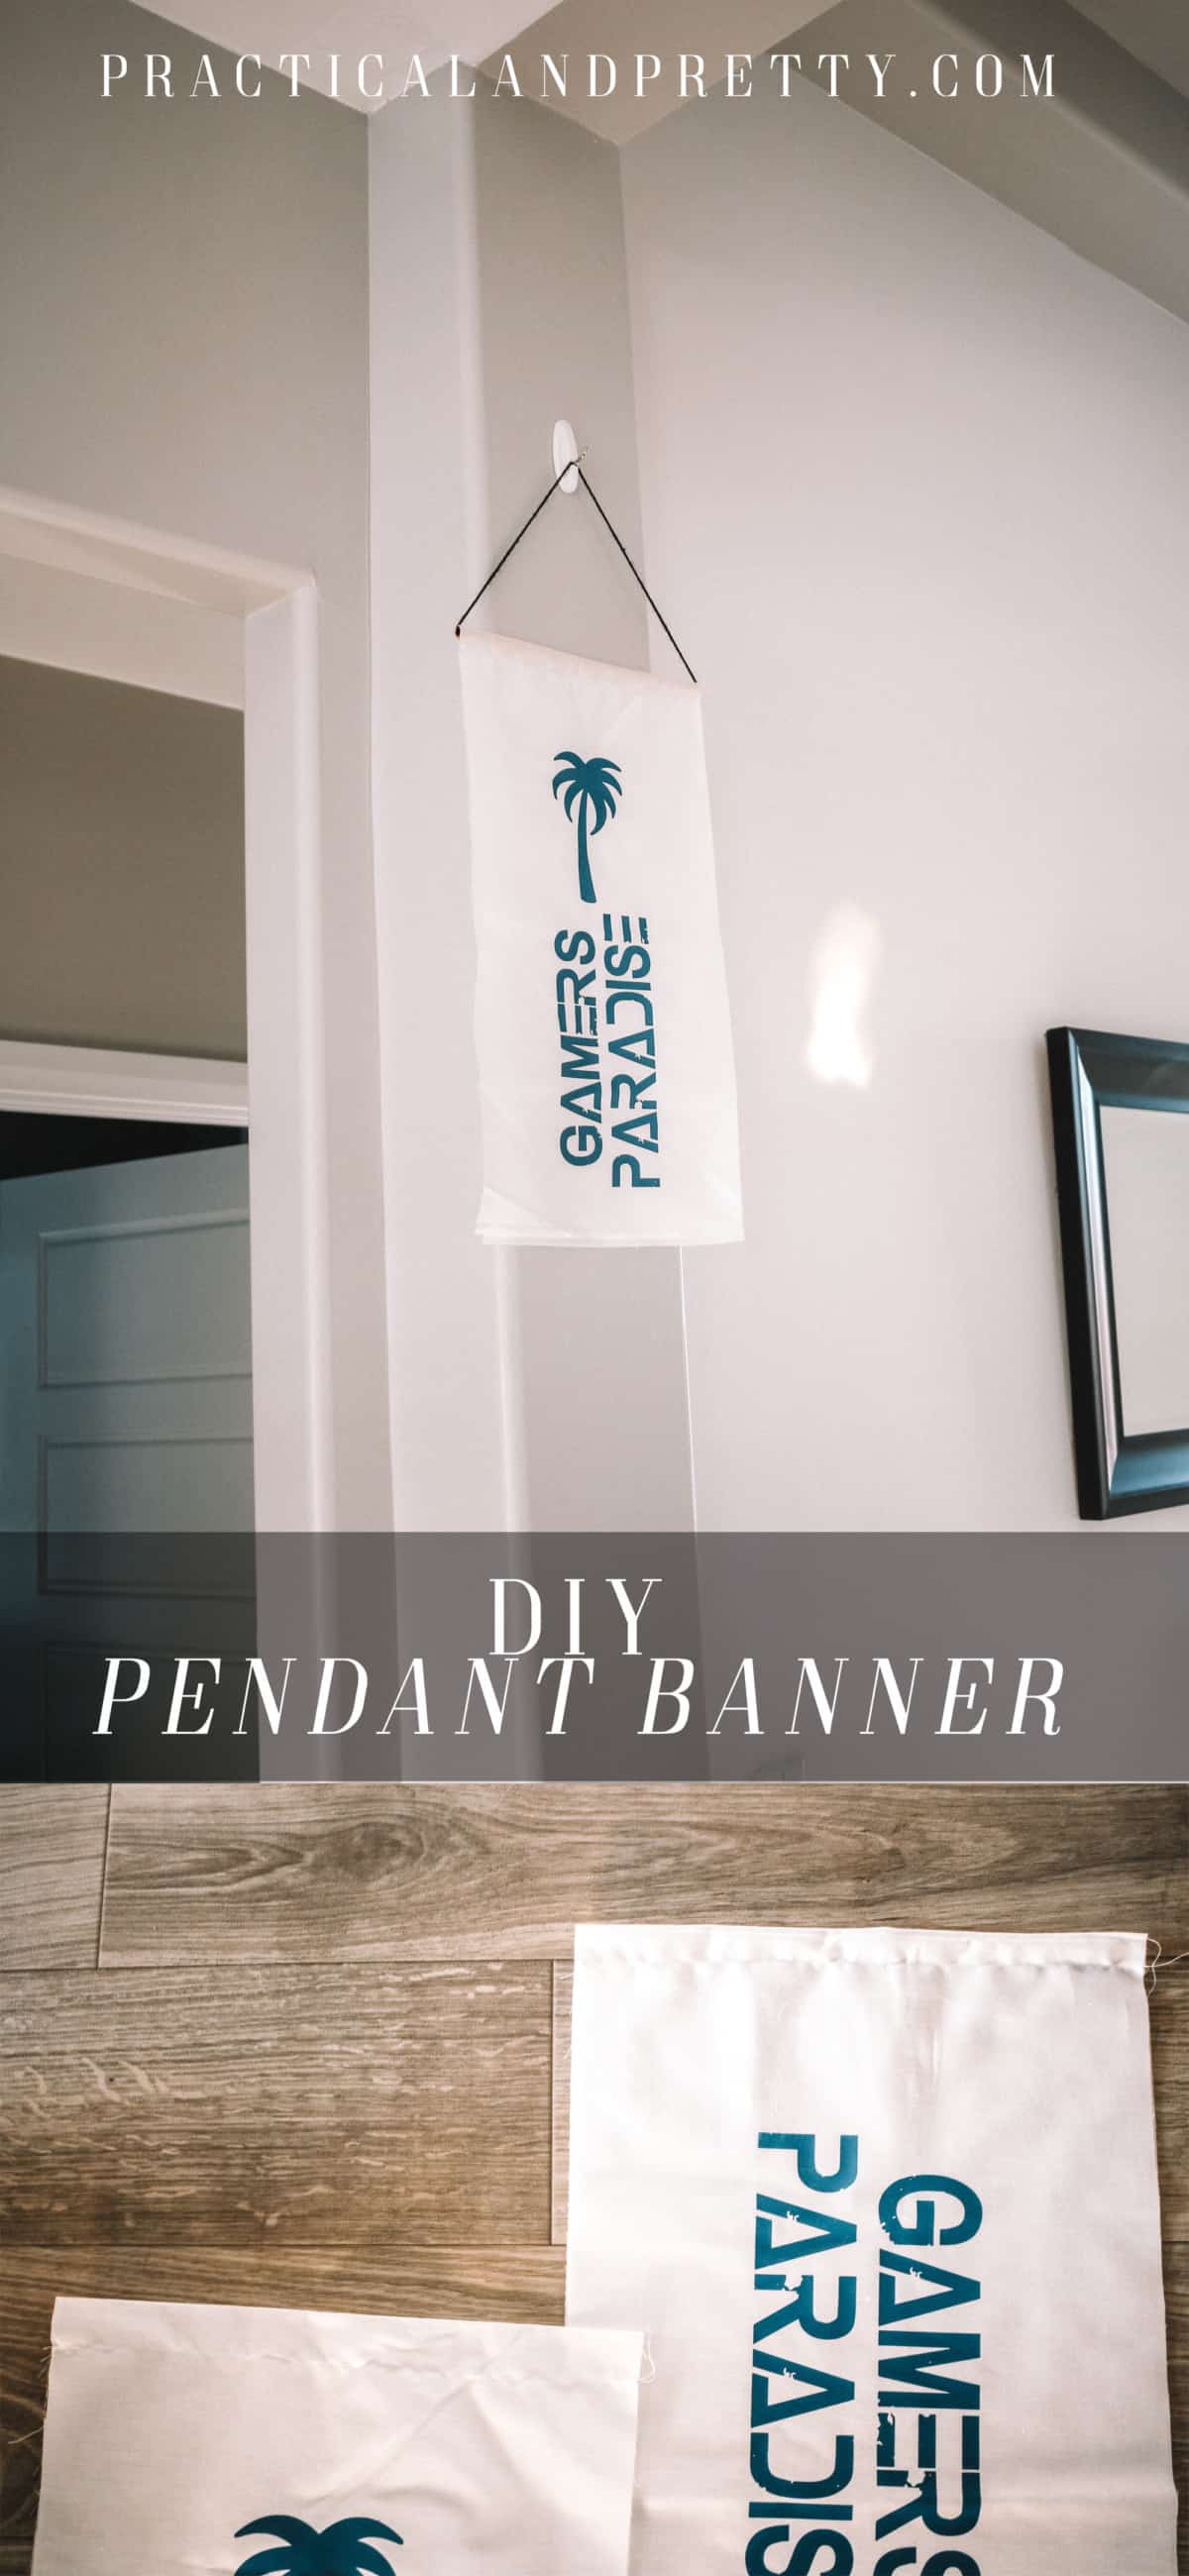
Use my cut files or just use the DIY cloth banner pattern I’ve created for you to make it say what you’d like for your next party!

What you need for your DIY cloth banner

  • 1 12” copper pipe
  • 12”x 44” cloth
  • Sewing Machine
  • Yarn or string

Optional materials

  • Everyday Iron on
  • Cricut
  • EasyPress
  • This cut file
Shop this Post!

These are affiliate links! I earn a small commission if you purchase through them at no cost to you!

Cricut Maker, ChampagneCricut Maker, ChampagneBuy NowType L, Hard length,Type L, Hard length,Buy NowBrother Sewing Machine, XM2701,Brother Sewing Machine, XM2701,Buy NowRobert Kaufman Kona CottonRobert Kaufman Kona CottonBuy NowVivifying 656 Feet 3PlyVivifying 656 Feet 3PlyBuy Now

The first thing you’ll do is fold your cloth in half if you haven’t already. My fabric was 44” wide so I just cut a straight 12” cut and kept it folded in half. This will make your banner 12”x22”.

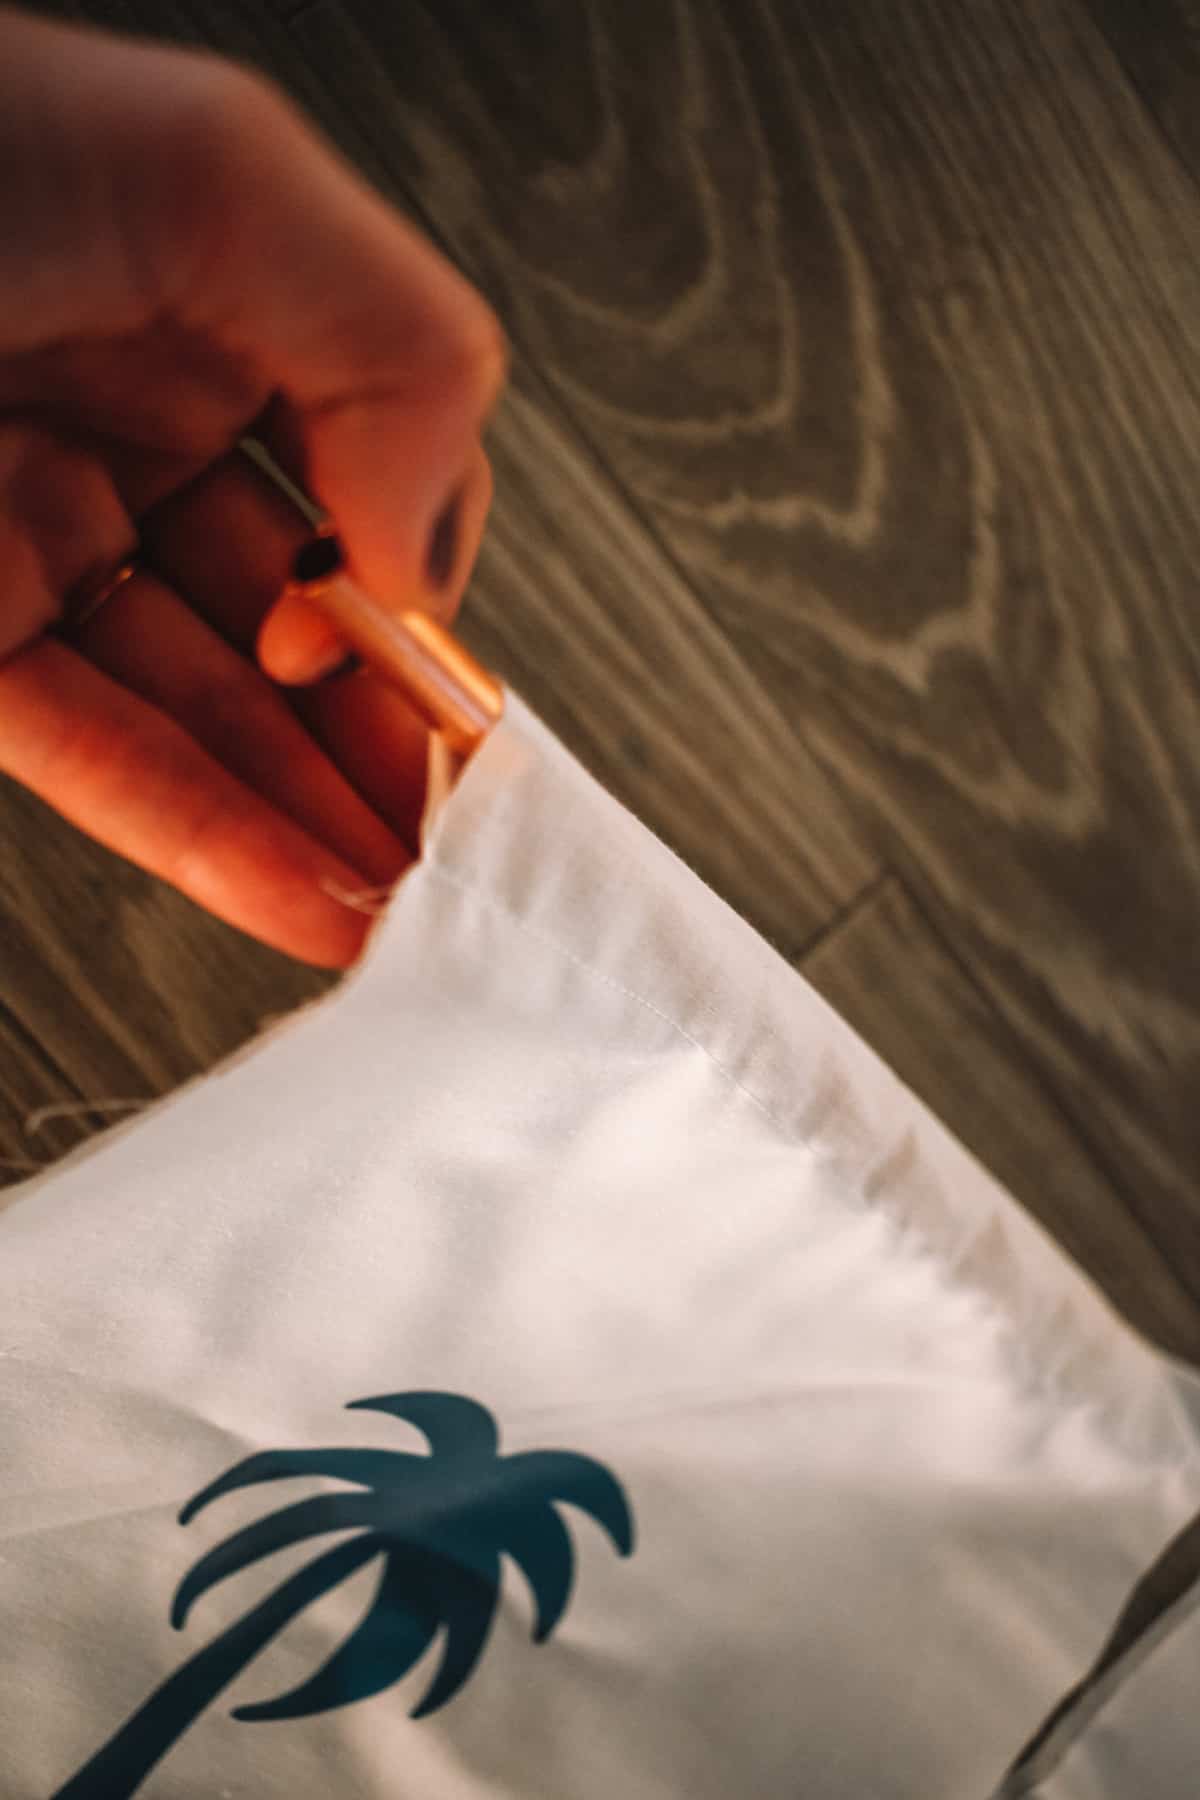
Sew a seam about an inch from the top on the folded edge. This is where you will put your copper pipe.
diy pendant banner

You can sew the seam around the whole outside if you plant to wash your banner so it doesn’t fray. Or if you will just use it for decorative purposes like I did, you can just leave it like this!

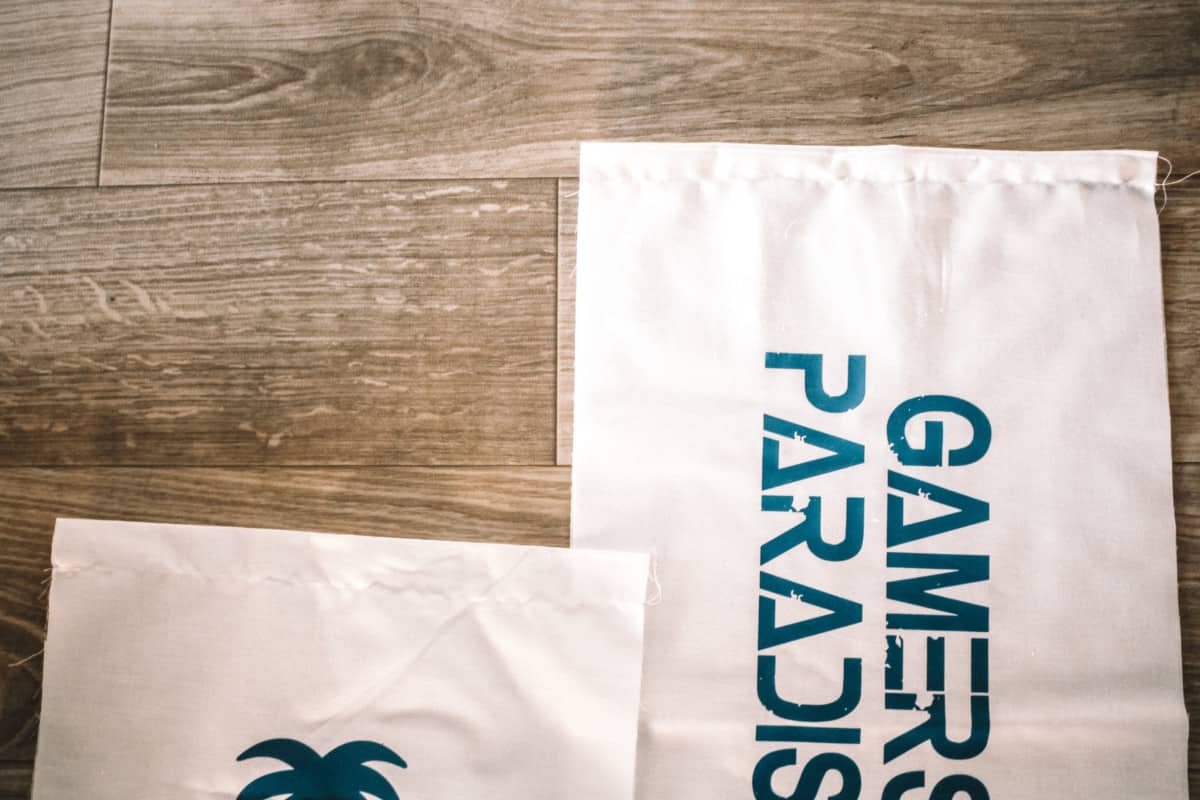
If you are going to iron onto this cloth banner now is when you will do it! If you need extra help with iron on, here is a checklist I’ve created for exactly that.
iron on cotton

Now you will put your copper pipe through the hole you have made at the top of the banner. It should slip right through.

Next you will take your yarn and loop it inside of the copper pipe. Tie it to the other edge of the yarn with about 50% extra give. This means your piece of yarn is about 20”.
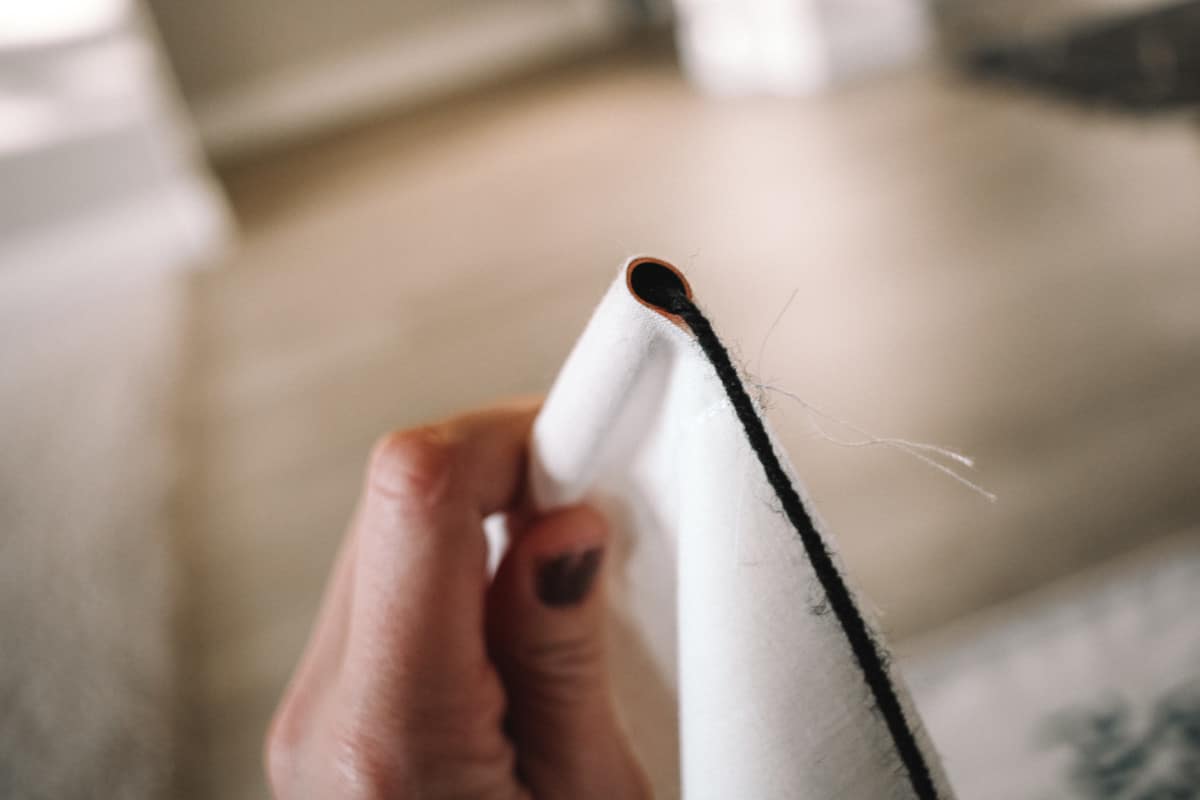
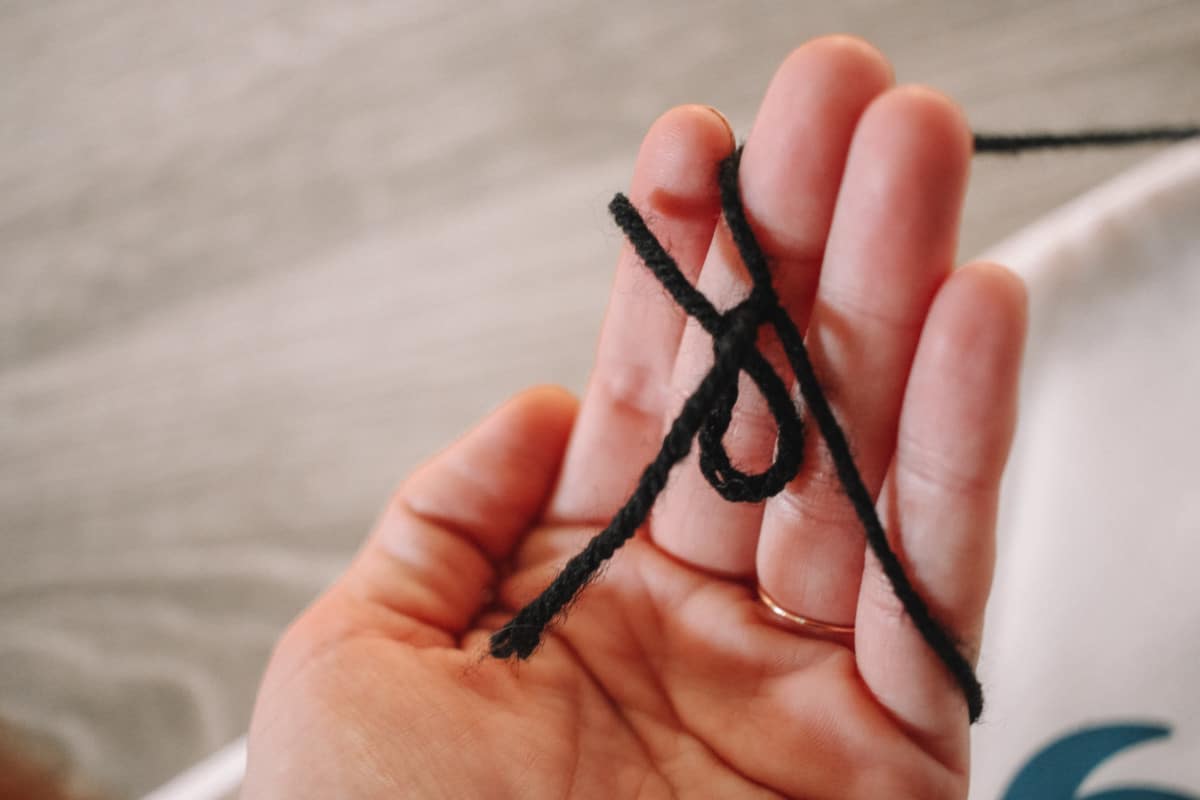
yarn through copper pipe

hanging a banner with yarn

From here you’ll just hang it on the wall and get ready to party! I used command strips to hang it which is my go to for parties so I can always pull the hooks right out of the wall without making holes.
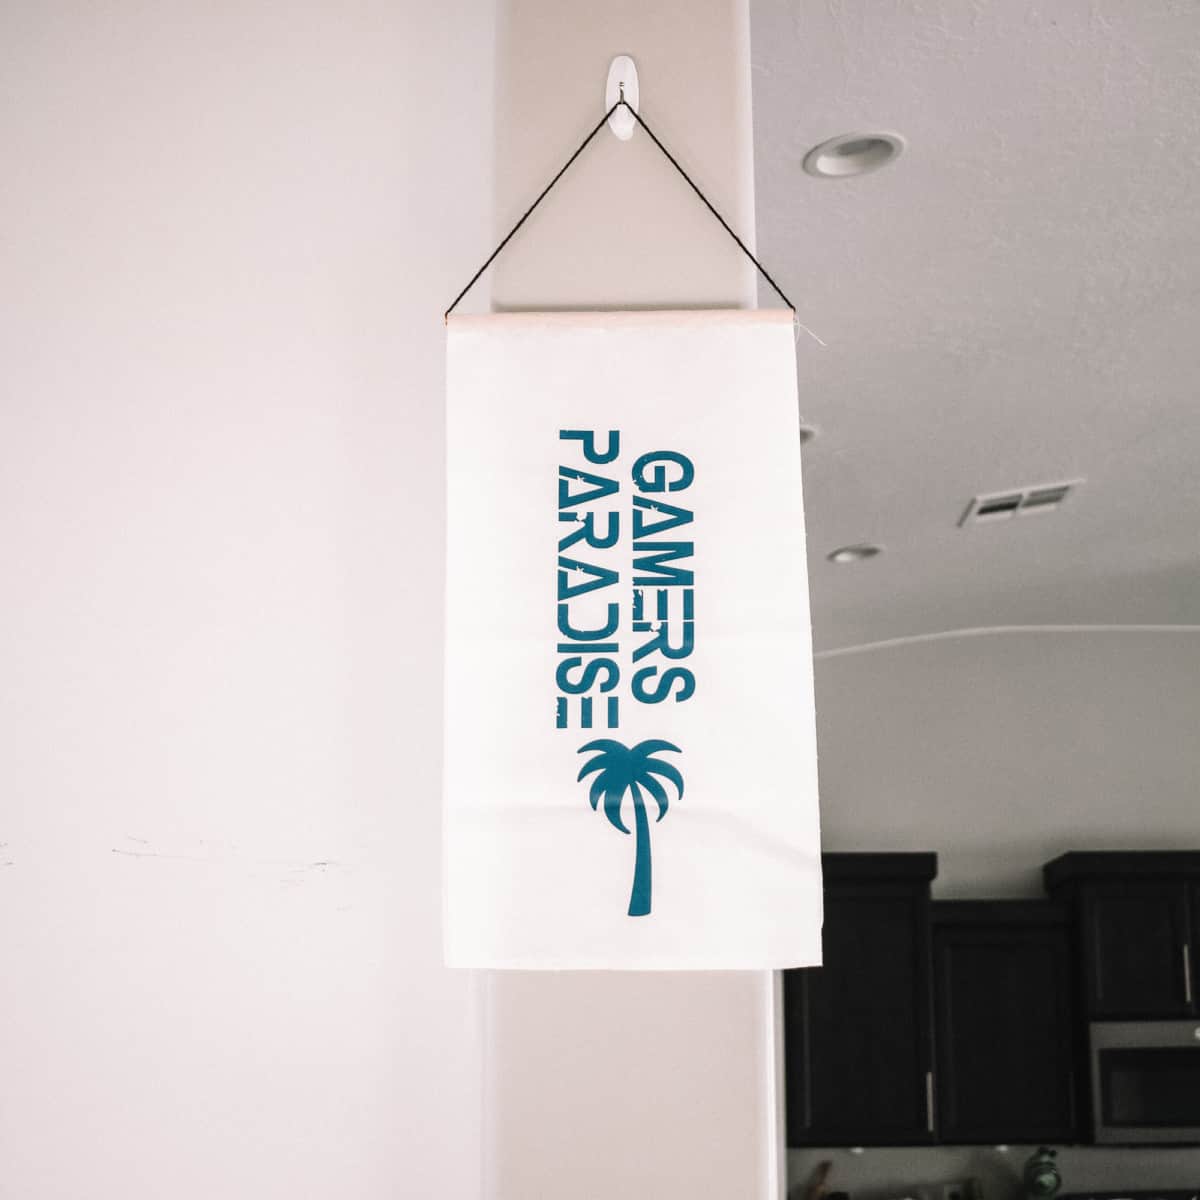
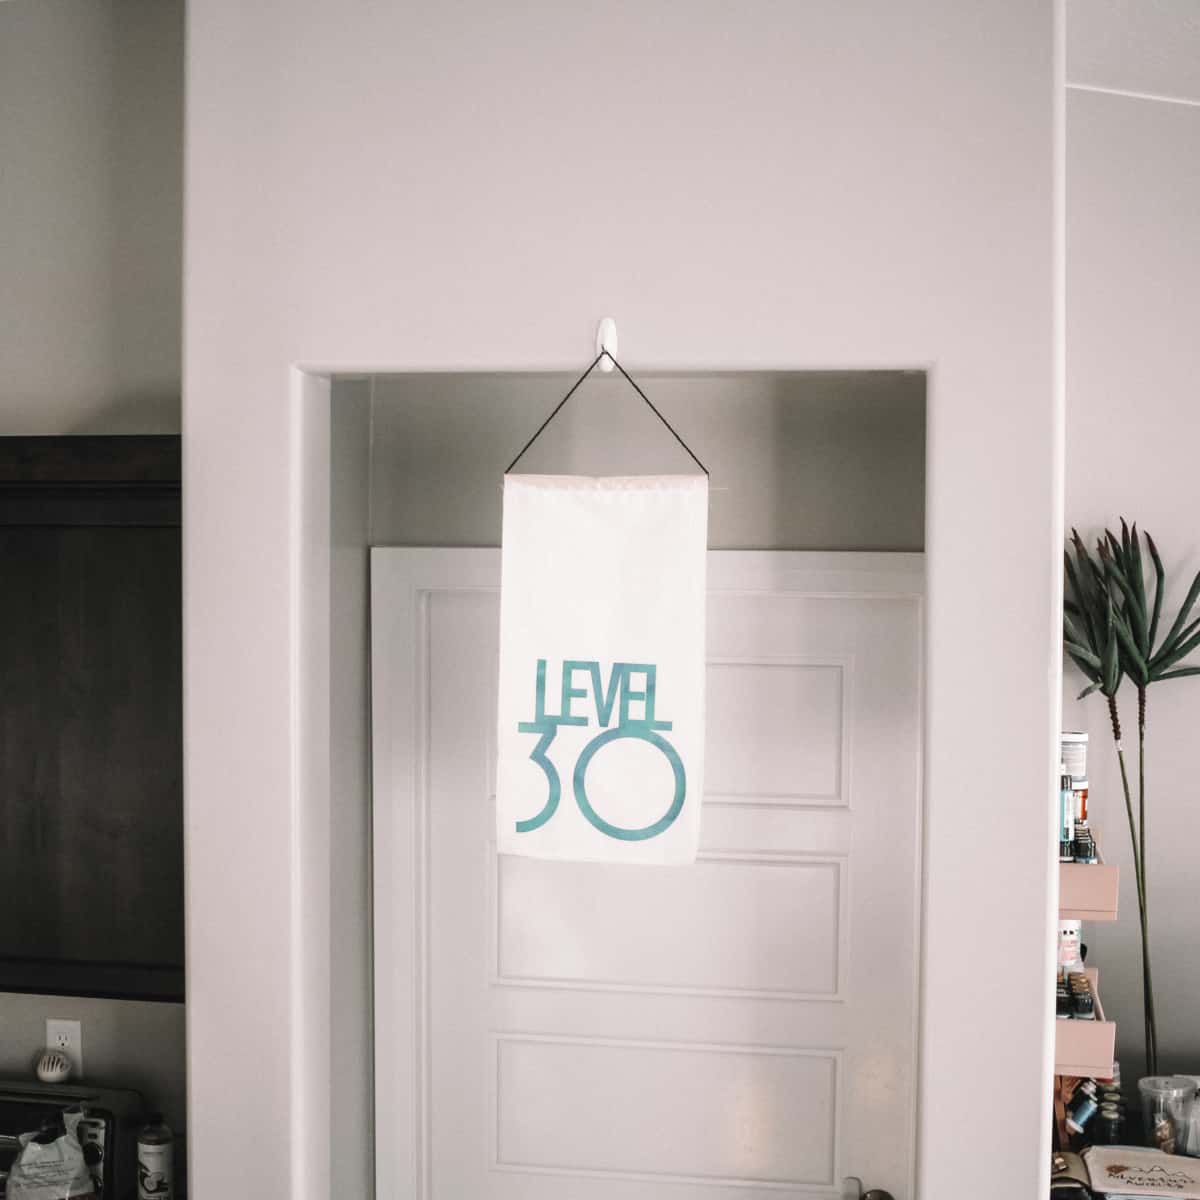
Use my cut files or just use the DIY cloth banner pattern I’ve created for you to make it say what you’d like for your next party!

Use my cut files or just use the DIY cloth banner pattern I’ve created for you to make it say what you’d like for your next party!

Filed Under: Cricut, Parties

Reader Interactions

Leave a Reply Cancel reply

Your email address will not be published. Required fields are marked *

Primary Sidebar

SEARCH

I’m Anna!

Welcome!

I’m Anna and love practical and pretty things. You will find DIYs here as well as party ideas and of course, natural dyeing tutorials. I’m so glad you’re here.

FEATURED ON

PARTIES

DIY Custom Tablecloths

Customize a tablecloth to your event using this step by step tutorial for custom tablecloths. This was for a birthday party but it will apply to any event!

Blippi Party Ideas and Supplies

Customize this party hat to your color scheme and needs for your next fun party! I show you how I made a simple pom pom and assembled the hat.

Birthday Blippi Shirt

This silly Blippi shirt is perfect for the birthday child or you could even make a few for all the guests! They will get a kick out of what it says. 

Free ‘It Is Your Birthday’ Banner

it is your birthday banner

NATURAL DYEING

Forest Fairy Costume Featuring Tie Dye

How to Dye with Pine Cones

pine cone dye vat

Dye with Quebracho for a Beautiful Red

If you're looking for a beautiful red natural dye, look no further than quebracho! This gave the most beautiful hue and was a simple process.

How to Dye with Turmeric Video Tutorial

Here I will show you how I dye with turmeric to get a rich orange and yellow color. I demonstrate you in real time with a video!

CRICUT PROJECTS

DIY Disneyland Coupons with New Maker Tools

This coupon book of fun Disneyland coupons is a great idea for your next Disneyland trip! I'll walk you through how I created it with my Cricut Maker Tools.

DIY Yoga Shirts with Your Cricut

Random Acts of Kindness Cards

Use these little kindness cards to spread kindness on February 17th or any day you want to celebrate random acts of kindness!

DIY Bath Salt Recipe with Free Sticker Label

This simple bath salt recipe is an easy way to gift a nice DIY to your favorite person and I included a label to make it feel even more custom.

Footer

Copyright © 2023 Practical and Pretty on the Brunch Pro Theme