Ever wondered if it makes a difference to put dye on top of the ice or under it when ice dyeing? I decided to test it out — with some help (and a lot of jokes) from my dad. In this post, I’ll walk you through what we did, how it turned out, and which method gave the best results.
Would you rather watch the process? Here’s a video explaining this experiment as well (featuring my dad!)
Supplies You’ll Need
- 100% cotton fabric (shirt, bandana, or whatever you’re dyeing)
- Procion fiber reactive dye (I measured ½ teaspoon per section)
- Ice cubes
- Whiffle balls (or other objects to create barriers and patterning)
- Container for ice dye setup
- Dawn dish soap (for rinsing)

The Experiment Setup
Method 1: Dye on Top of the Ice
- Place your fabric in the container.
- Add ice cubes over the top.
- Sprinkle dye powder directly onto the ice.
Method 2: Dye Under the Ice
- Lay fabric in the container.
- Sprinkle dye powder directly onto the fabric.
- Cover with ice cubes so the melting water pulls the color through.
We kept everything else the same — same amount of dye, same batching time, and same rinse process.
What Happened
- Rinse Out Time: The dye under the ice took twice as long to rinse compared to dye on the ice.
- Color Vibrancy: The dye on top of the ice was brighter, split more, and gave a lot more variation in color.
- Dye Under Ice: Produced softer colors and less splitting, but still gave a blended, watercolor-like effect.
Quick Tips for Ice Dye Experiments
- Always measure dye (I used ½ tsp per section) so your results are consistent.
- Dye on top of ice = brighter colors and more splitting.
- Dye under ice = softer blends but longer rinse time.
- Use Dawn dish soap when rinsing to set the color and remove excess dye.
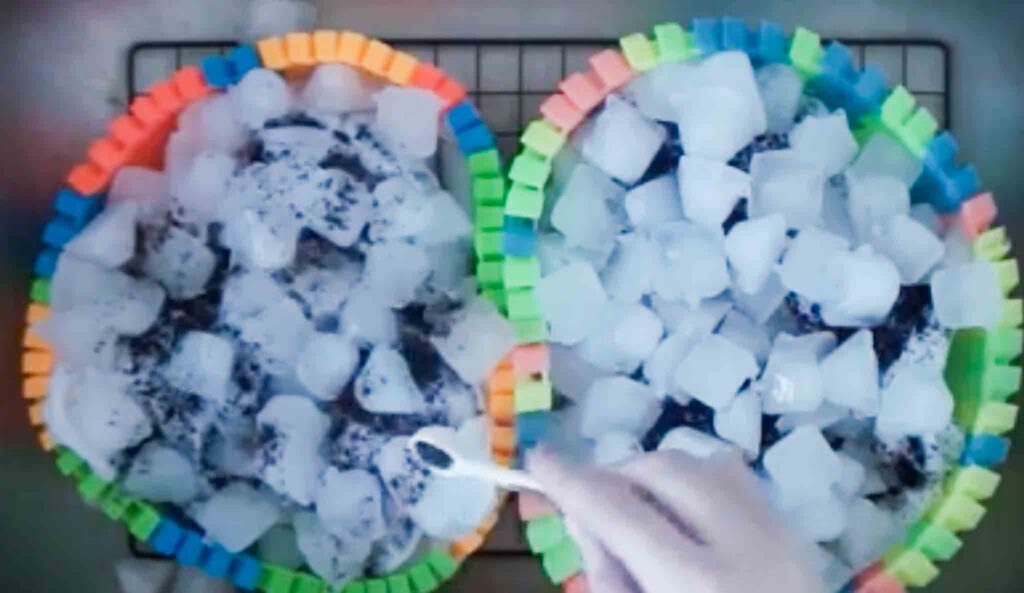
The Results
Here’s what we found side by side:
- Left: Dye on top of ice → vibrant, colorful, lots of splits.
- Right: Dye under the ice → more muted, less splitting, longer rinse.
Both are beautiful, but if you love bold, gemstone-like patterns, putting the dye on top of the ice is the way to go.

Final Thoughts
This was such a fun experiment — and it proves that even small changes in ice dyeing can totally change the outcome. If you’re after bold colors, go with dye on top. If you prefer softer blends, try dye under the ice. Either way, you’ll end up with something gorgeous.
And if you want to try even more experiments, check out my posts on:
Want to get folding now? I have a free ebook for you of 12 easy tie dye folds!
Pin this post for later!


