Dyeing
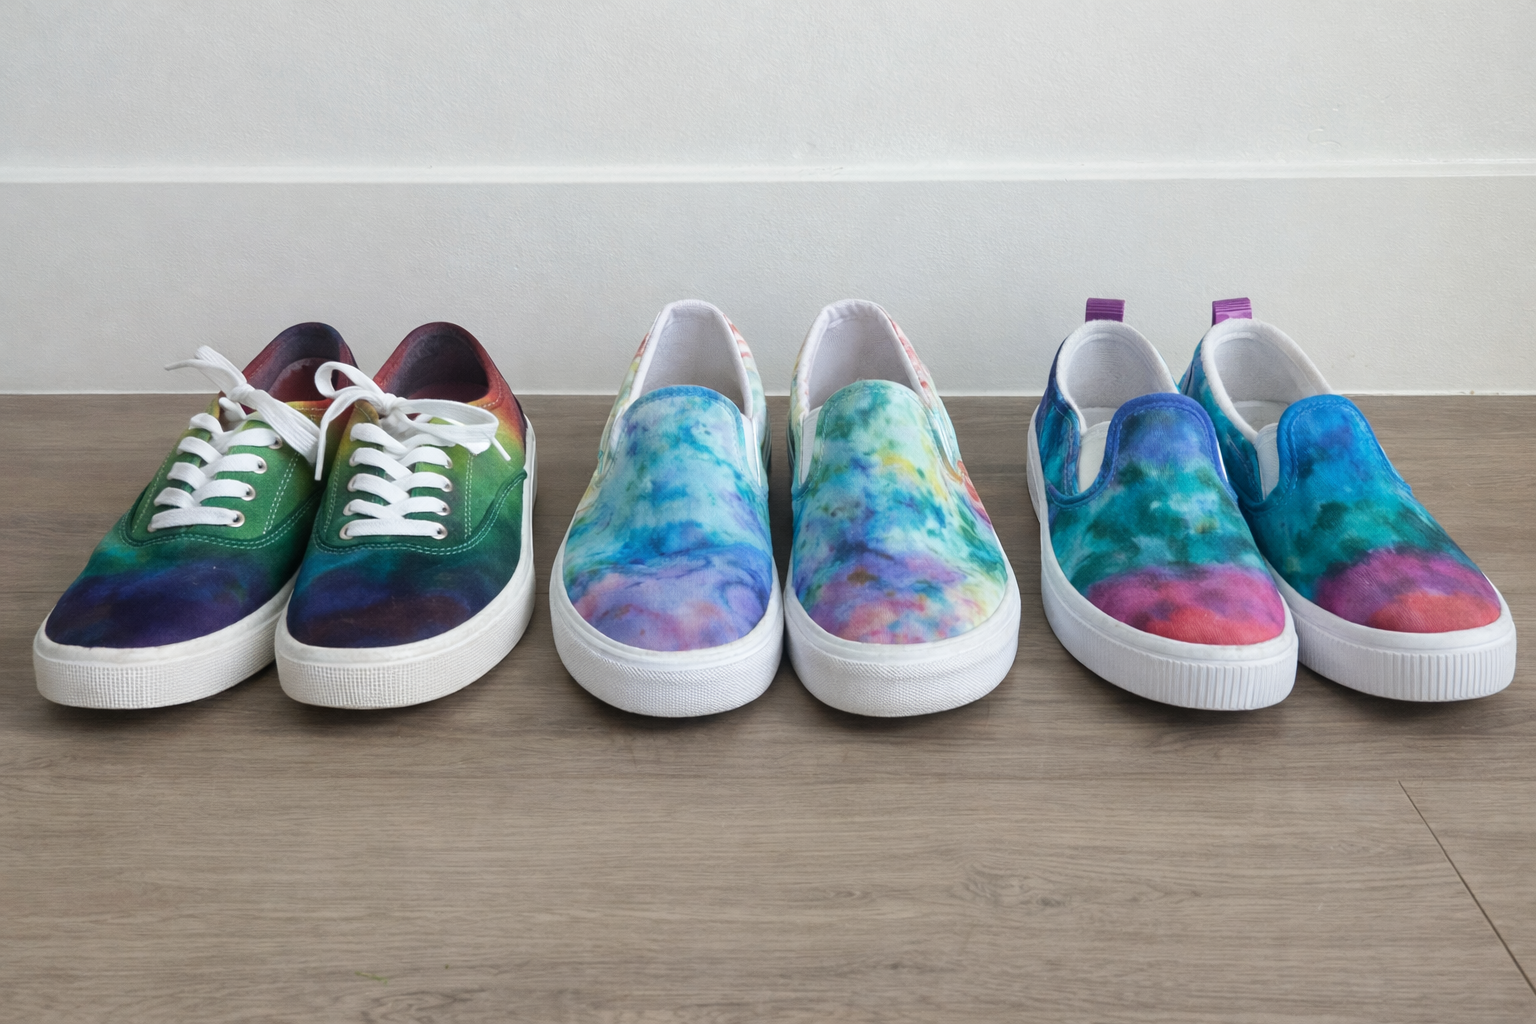
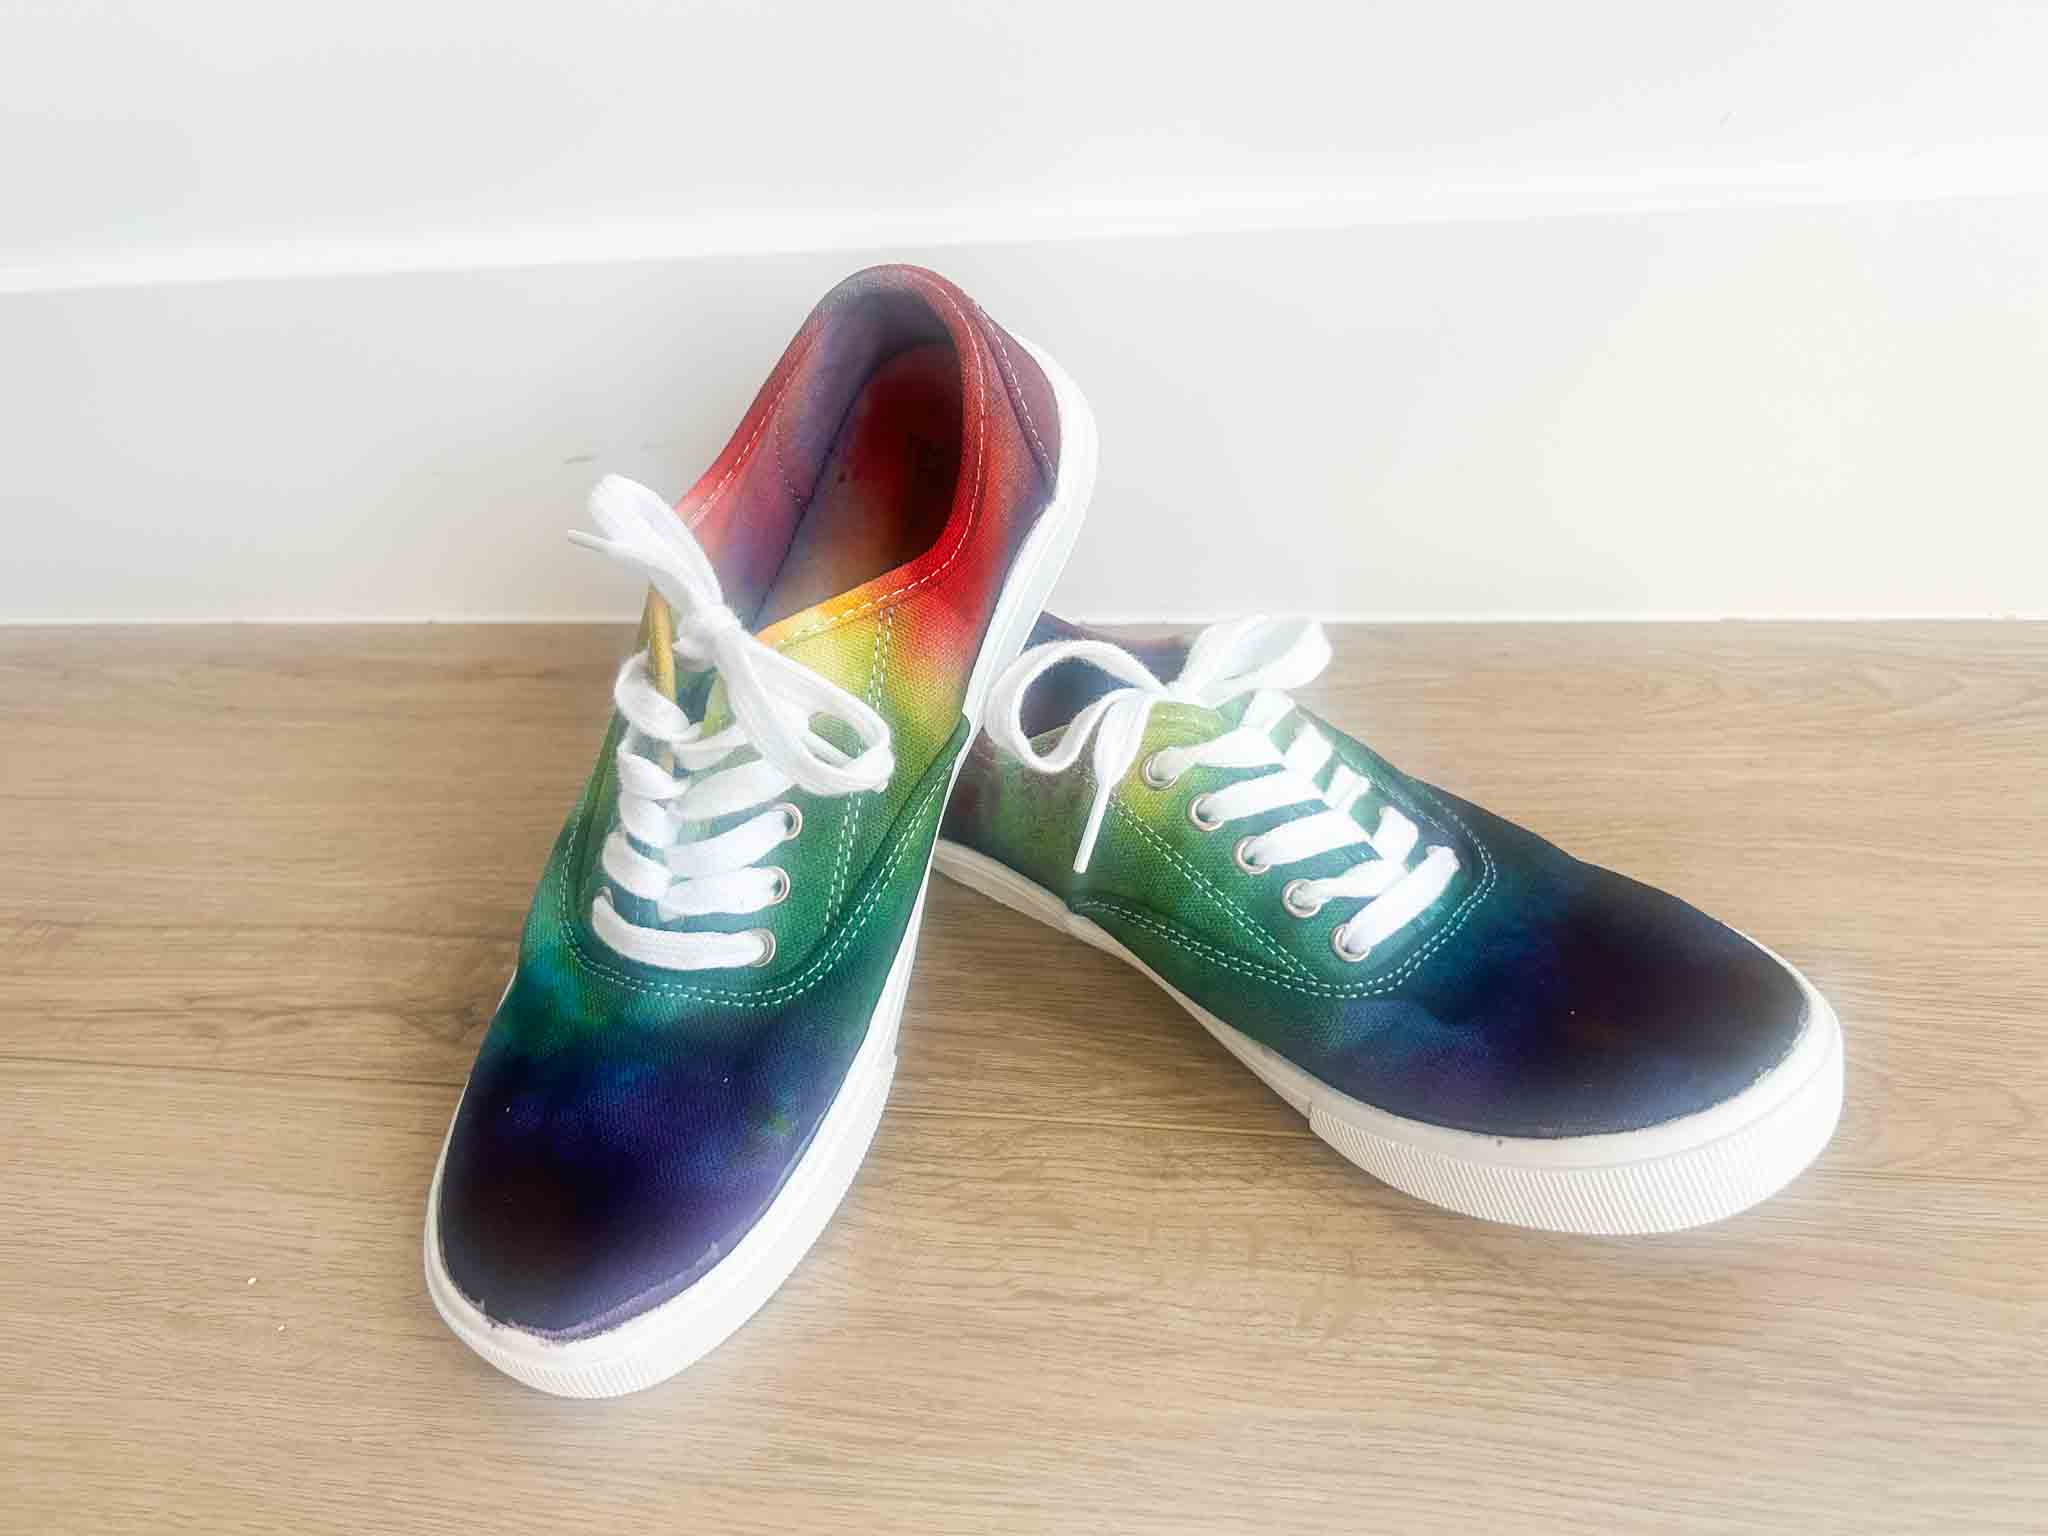
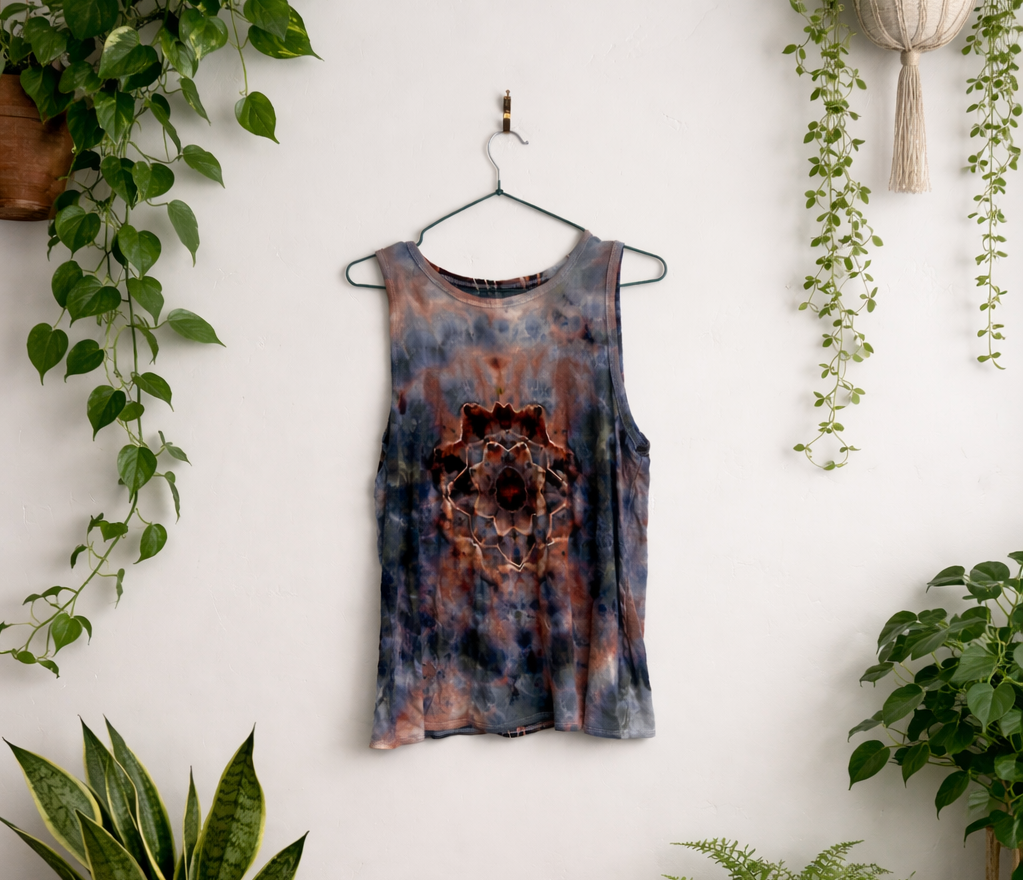
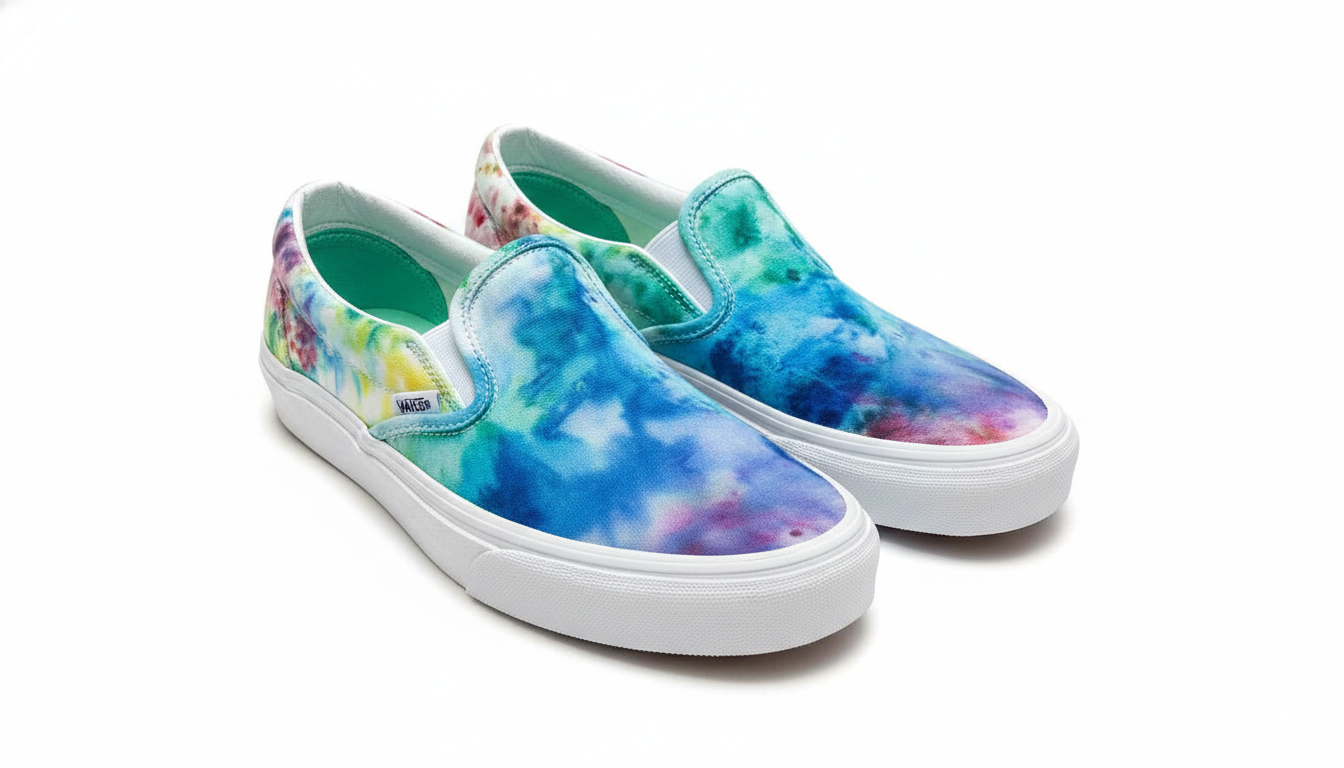
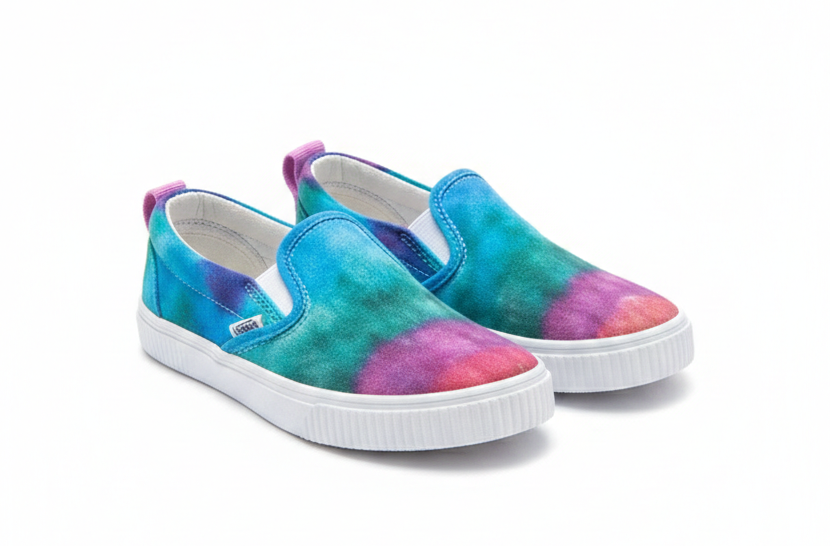
Tie dye has become one of my passions. I have a quick start guide you can receive or just peruse all my different experiments!
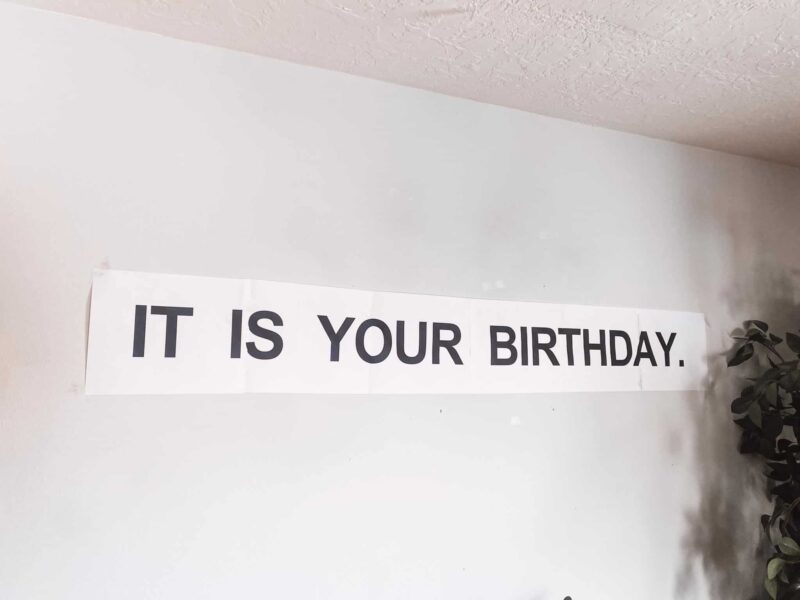
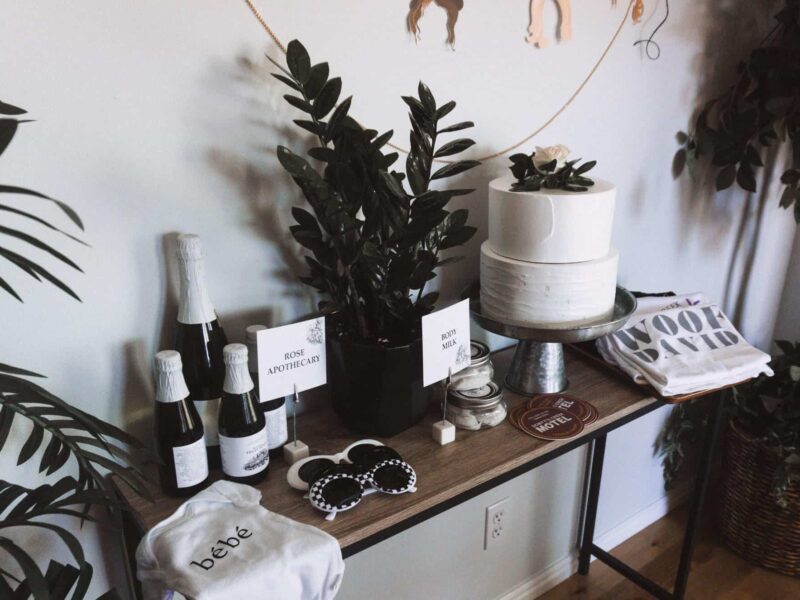
Tie dye, parties and DIY
Tie dye has become one of my passions. I have a quick start guide you can receive or just peruse all my different experiments!