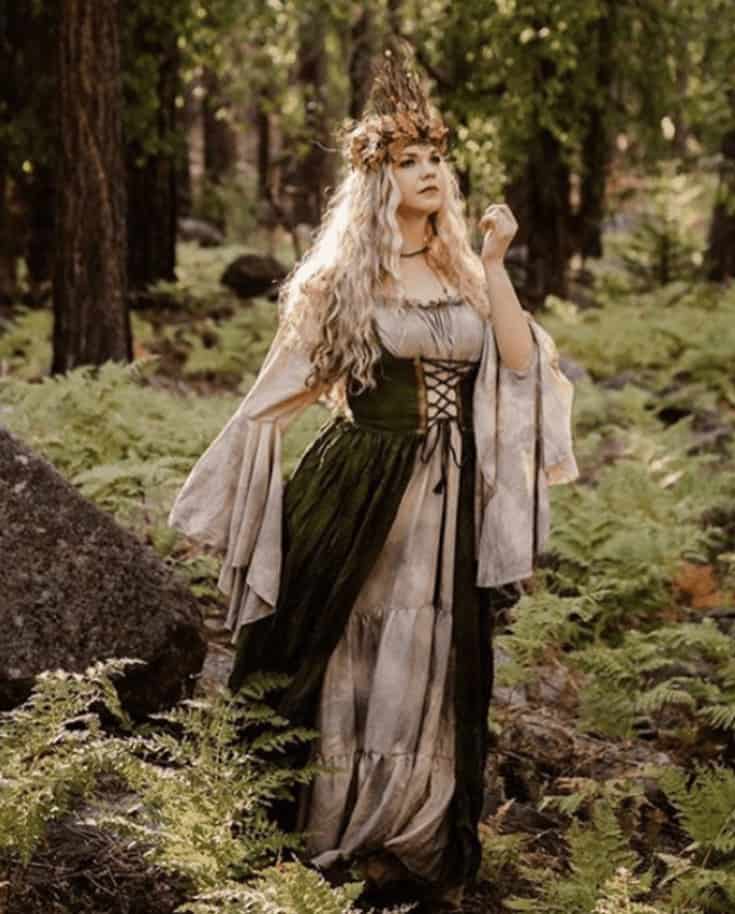
This tutorial will tell you how I made my Forest Fairy Costume using tie-dye. There is a video for more visual learners as well.
This simple forest fairy costume tutorial has thousands of YouTube views for good reason. Not only is it relatively simple, but the end result is gorgeous. It’s also easy to customize to exactly what you are looking for.
Want more tie-dye tutorials? I use natural dyes and synthetic dyes and show you how to get the best results.
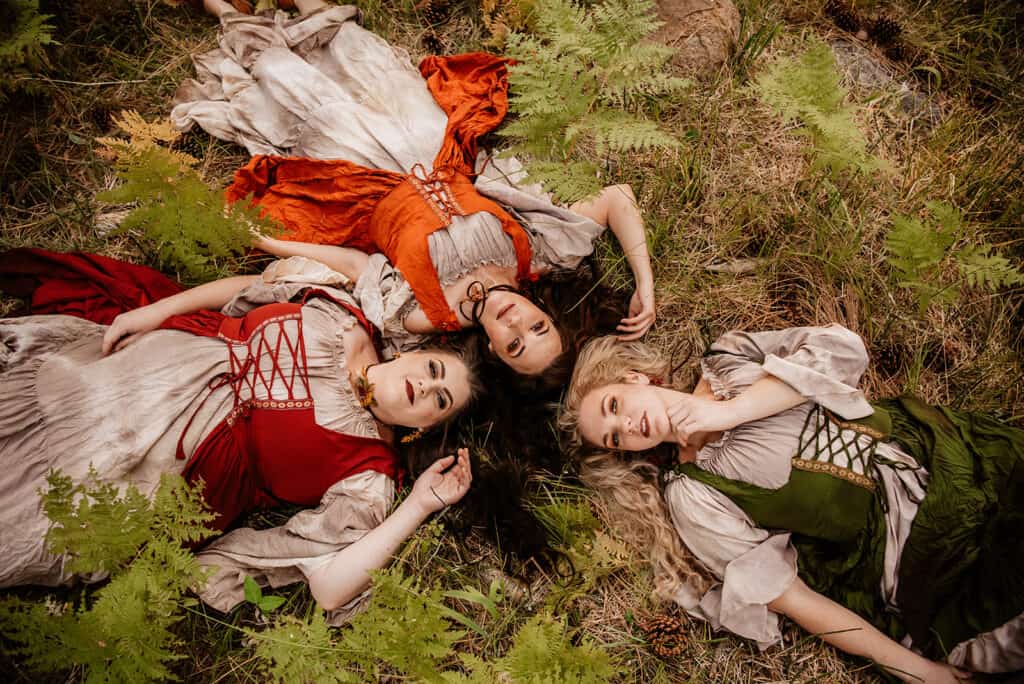
My friends and I decided to welcome fall with a little fall forest photoshoot. We bought these Renaissance dresses that are obviously not very fairy-esque. So I made them look a little more earthy using my tie-dye techniques.
Materials Used to Create the Costume
Video of How to DIY a Forest Fairy Costume
How to Make a Fairy Forest Costume
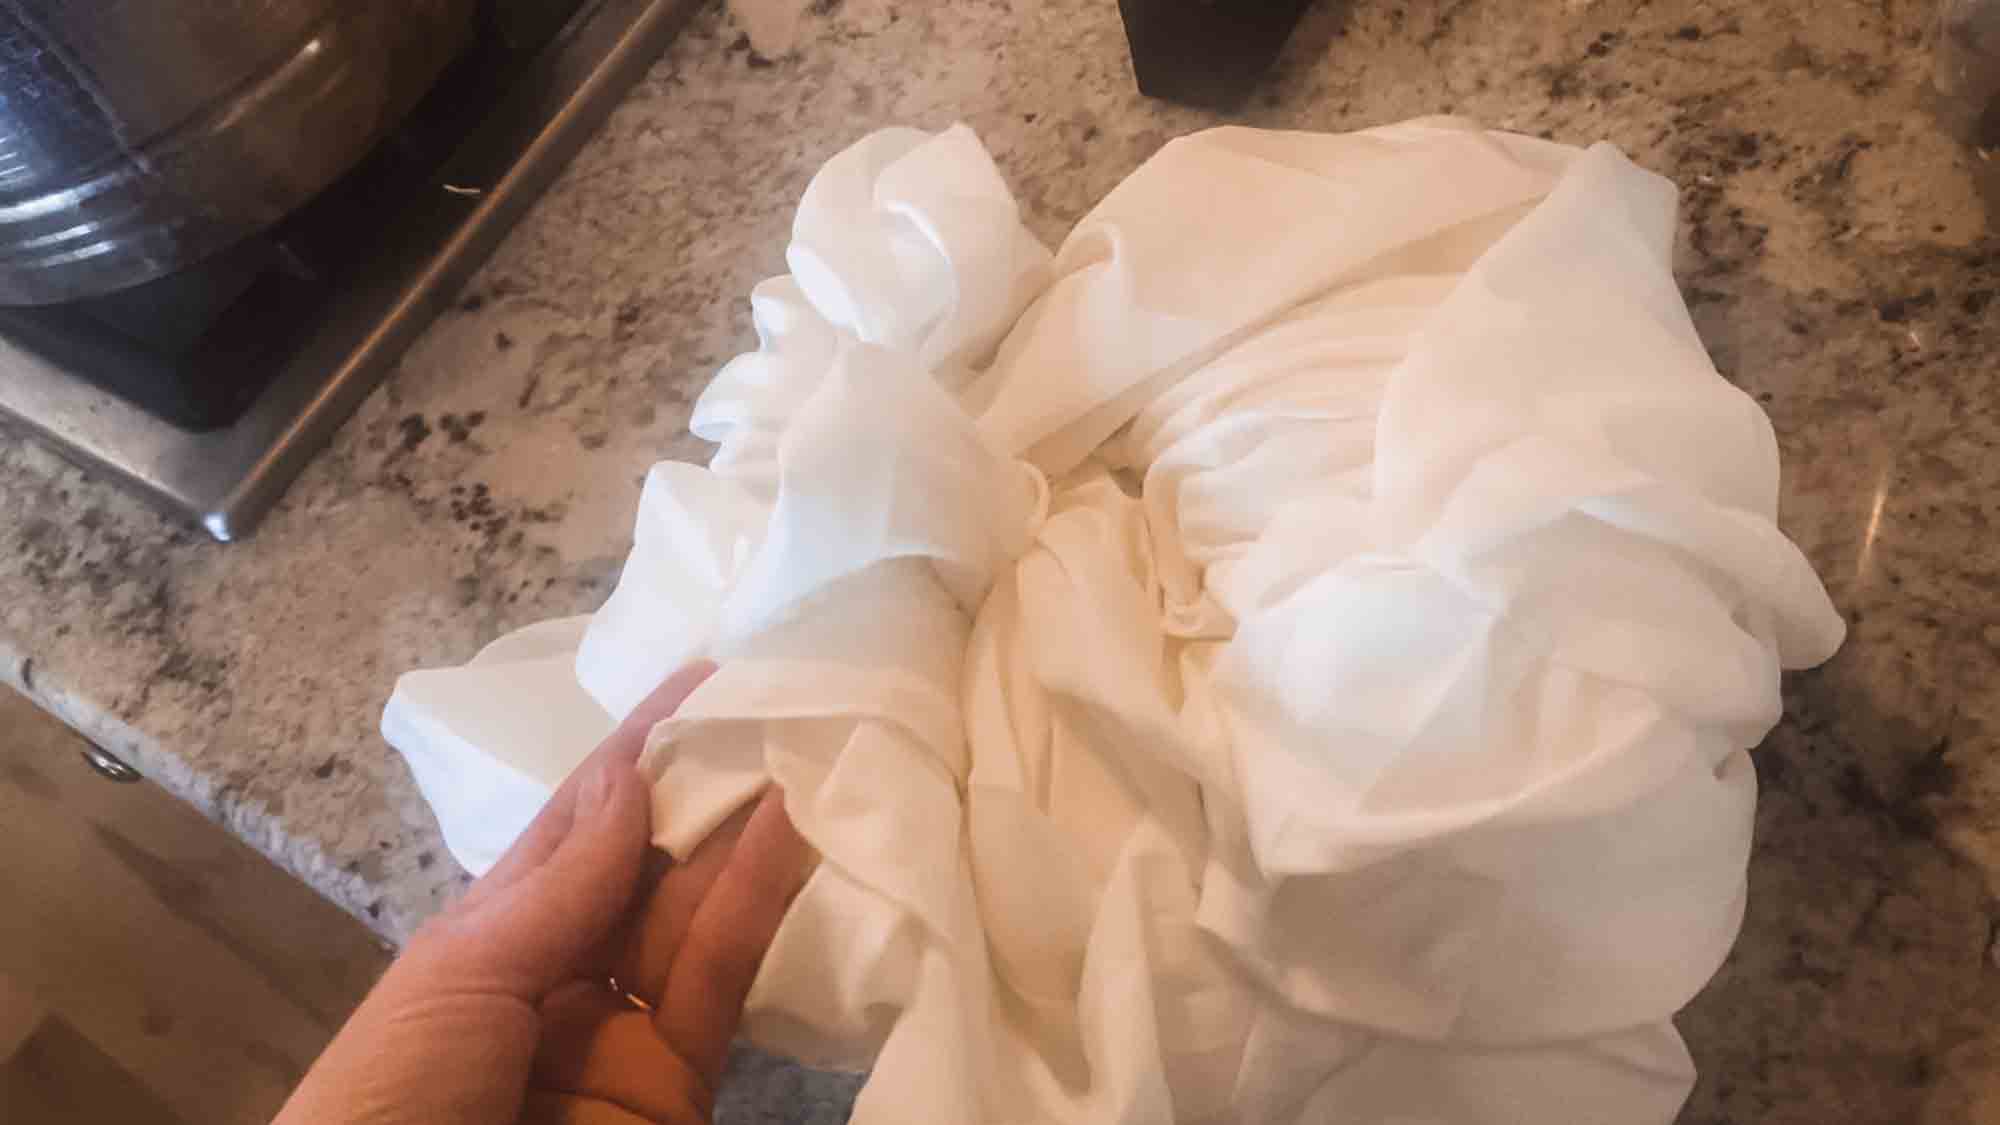
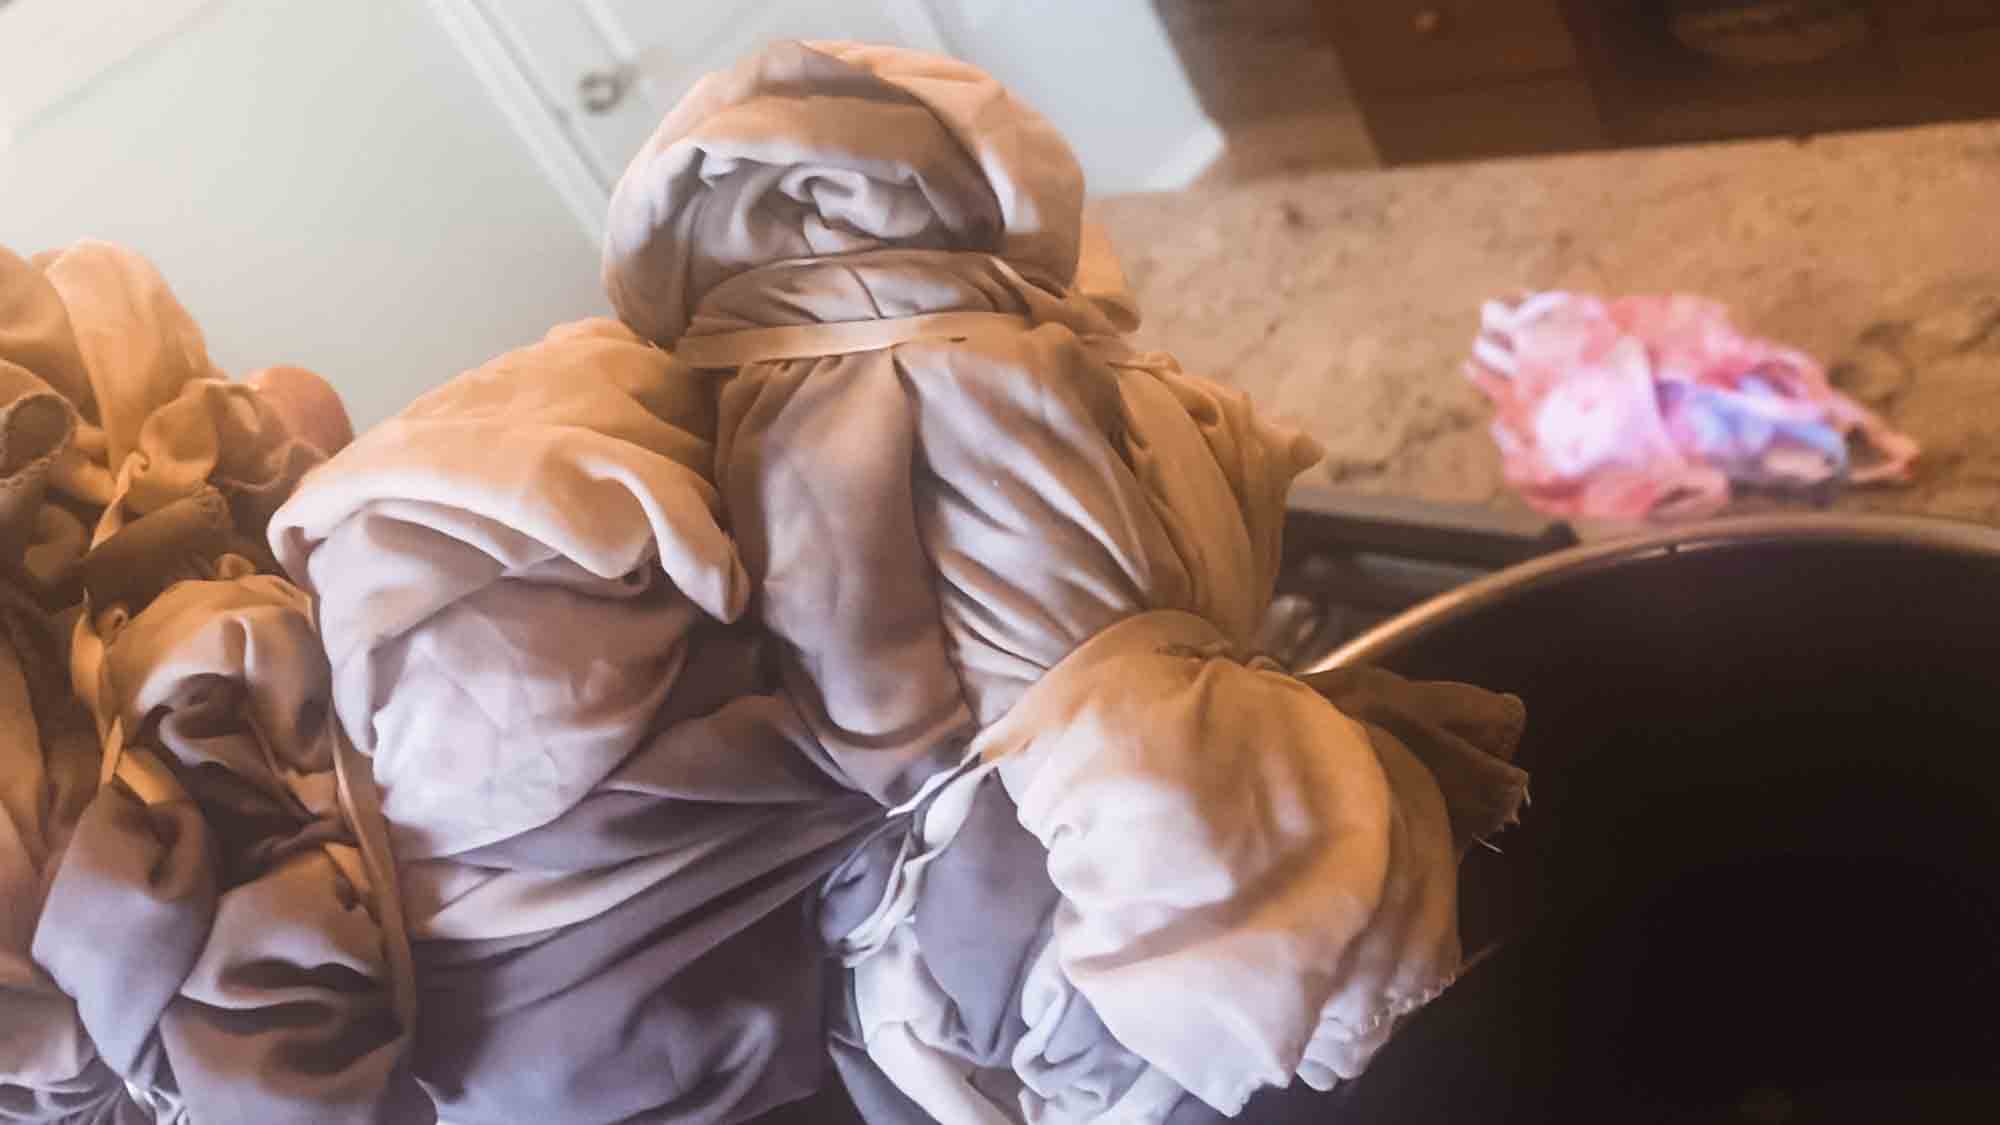
- Start by wrapping your chemise loosely
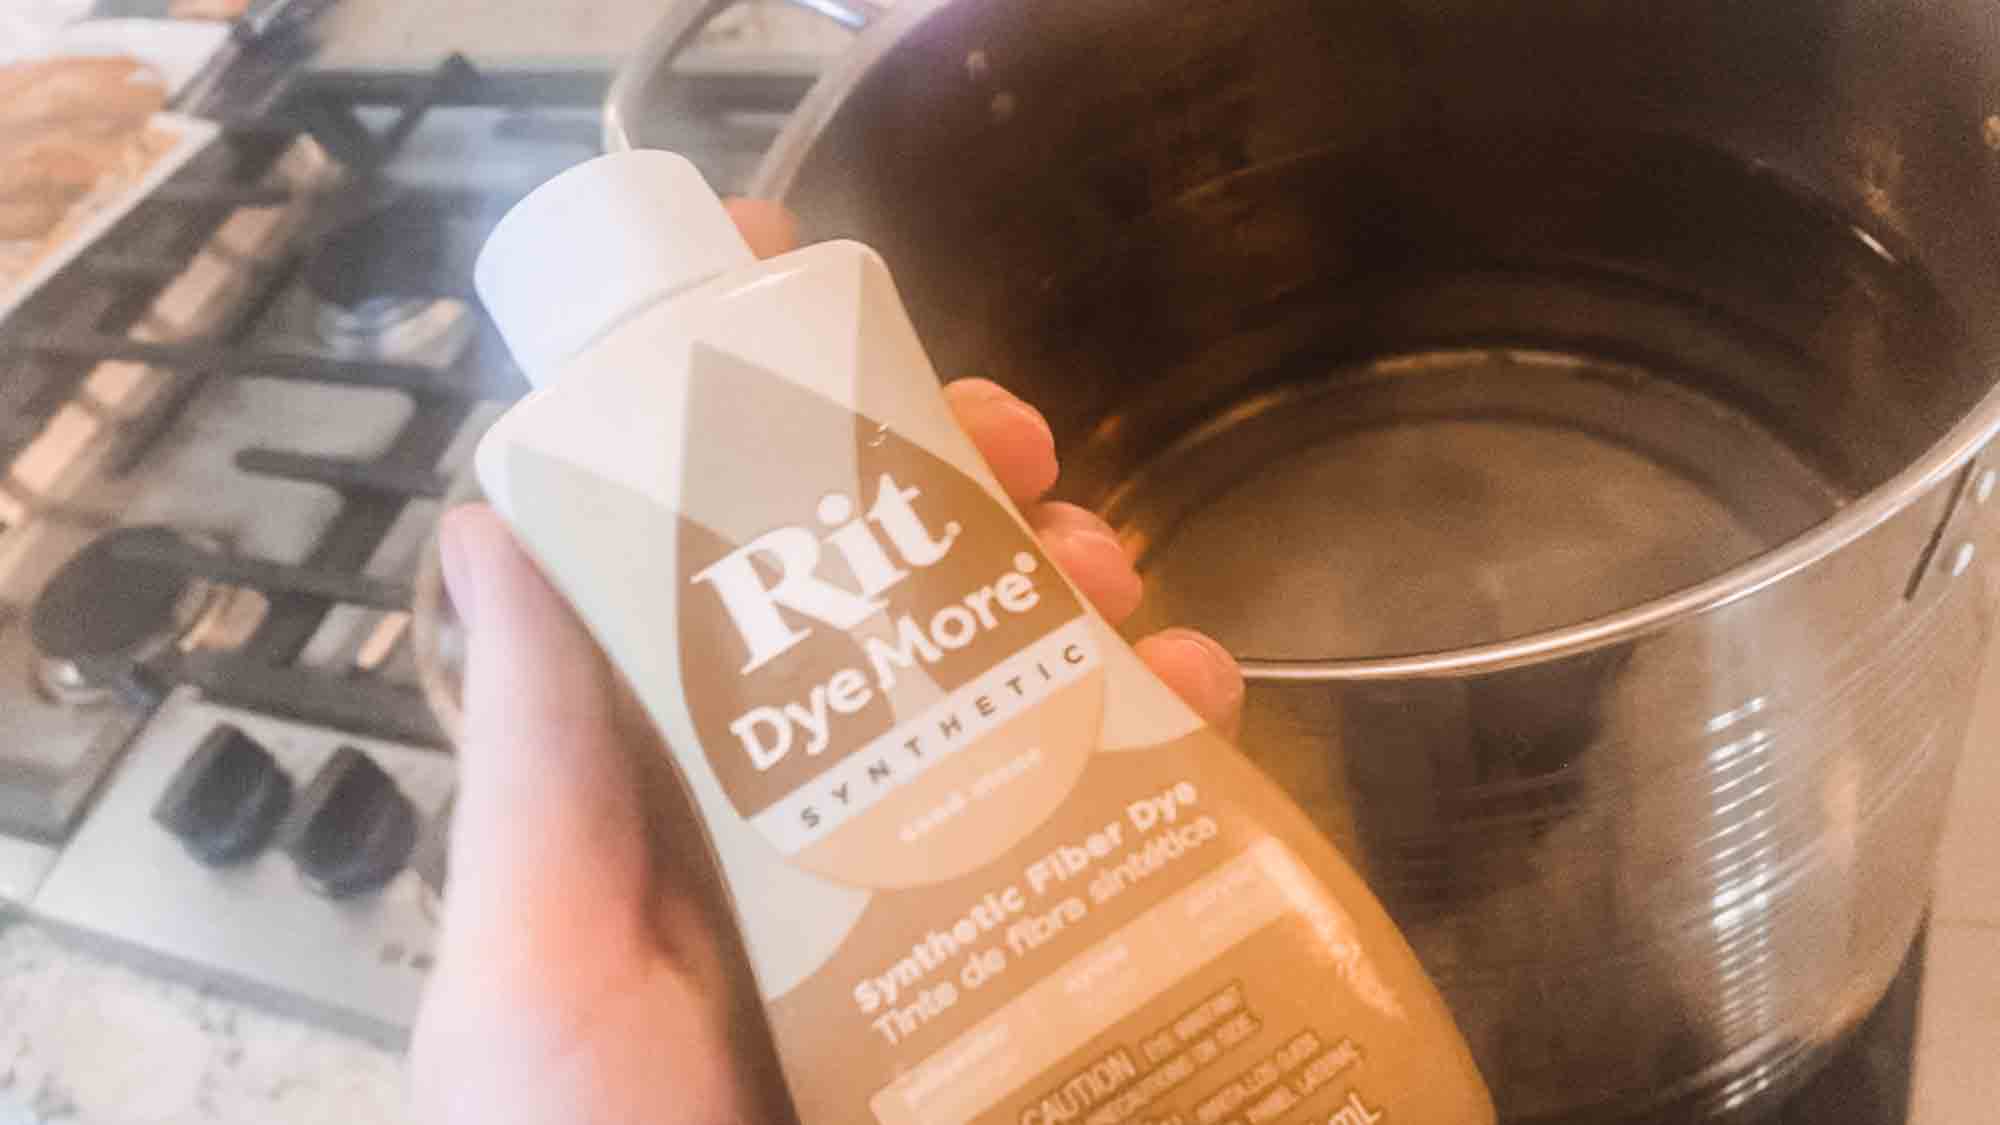
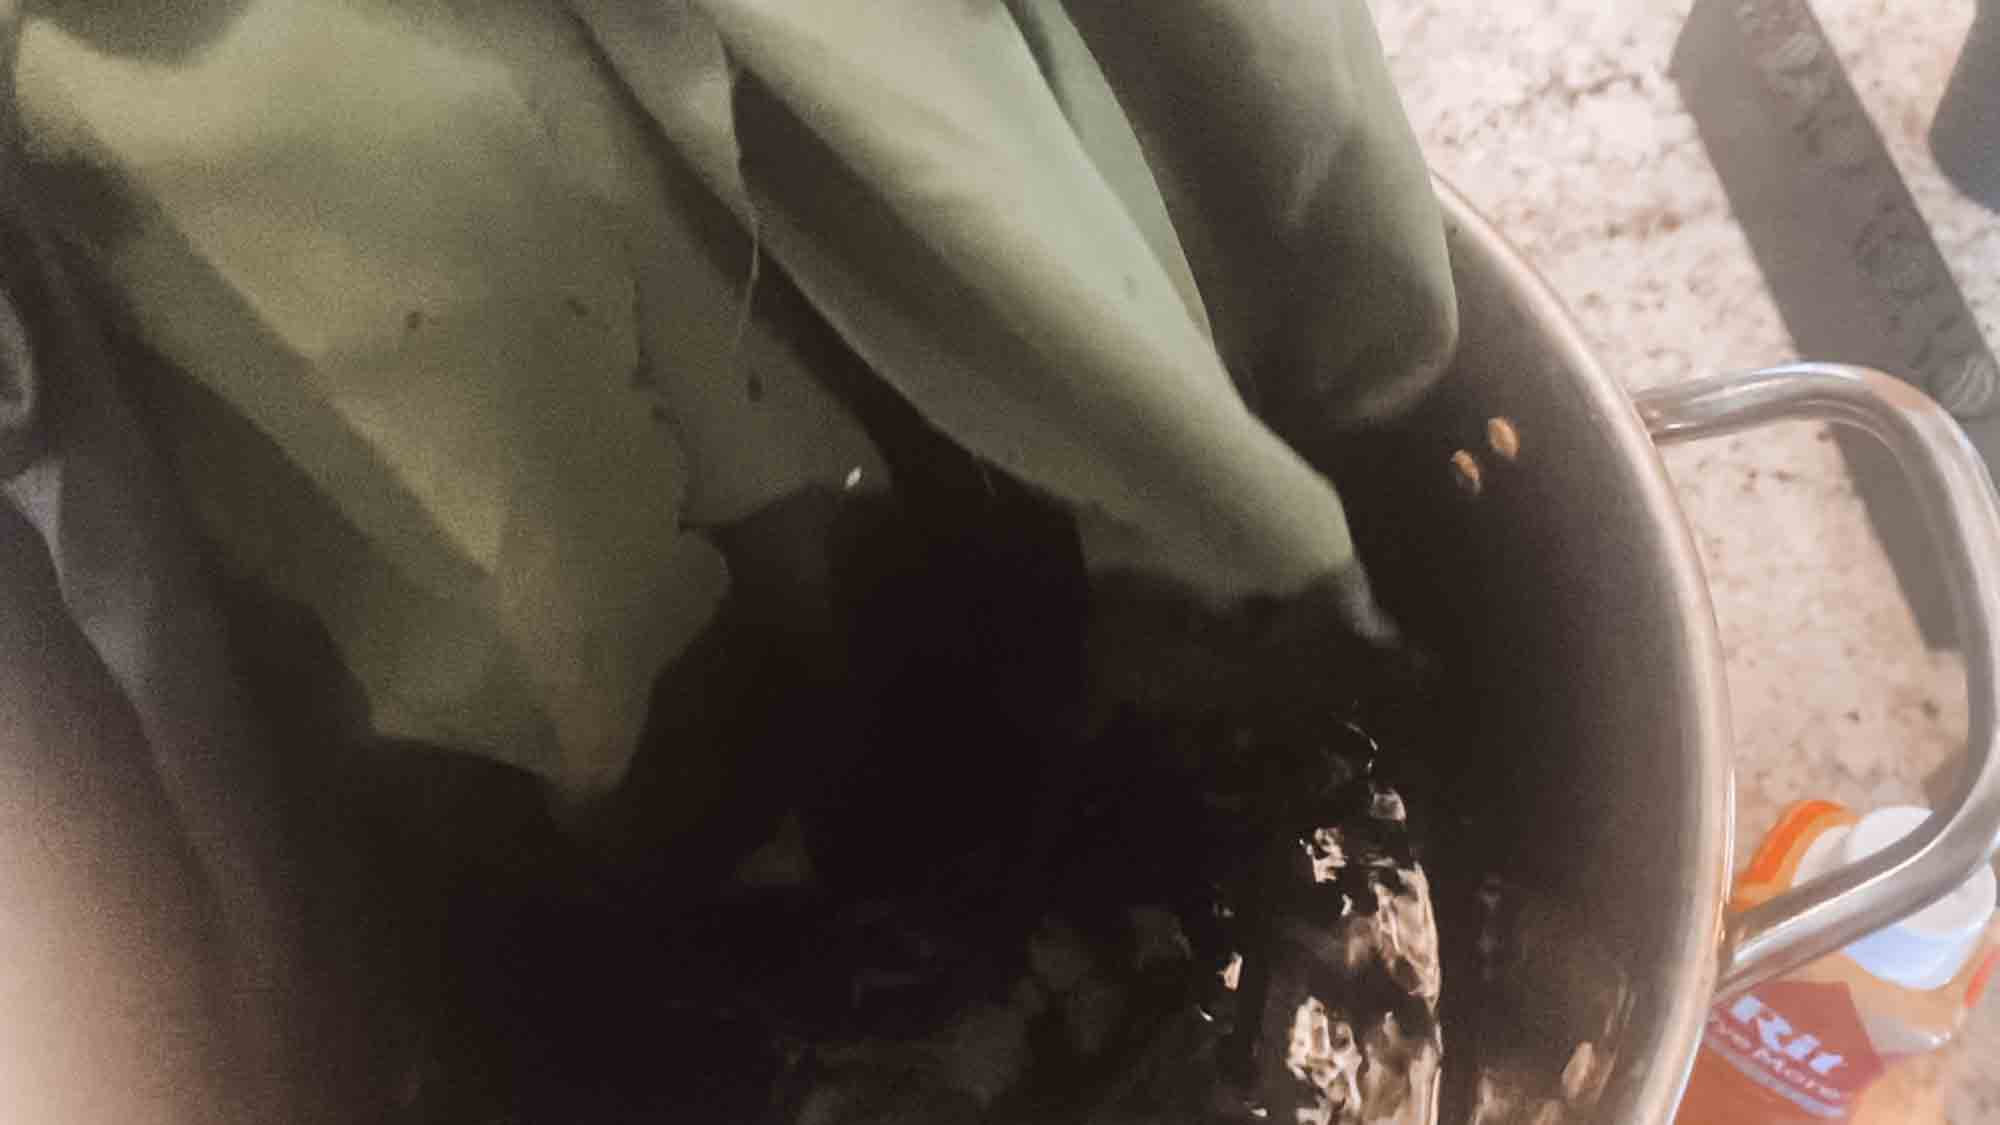
- Heat up your water to a boil and put about half of the bottle of your Sandstone DyeMore into the pot.
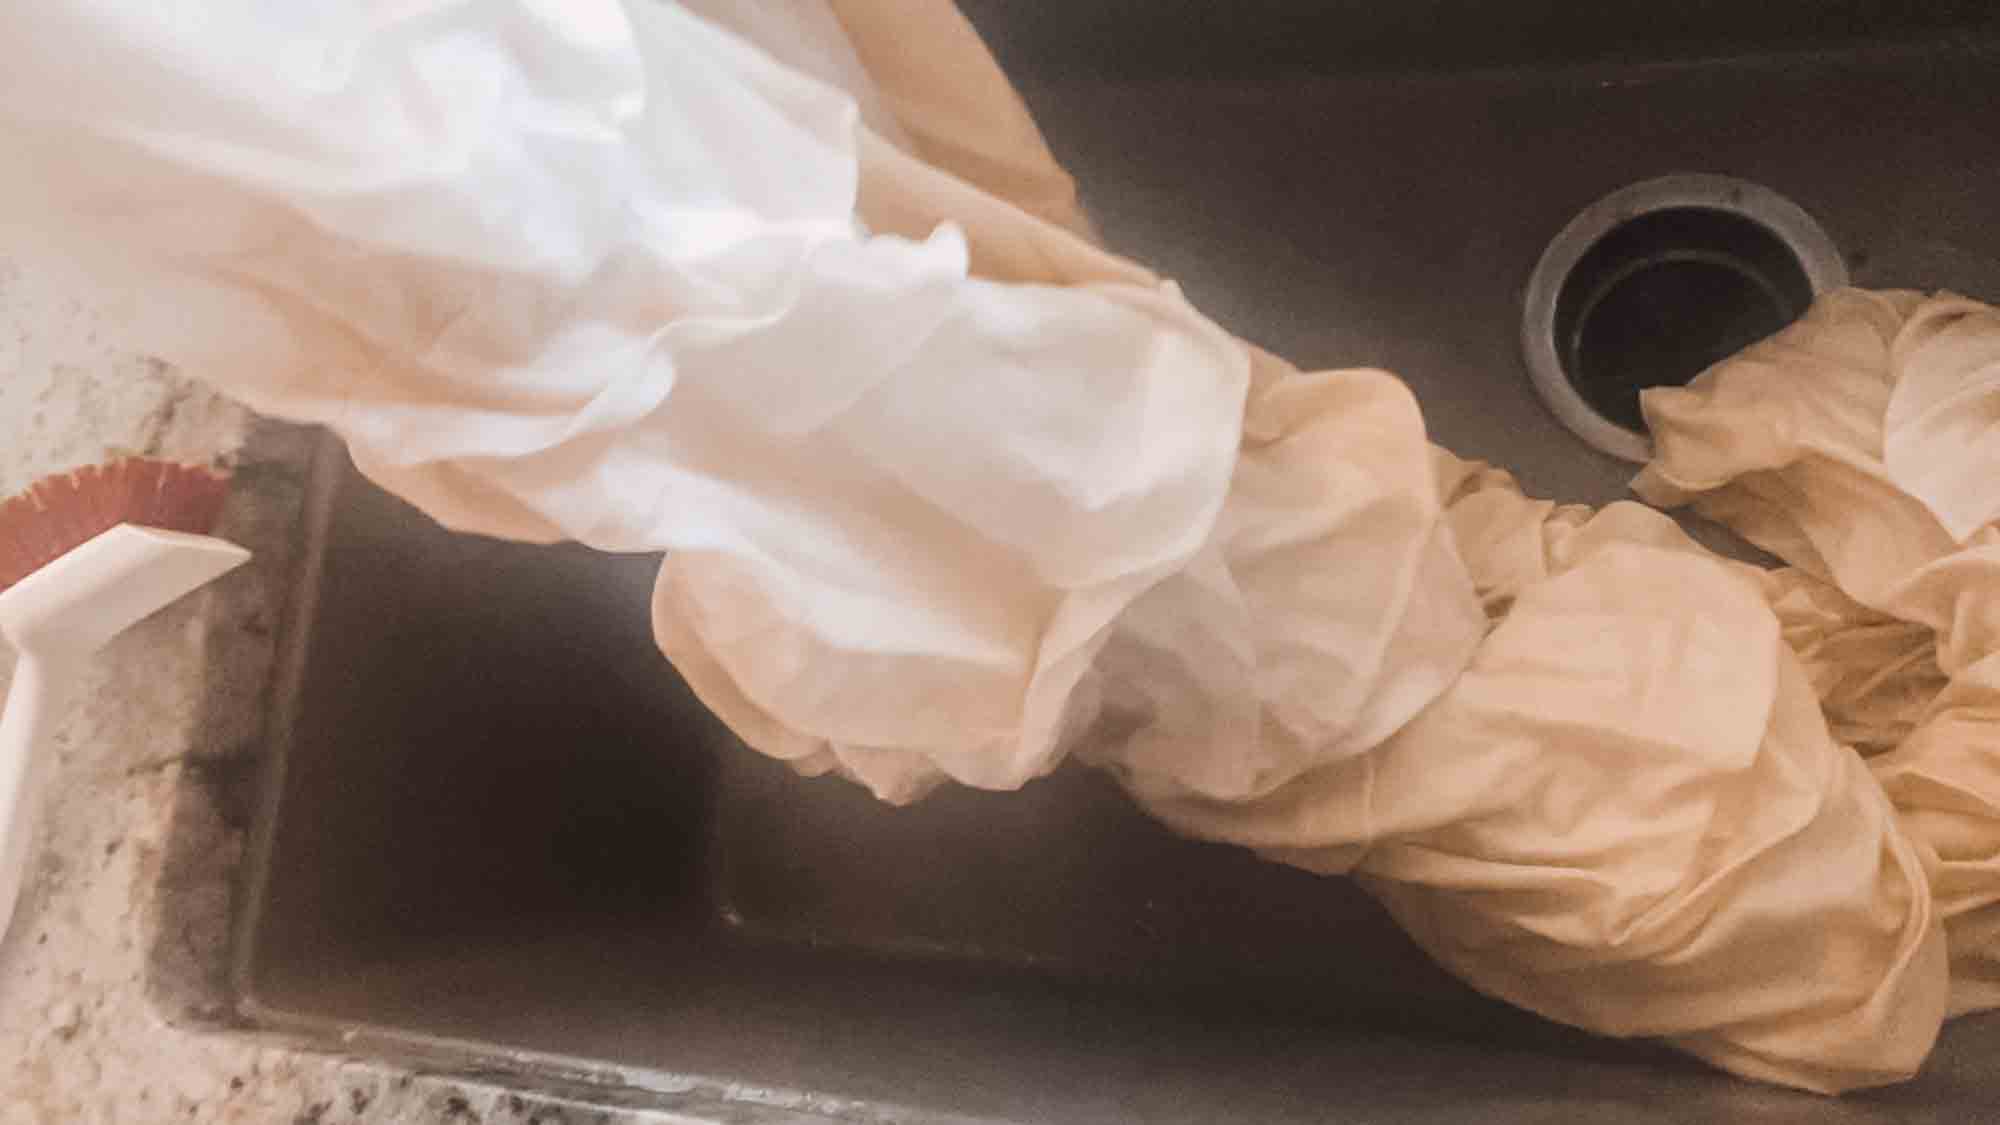
- Wet the fabric and then place it in the pot.
- Let it sit for about 20 minutes.
- Remove from the water and rinse it out.
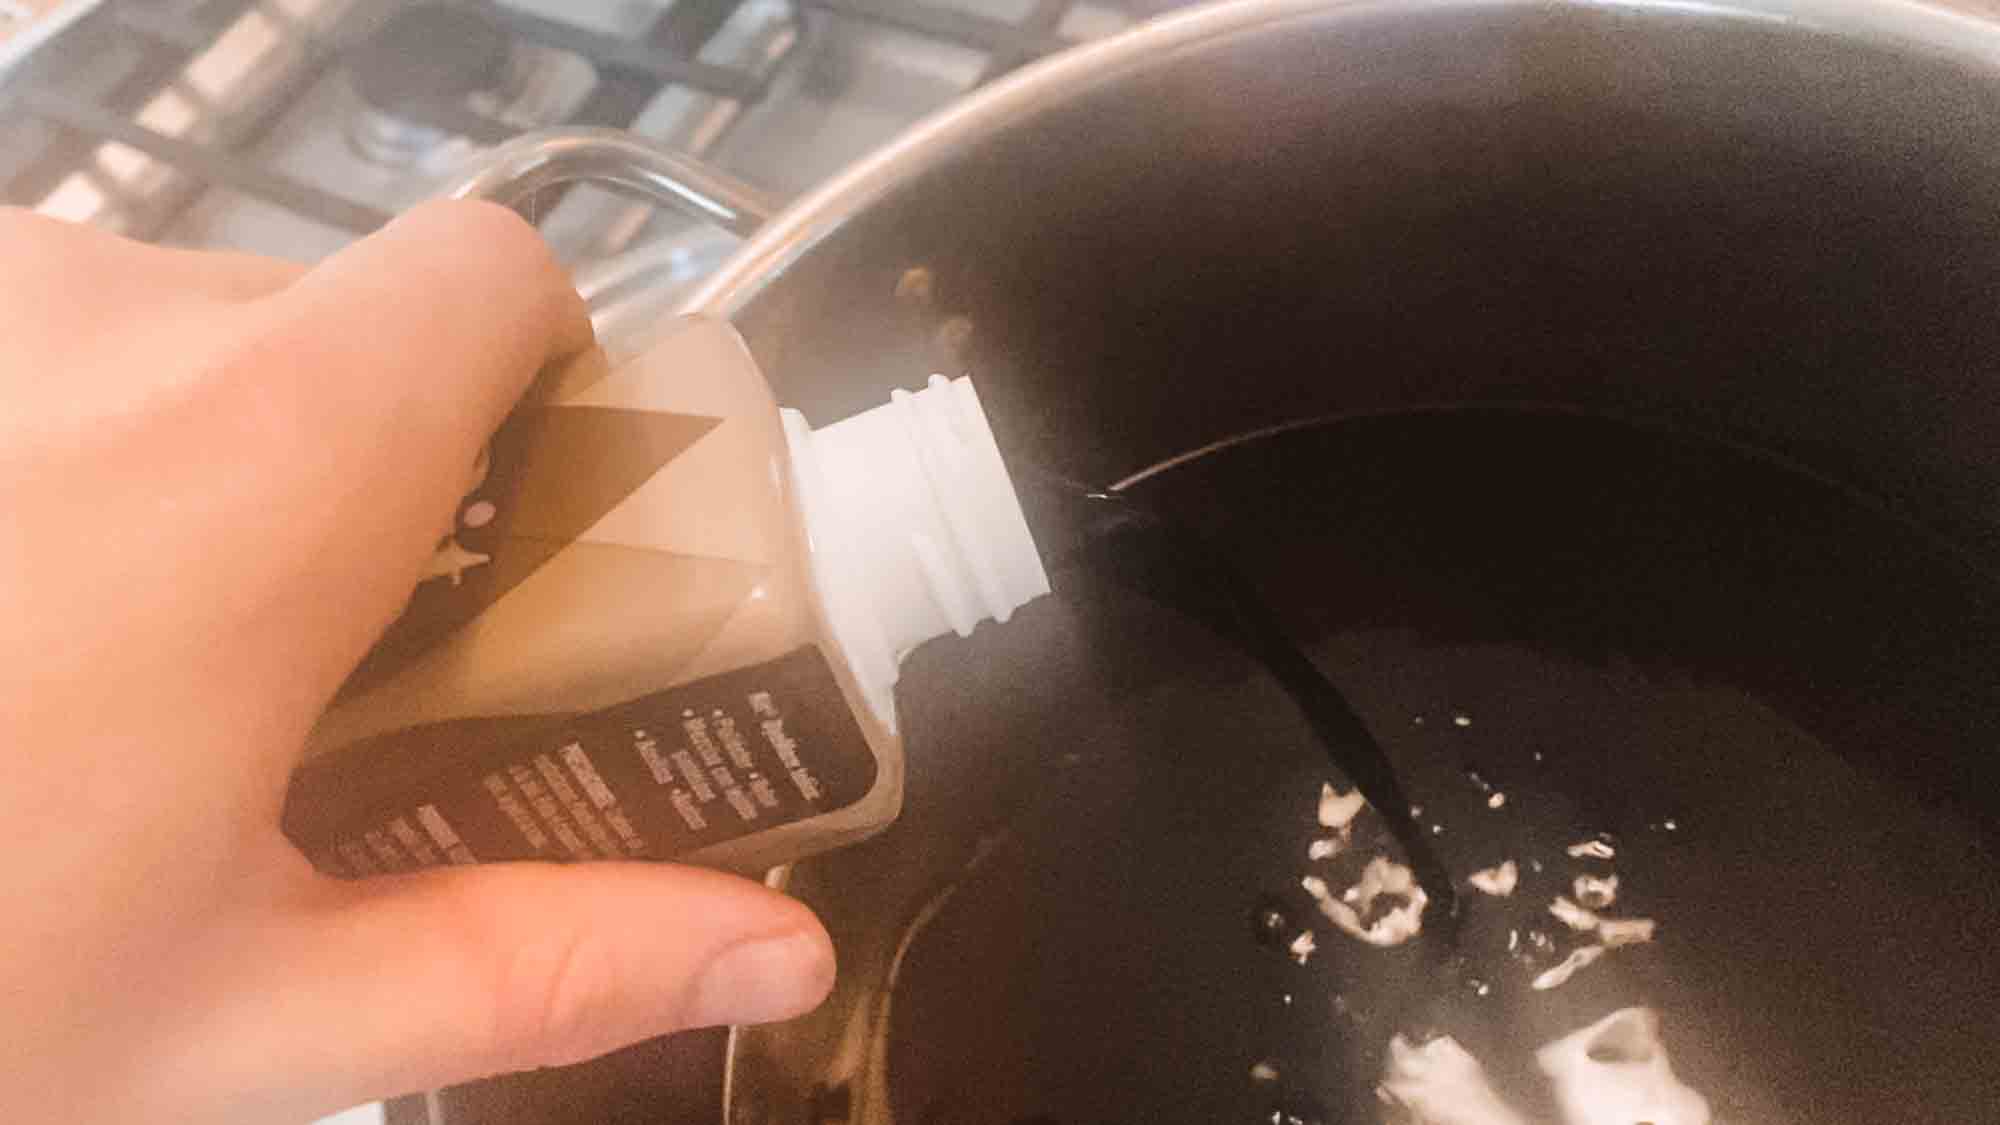
- Add about half of the Chocolate Brown DyeMore to the dye pot.
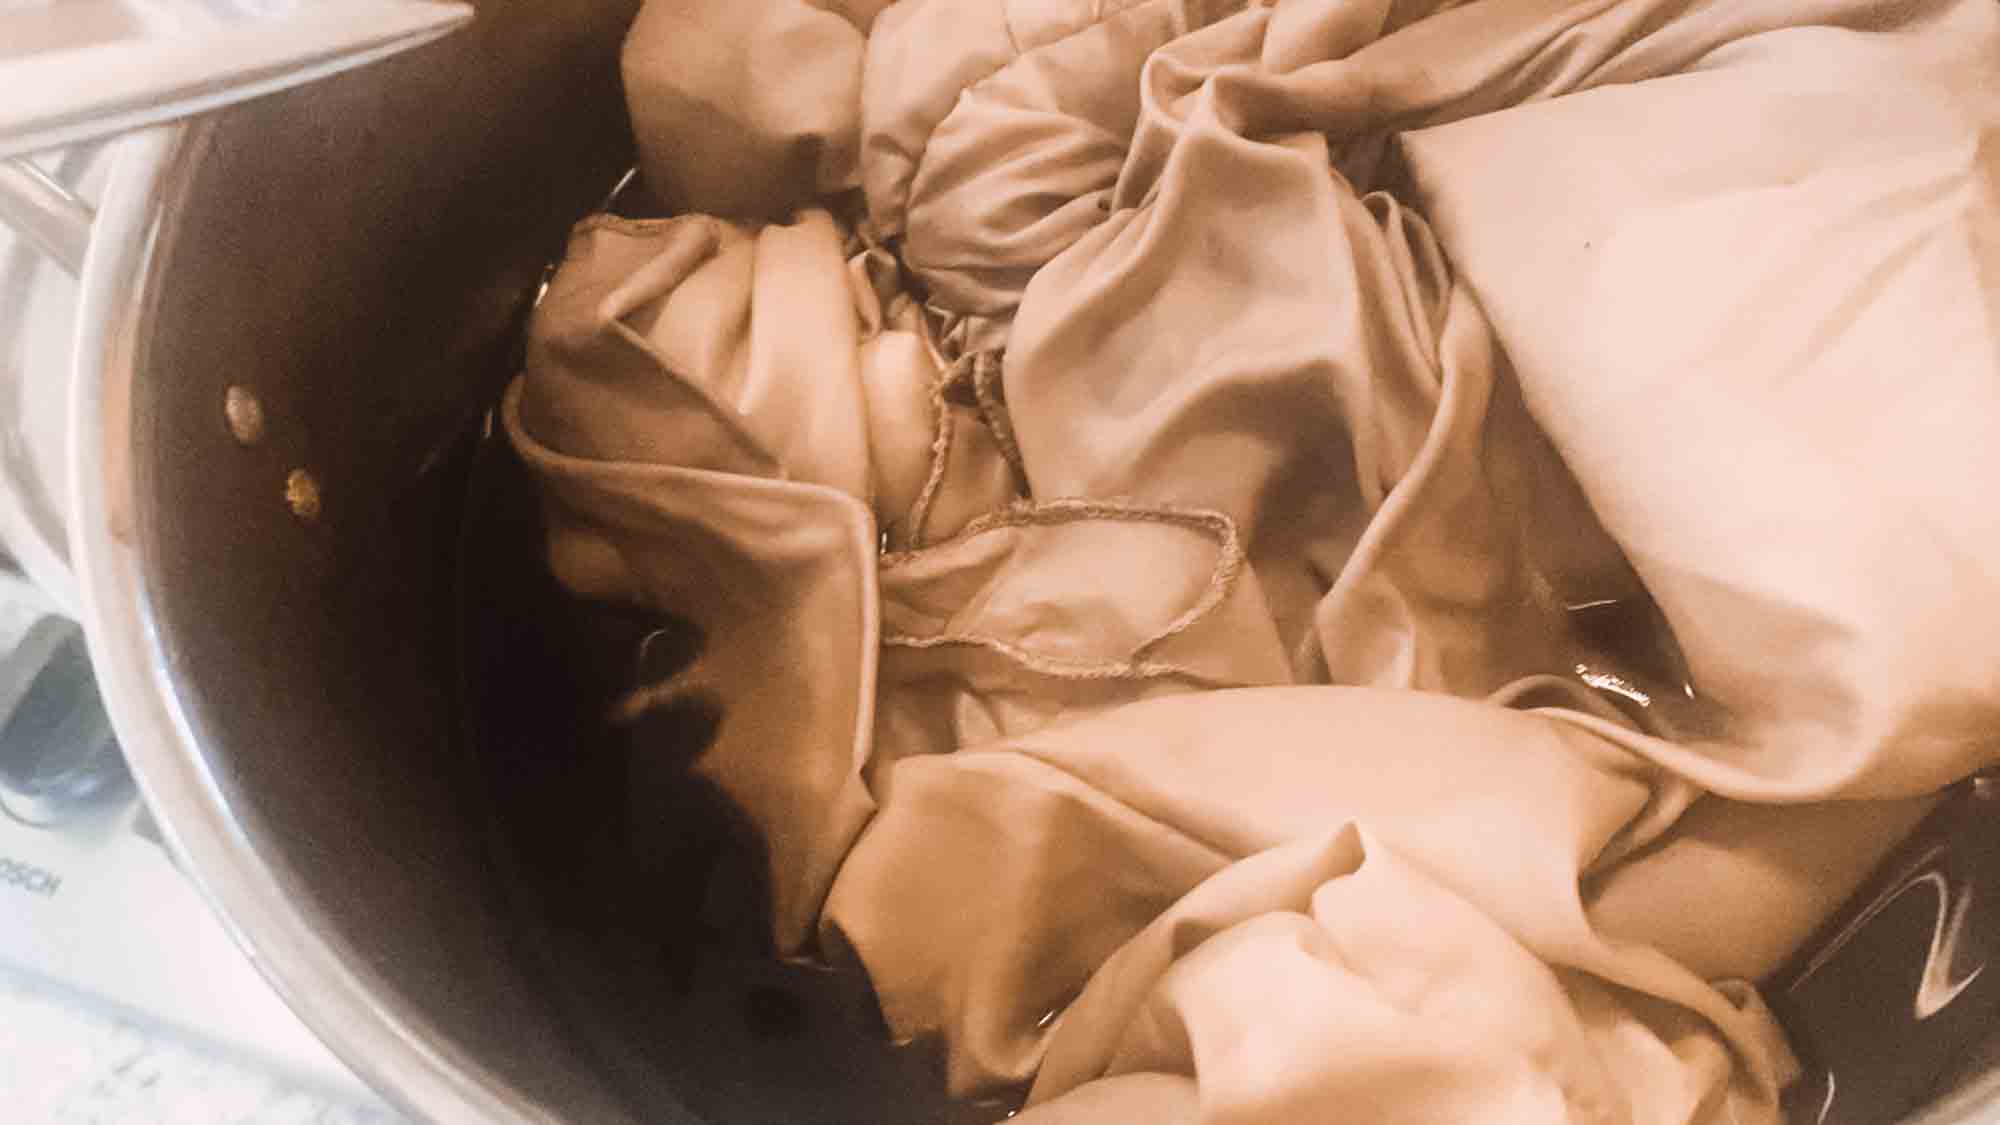
- Refold your chemise a little bit tighter than before and place it in the dye pot.
- Remove the chemise and rinse.
- I then added the rest of the brown and some orange to the pot. This time I folded some detail into the sleeve and bottom of the dress. I am not sure it made very much of a difference but it was fun.
- Place it in the dye pot for about 20 minutes then remove and rinse.
- Now you are done! I didn’t actually run this through the washer, I just rinsed it really well and then let it air dry.
- See below for how I did the top part of the dress.
How I Dyed the OverDress
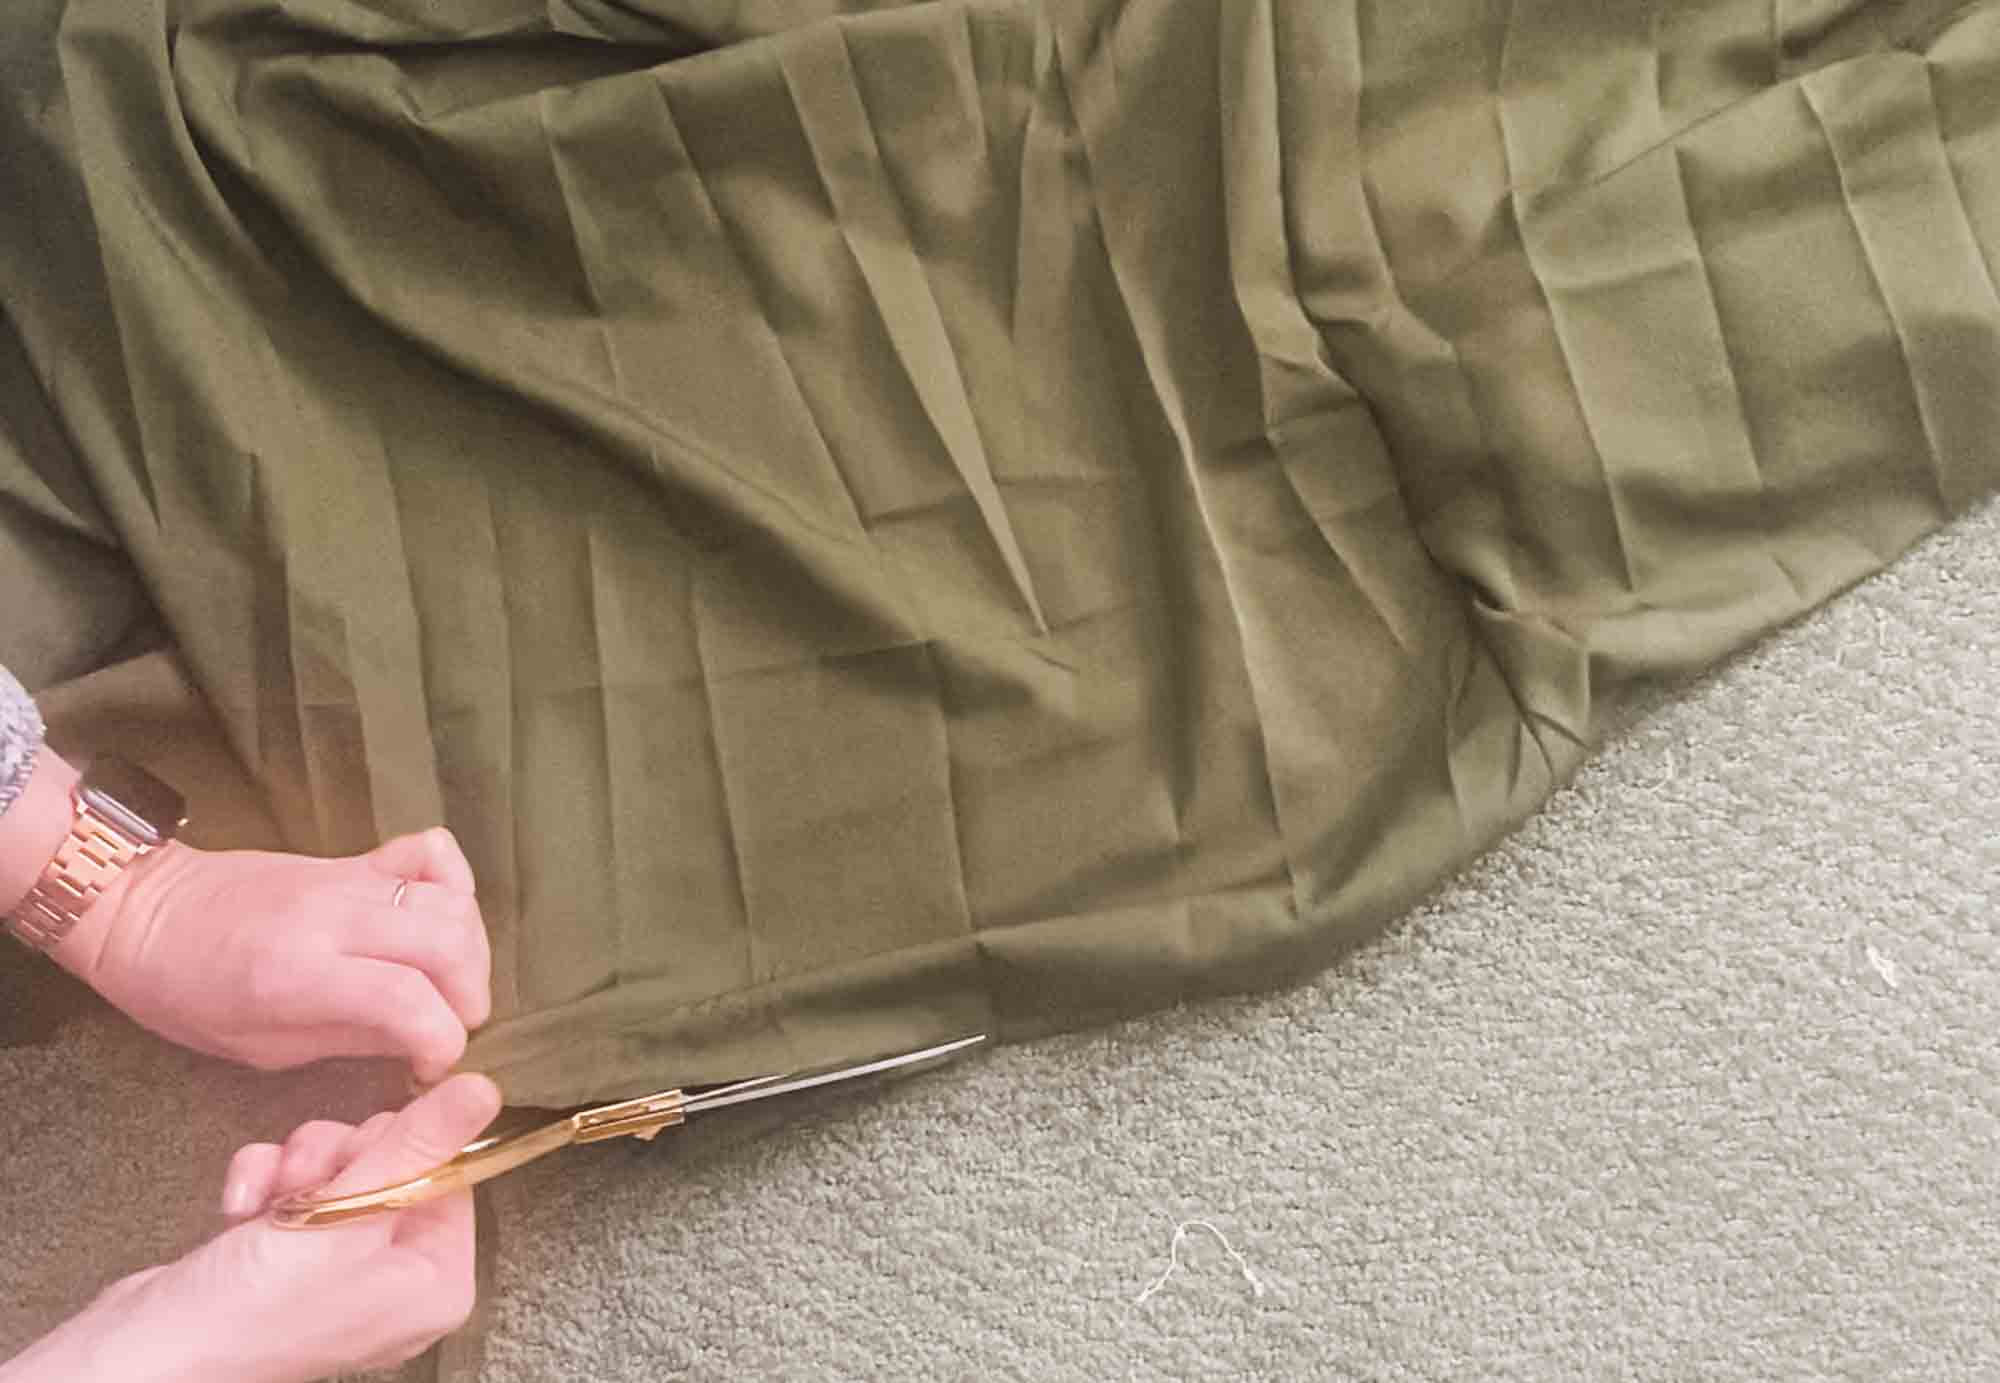
- I first cut off all of the hems along the borders of the dress. This gave it a more earthy feel.
- After I did that I wadded it into a tight ball and put it in the dye that was prepared for the above steps. There was a whole bottle of chocolate brown, a splash of orange, and half of the bottle of sandstone.
- Remove from the dye pot after ten minutes and rinse.
Forest Fairy Costume Featuring Tie Dye
This tutorial will tell you how I made my Forest Fairy Costume using tie dye. There is a video for more visual learners as well.
Materials
- Chocolate Brown DyeMore
- Sandstone DyeMore
- Orange DyeMore
- Renaissance dress
Tools
- Fabric Scissors
- Dye pot
Instructions
- Chemise:
- Start by wrapping your chemise loosely
- Heat up your water to a boil and put about half of the bottle fo your Sandstone DyeMore into the pot.
- Wet the fabric and then place it in the pot.
- Let it sit for about 20 minutes.
- Remove from the water and rinse it out.
- Add about half of the Chocolate Brown DyeMore to the dye pot.
- Refold your chemise a little bit tighter than before and place it in the dye pot.
- Remove the chemise and rinse.
- I then added the rest of the brown and some orange to the pot. This time I folded some detail into the sleeve and bottom of the dress. I am not sure it made very much of a difference but it was fun.
- Place it in the dye pot for about 20 minutes then remove and rinse.
- Now you are done! I didn't actually run this through the washer, I just rinsed it really well then let it air dry.
- Bottom portion of the dress:
- I first cut off all of the hems along the borders of the dress. This gave it a more earthy feel.
- After I did that I wadded it into a tight ball and put it in the dye that was prepared for the above steps. There was a whole bottle of chocolate brown, a splash of orange and half of the bottle of sandstone.
- Remove from the dye pot after ten minutes and rinse.
Recommended Products
As an Amazon Associate and member of other affiliate programs, I earn from qualifying purchases.
-
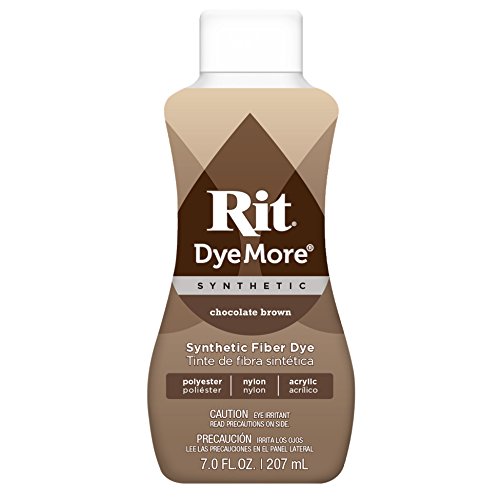 Rit DyeMore Liquid Dye, Chocolate Brown
 -
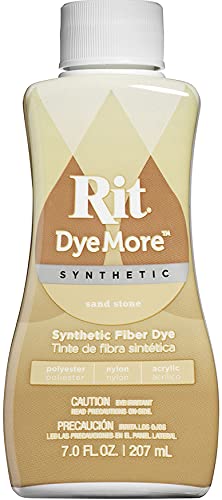 Rit DyeMore Liquid Dye, Sandstone
 -
 Rit DyeMore Liquid Dye, Apricot Orange
 -
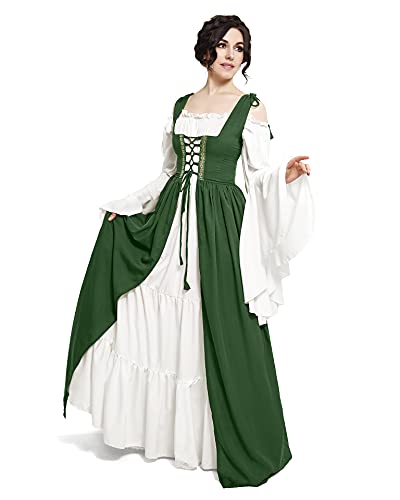 Mythic Renaissance Medieval Irish Costume Over Dress & Cream Chemise Set (L/XL, Hunter Green)
 -
 Professional Dressmaking Scissors Stork Scissors Tailor Scissors Sharp Dressmaker Fabric Sewing Shears 9 inch Scissor for Cloth Tailoring Altering Leather
 -
 Alpine 4-Piece Stainless Steel Stock Pots
Grab that darling Renaissance dress and follow along on this tutorial! It’s really not too difficult and gives you a forest fairy costume like no one else.
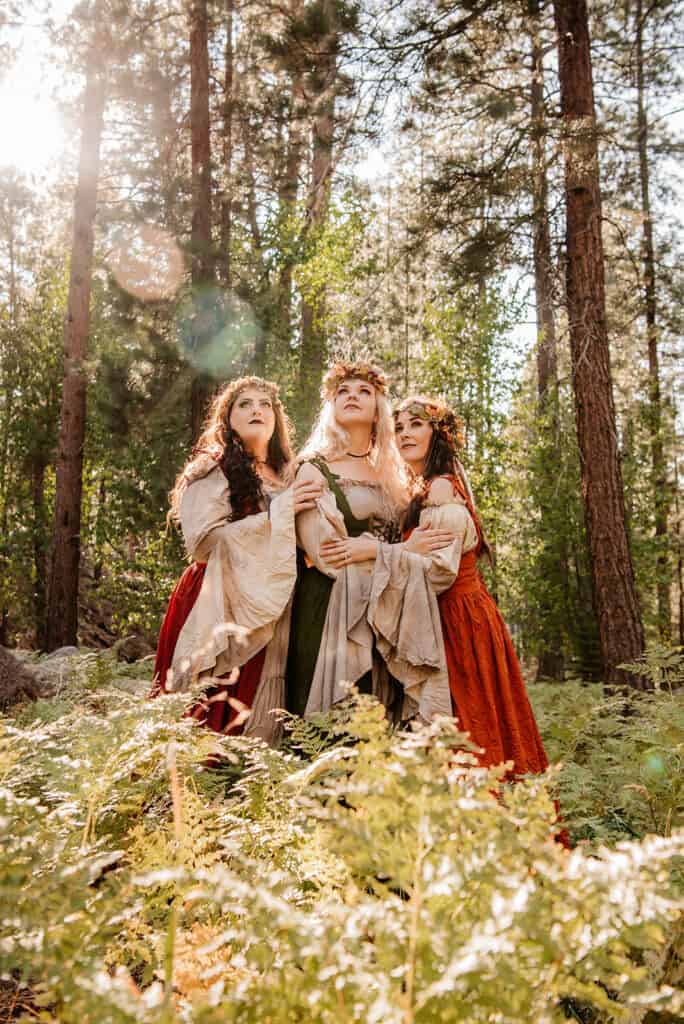
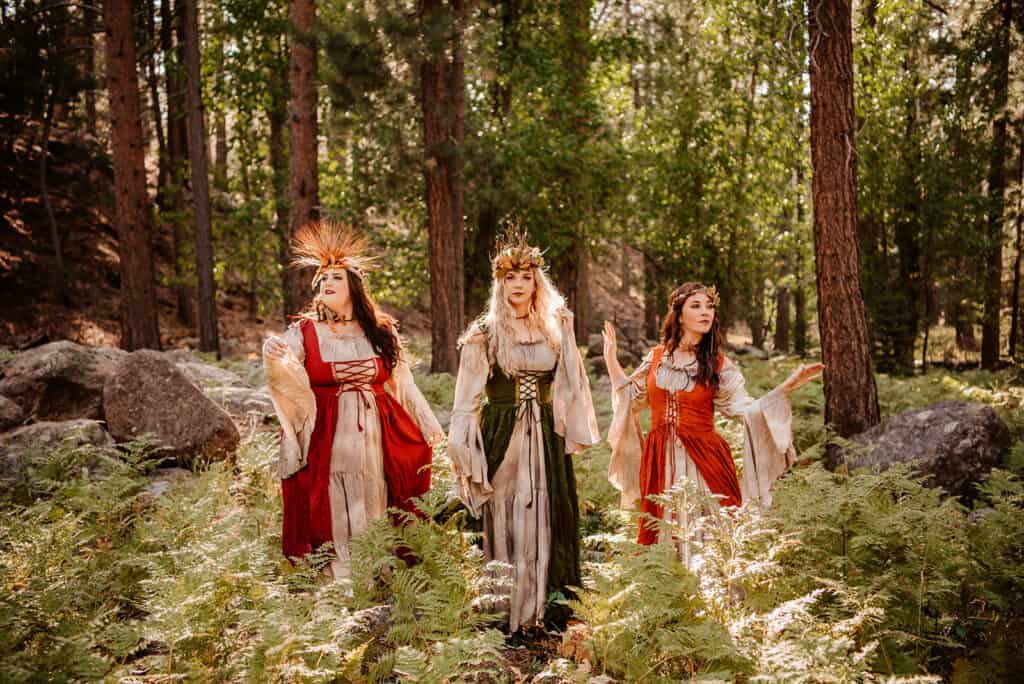
Another element you can add is a crown. I made these forest fairy crowns using all sorts of random things I found in my craft room and at craft stores and they turned out so pretty. We had a ton of fun making them too.
For this dress, you can really wear any bottoms because it’s pretty forgiving. If it was a cold night you could even wear leggings no problem. The neckline does come over your shoulder so you have a peekaboo shoulder so I’d probably suggest anything but a razer back bra. You can’t go wrong with strapless but I was just wearing a cami bra (like this one here. )
Now let’s look at how gorgeous these pictures are, shall we?