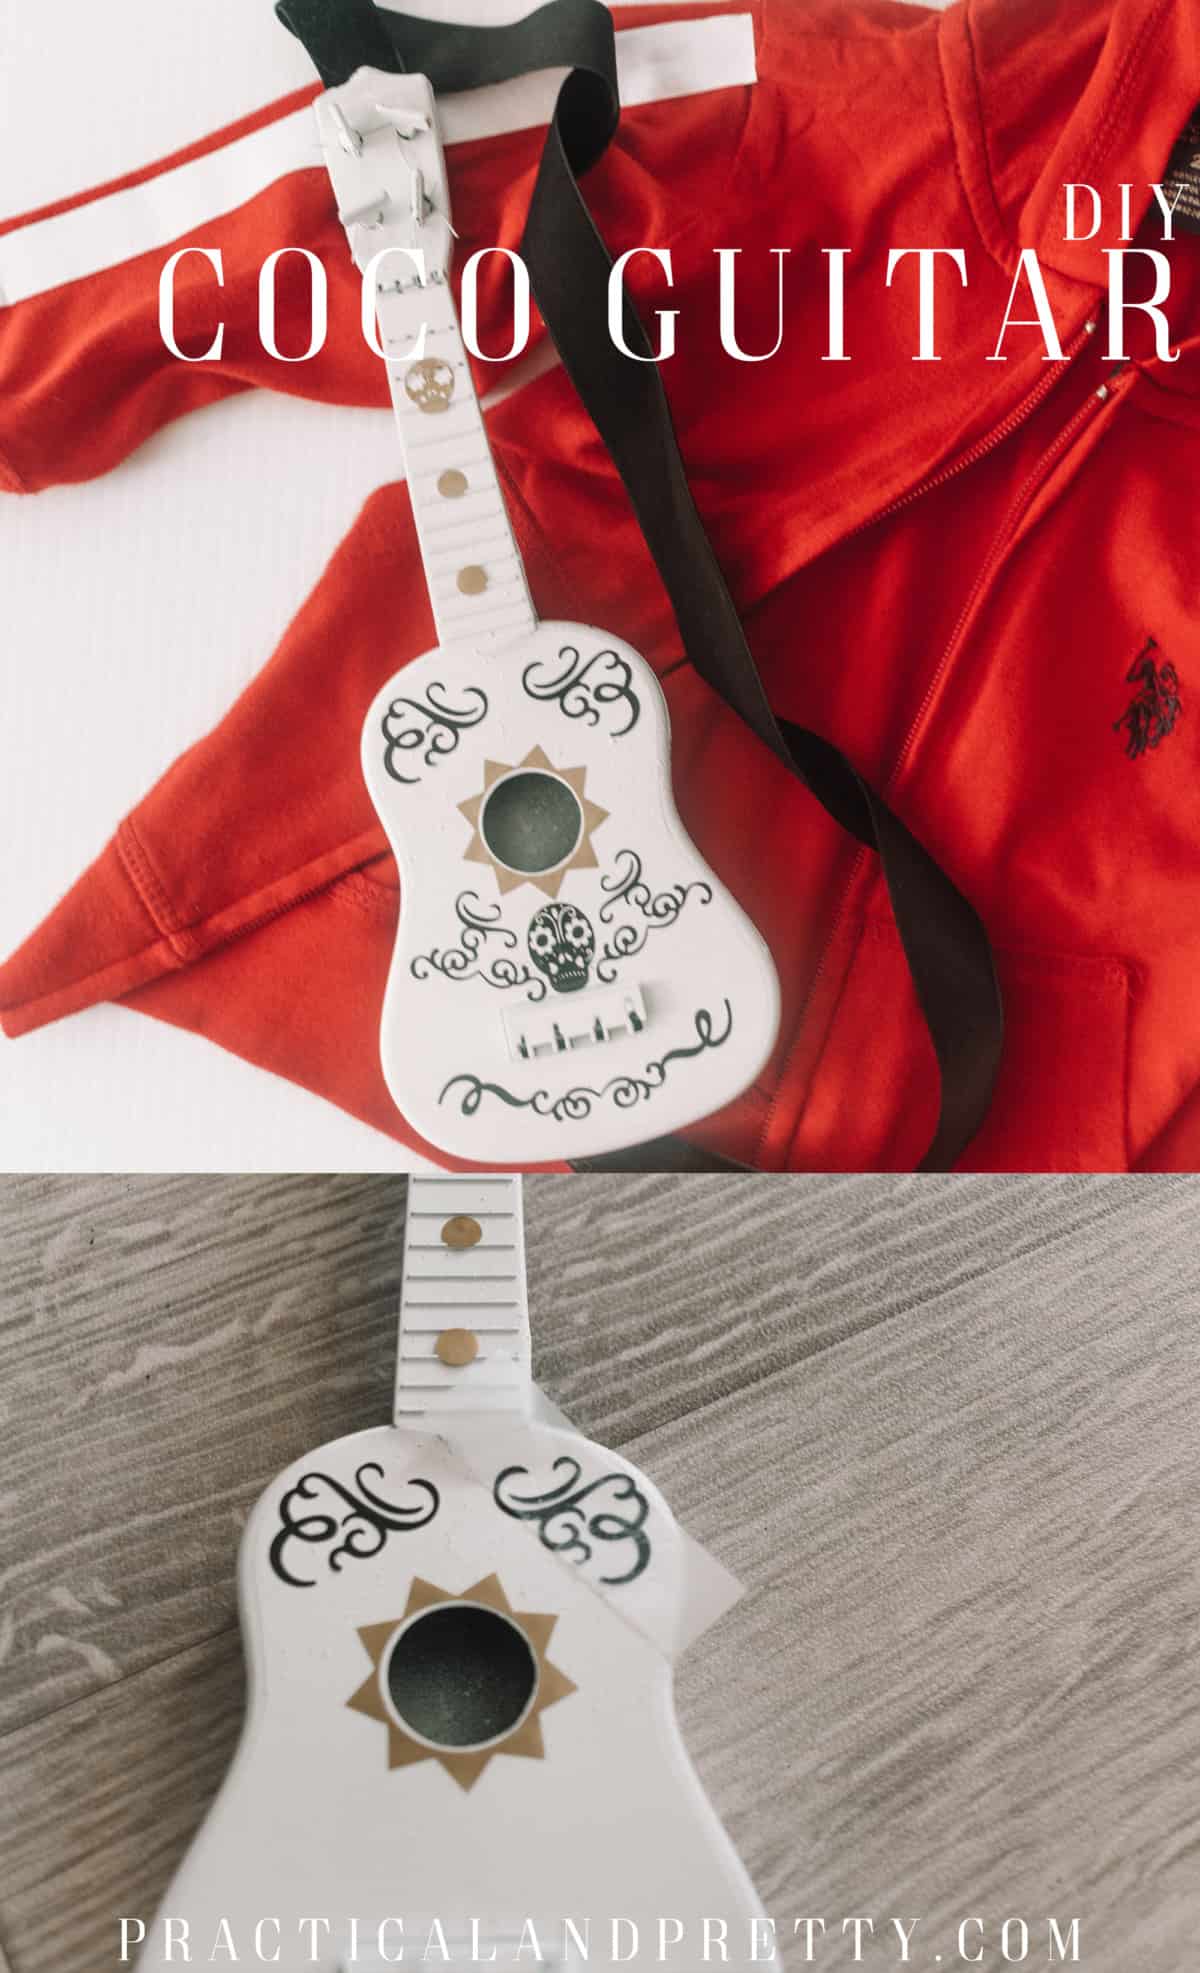
This DIY is an inexpensive way to make a coco guitar for any Coco Halloween costume or even just make it for your favorite Coco fan!

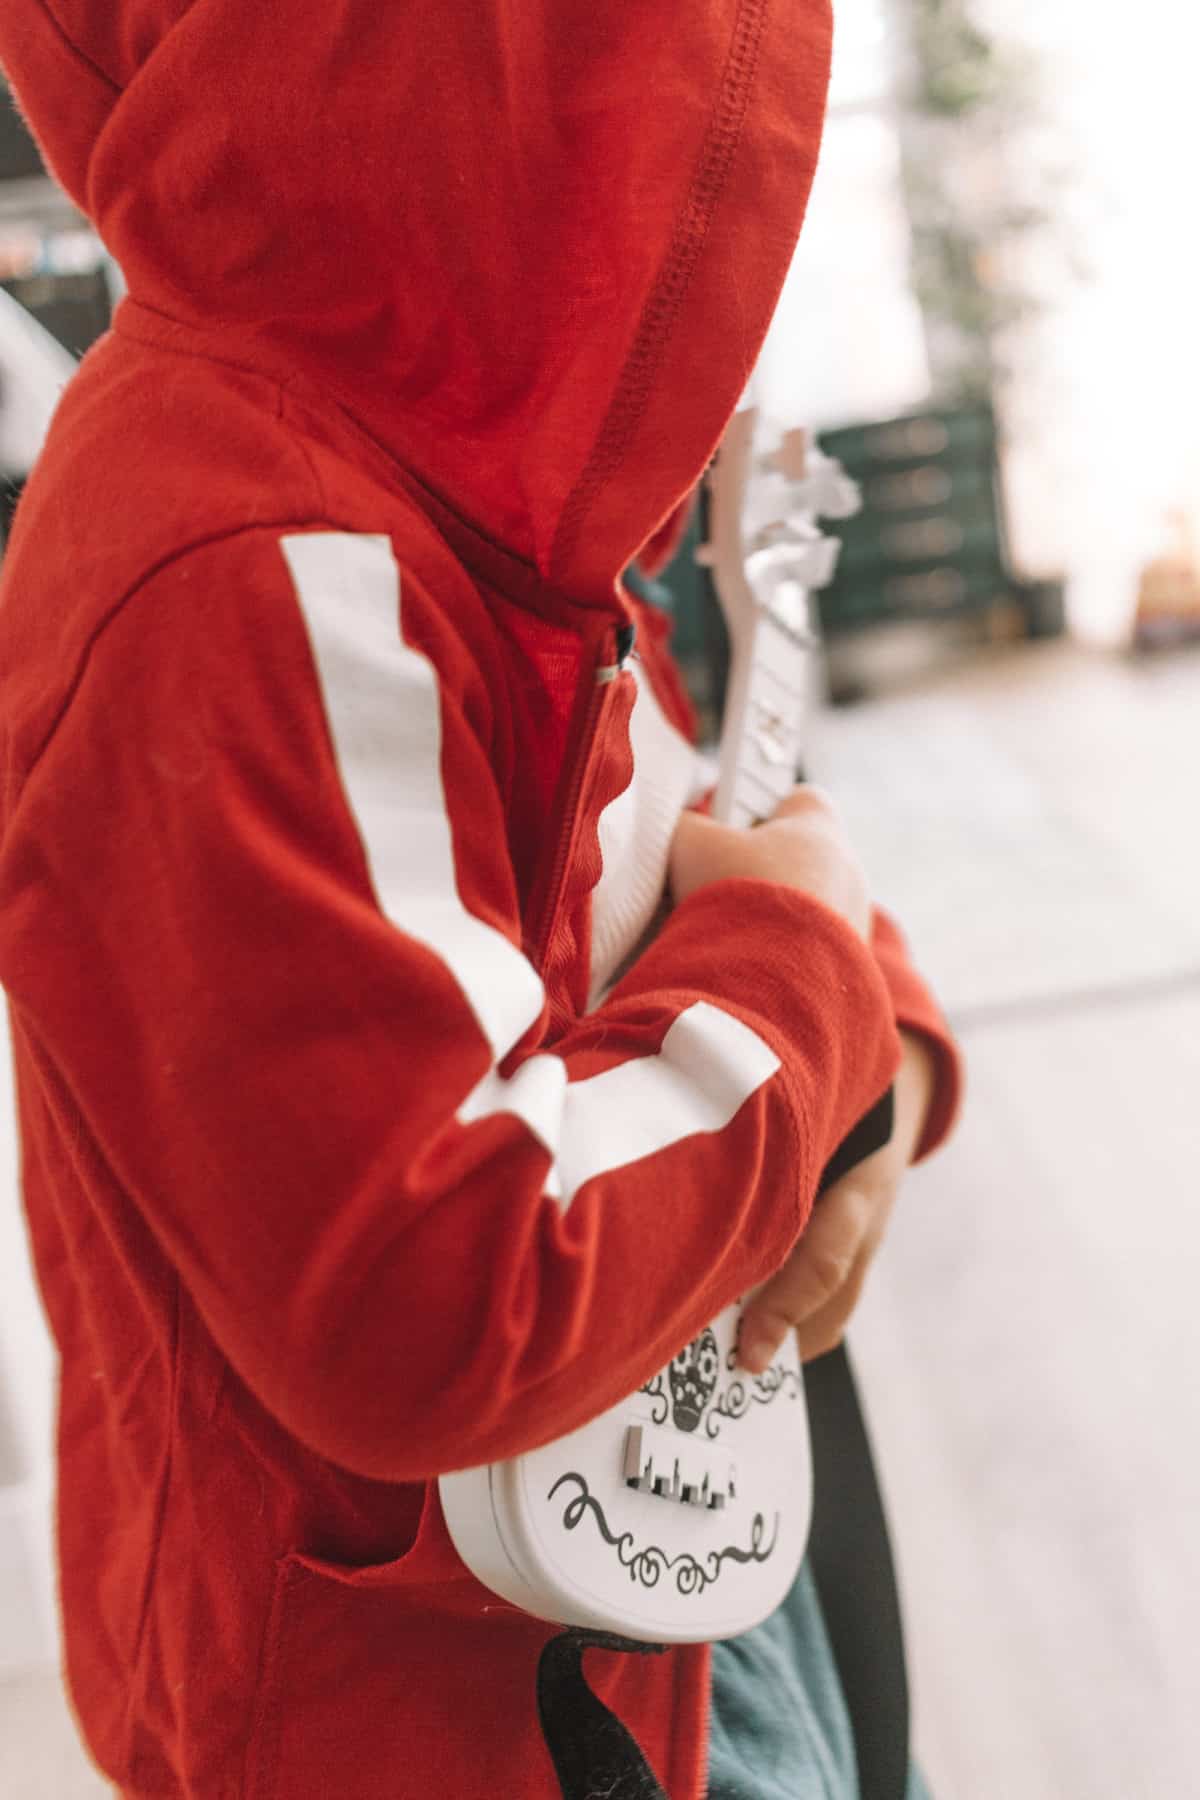
I’m so stoked to share this DIY with you today because it turned out SO CUTE! Be sure to check out the fully finished Miguel costume here! My newest costume is this fun bluey costume. Don’t miss it!
DIY COCO GUITAR TUTORIAL
What you Need to Make a Coco Guitar DIY:
- Guitar (mine was from the dollar store!)
- Cricut Maker
- Black Vinyl
- Gold Vinyl
- Velvet Ribbon (or any kind of string or cord)
- Brightpad
- This Cricut Design Space File
- Hot Glue Gun
- White Spray Paint
Directions to make a Mariachi Guitar:
The first thing you need to do is cut your vinyl! This is a pretty intricate little design; however, it’s small! The good news is you won’t need much vinyl and if you mess it up you’ll have plenty left.
To cut the vinyl, open this Cricut Design Space File here —-> Coco Guitar Bottom Vinyl Cutout!
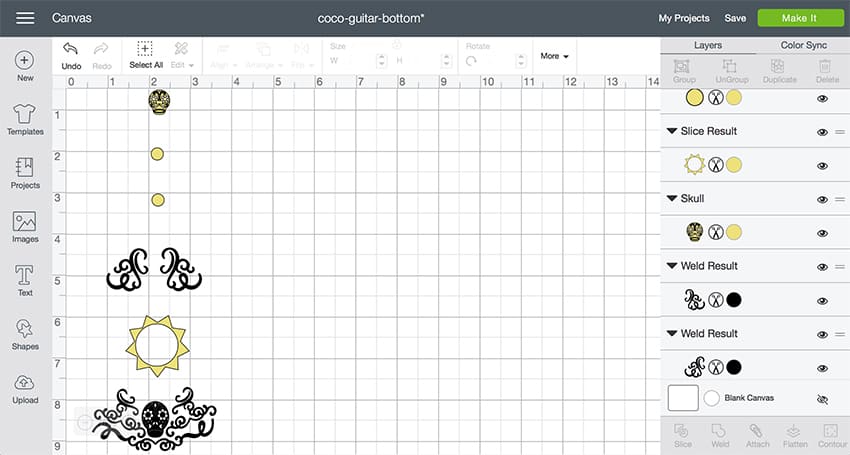
Resize the design to fit your guitar if needed! Once it is resized, hit ‘MAKE IT’ in the top right-hand corner! I didn’t attach these designs, because I planned on hand placing them all on the guitar individually. If you want the design to stay in place, make sure to choose the black images and attach them together, and do the same for the yellow designs PRIOR to hitting ‘MAKE IT.”
After your vinyl is cut, you will want to use your BrightPad to weed it! If you’ve never used a BrightPad, this project will 100% make you understand what’s so wonderful about them! Weeding black is hard enough, but weeding an intricate design like this makes it even more challenging. The BrightPad will help you know what to do and not weed.
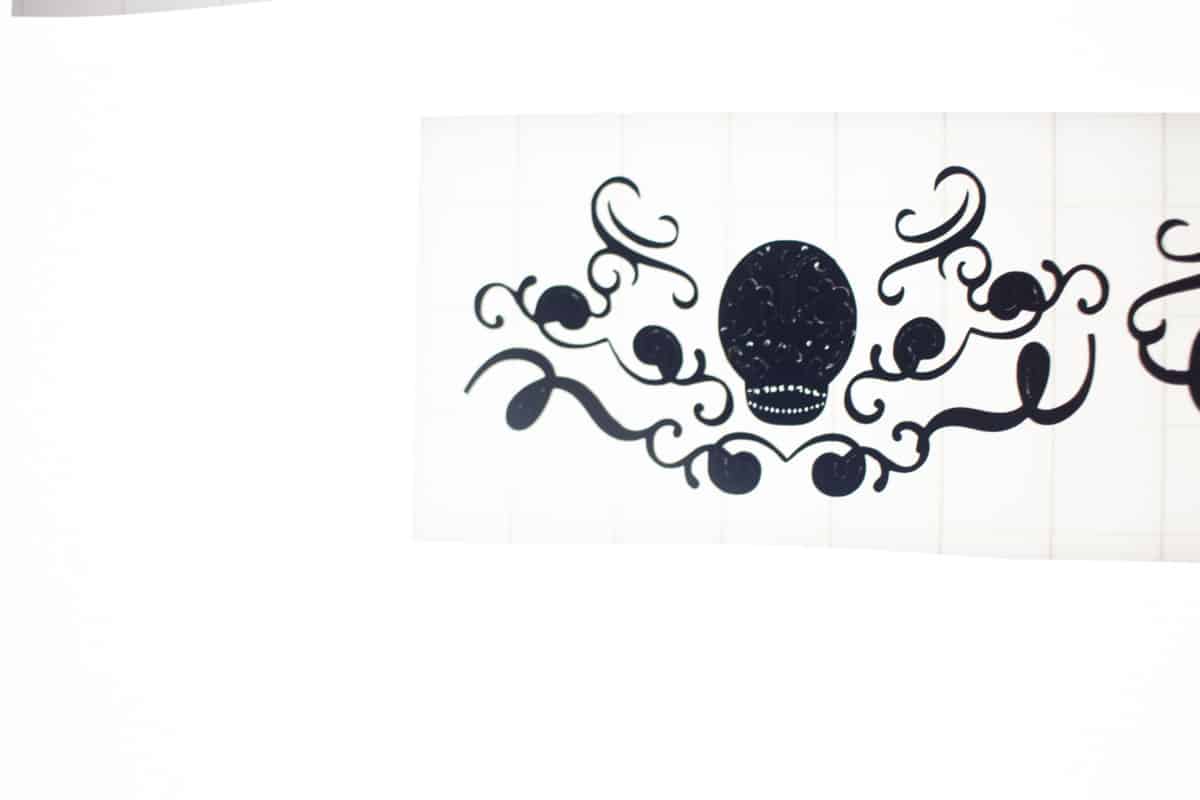
Look how well you can see your weeding here!
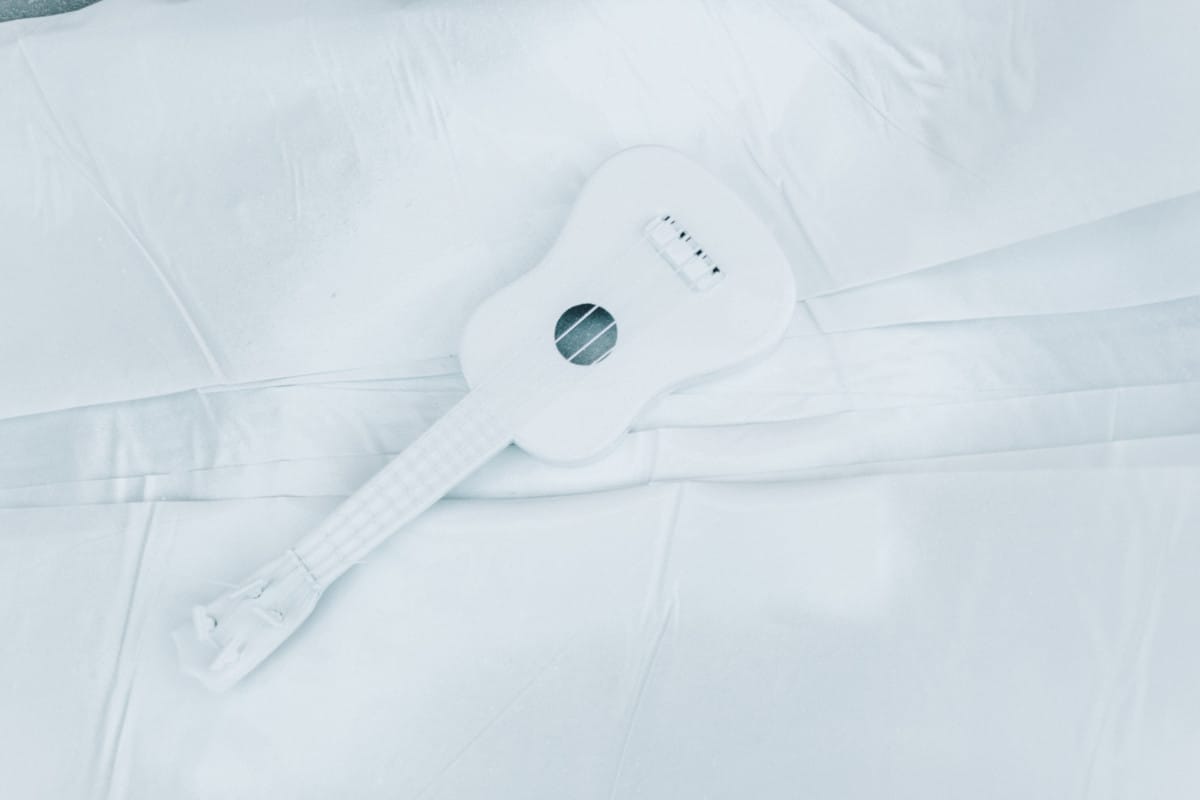
While you are doing this, pull out a can of white spray paint and spray your guitar. After the first coat, I decided to cut the strings off the toy ukulele, so it was a little easier to paint. Spray as many coats as you feel it needs, but make sure to do light coats, so it doesn’t get any streaks!
Placing the vinyl
After it is dry you will place your vinyl decals. I decided to just use scotch tape to transfer this design because I wanted it to not be very sticky. I didn’t want to chance that the paint would pull off the guitar!
Depending on the size of the ‘guitar’ you are decorating, you may want to put them in different places than I did! There was a little thing in the way of the bottom of my guitar so I had to cut mine up a little and rearrange it.
Once all of the vinyl is placed, you can glue it on the velvet ribbon as a way for your child to hold it. This is totally optional, but I wanted to so my son could sling it on his back! Turns out he didn’t want to sling it on his back for a picture, but we will try again on Halloween!
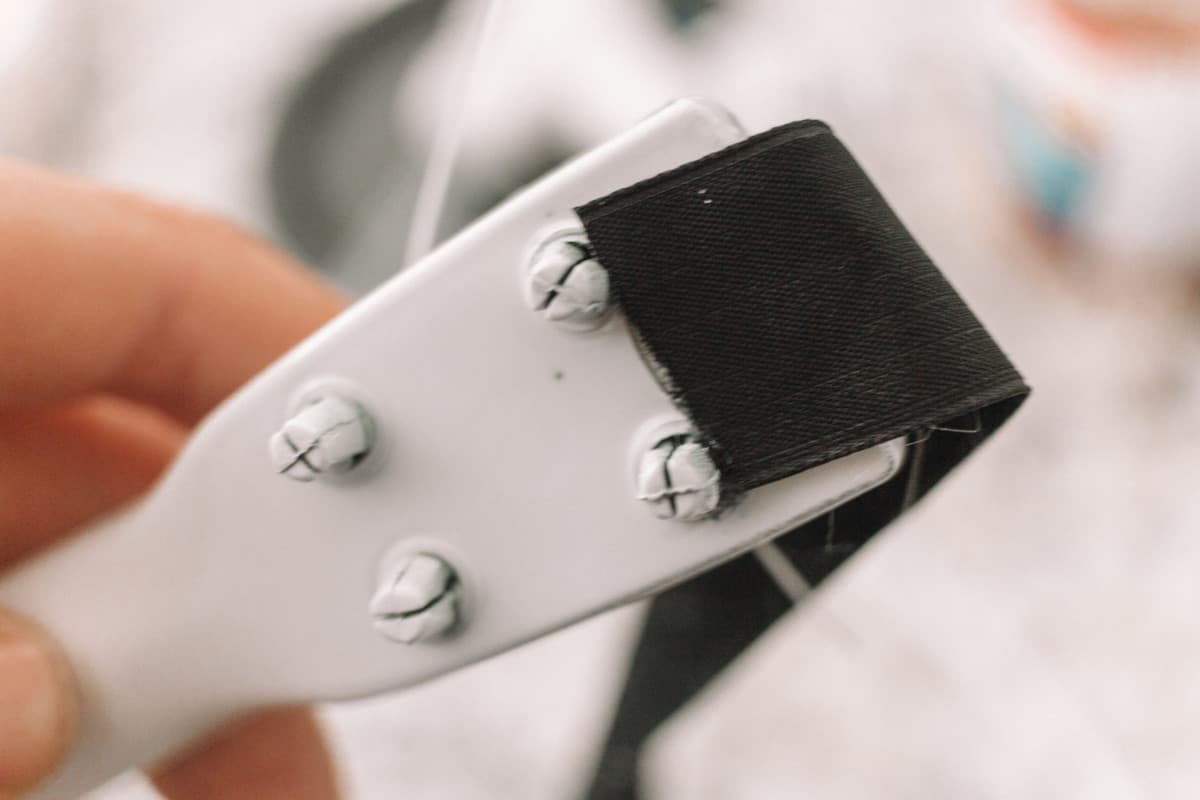
I glued it to the top of the neck as well as the bottom part of the guitar. This is not a permanent solution with a lot of use, but for a costume, it works just fine!
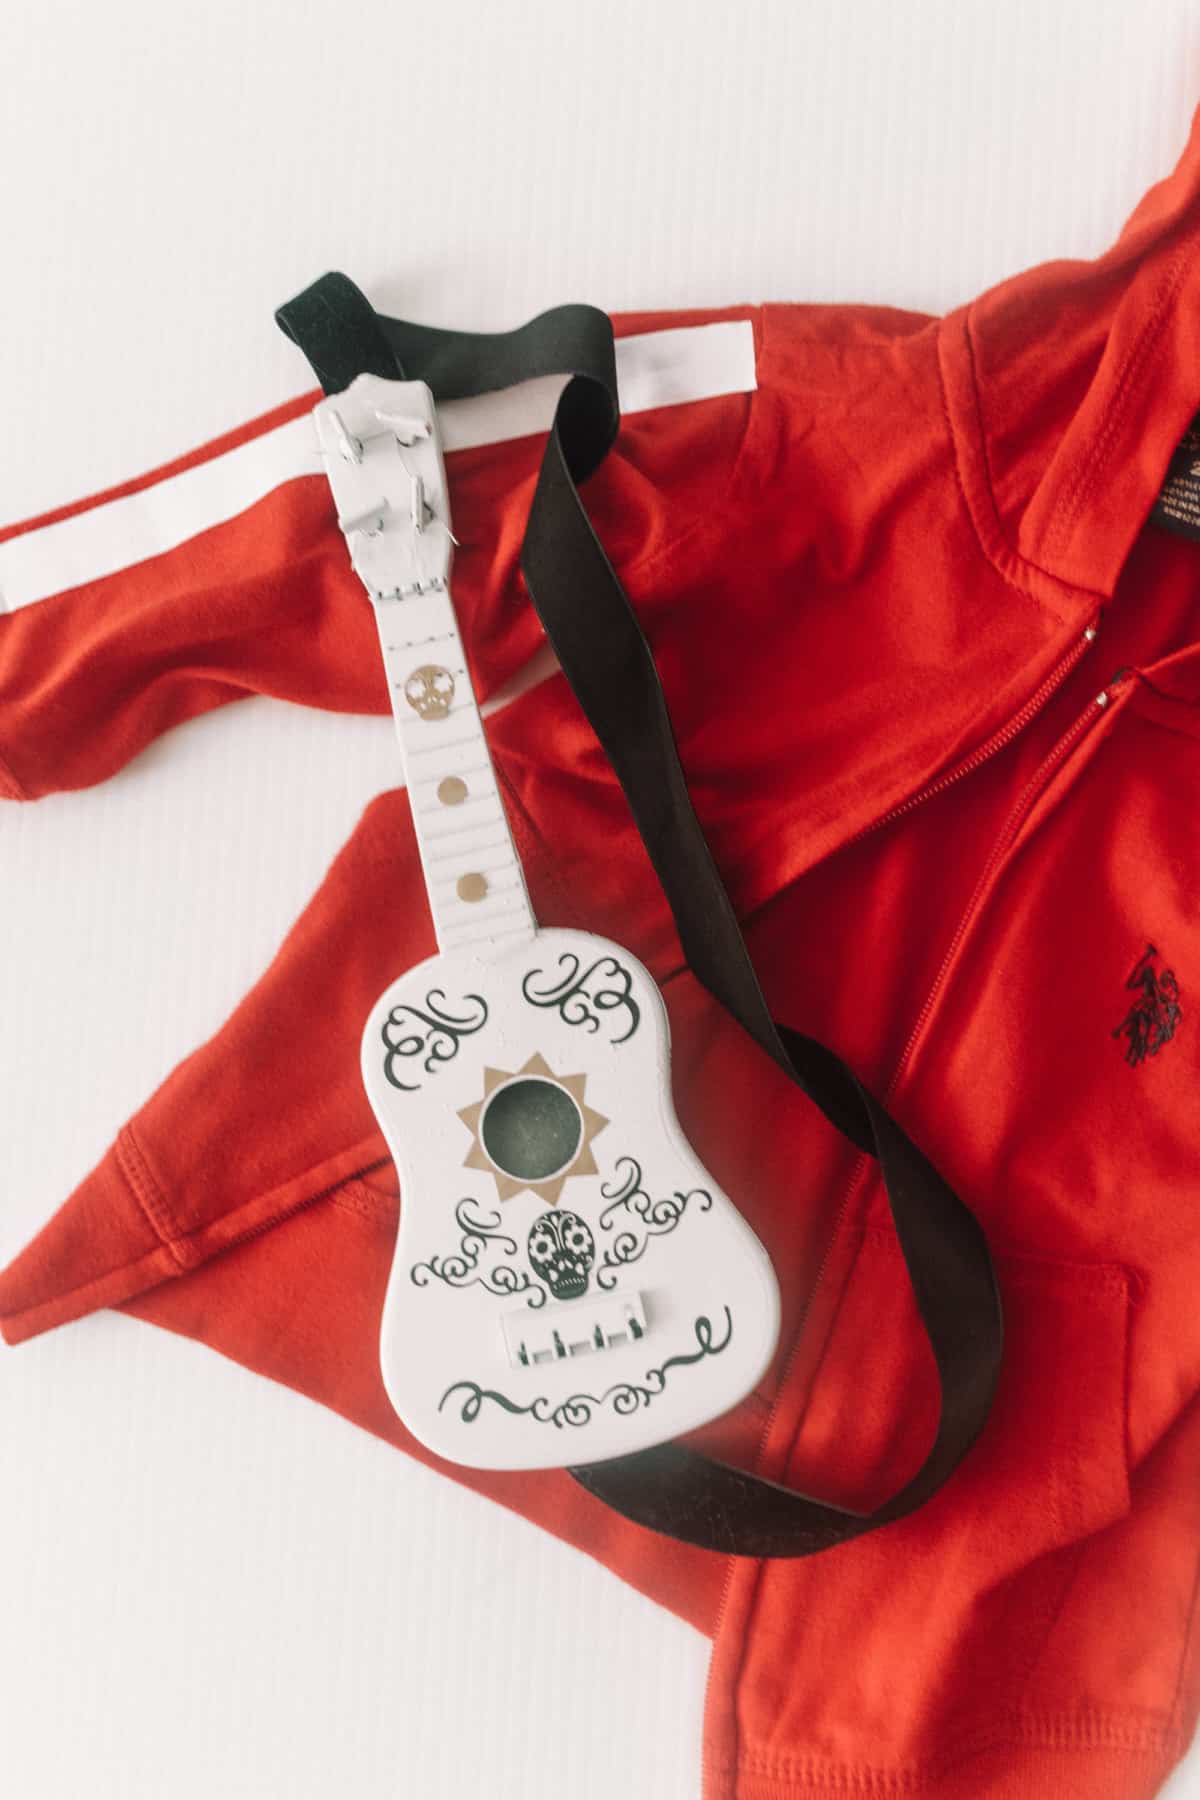
Miguel’s Guitar from Coco
Then you are all done with your Coco Guitar DIY!! I am so in love with how this turned out. I think it is so fun!
My son seems to like it a lot too!
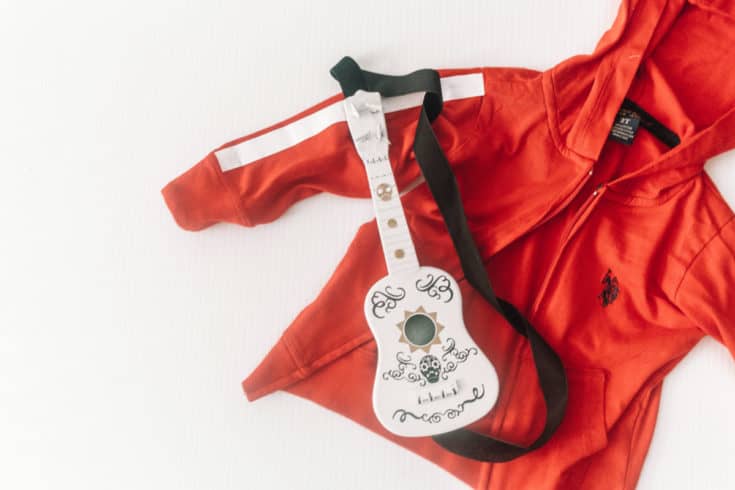
DIY Coco Guitar
This DIY is an inexpensive way to make a coco guitar for any Coco Halloween costume or even just make it for your favorite Coco fan!
Materials
- Guitar (mine was from the dollar store!)
- Black Vinyl
- Gold Vinyl
- Velvet Ribbon (or any kind of string or cord)
- White Spray Paint
Tools
- Cricut Maker
- Hot Glue Gun
- Brightpad
- This Cricut Design Space File
Instructions
- The first thing you need to do is cut your vinyl! This is an intricate little design; however, it's small! The good news is you won't need much vinyl and if you mess it up, you'll have plenty left.
- To cut the vinyl, open this Cricut Design Space File here ----> Coco Guitar Bottom Vinyl Cutout!
- Resize the design to fit your guitar if needed! Once it is
resized, hit 'MAKE IT' in the top right-hand corner! I didn't attach these designs, because I planned on hand placing them all on the guitar individually. - After your vinyl is cut, you will want to use your BrightPad to weed it!
- Pull out a can of white spray paint and spray your guitar. After the first coat, I decided to cut my strings off the toy ukulele, so it was a little easier to paint. Spray as many coats as you feel it needs, but make sure to do light coats, so it doesn't get any streaks!
- After it is dry you will place your vinyl decals. I decided to just use scotch tape to transfer this design because I wanted it to not be very sticky. I didn't want to chance that the paint would pull off the guitar!
- Depending on the size of the 'guitar' you are decorating, you may want to put them in different places than I did! There was a little thing in the way of the bottom of my guitar, so I had to cut mine up a little and rearrange it.
- Once all the vinyl is placed, you can glue it on the velvet ribbon as a way for your child to hold it. This is totally optional, but I wanted to so my son could sling it on his back! Turns out he didn't want to sling it on his back for a picture, but we will try again on Halloween!
Recommended Products
As an Amazon Associate and member of other affiliate programs, I earn from qualifying purchases.
-
 Rust Oleum 280718 American Accents Ultra Cover 2X Spray Paint, Gloss White
 -
 Gorilla Dual Temp Mini Hot Glue Gun Kit with 30 Hot Glue Sticks
 -
 LitEnergy Portable A4 LED Copy Board Light Tracing Box,
 -
 LaRibbons 3/8" Wide Crushed Velvet Ribbons by 10 Yards Spool (Black)
 -
 Lya Vinyl 74 Pack Permanent Vinyl for Cricut
 -
 Cricut Maker Machine, Champagne
 -
 Forum Novelties - 16" Hawaiian Guitar Musical Instrument Prop , Brown
For the full tutorial on the costume go here!


