• Skip to main content
  • Skip to primary sidebar
  • Skip to footer

Practical and Pretty logo

  • HOME
  • DYEING
  • DIY
  • PARTIES
  • CRICUT
  • SHOP
  • ABOUT
  • CART
You are here: Home / DIY / How to Fix Iron On Letters

May 10, 2018

How to Fix Iron On Letters

If you have done iron on you have probably also messed something up! I have a simple trick to fix iron on letters that will fix mistakes.

Whether you’ve got a Cricut or some other cutting machine I have so many posts and tutorials like this one about how to make a t shirt! Also if you love iron on you may love infusible ink. I sure do!

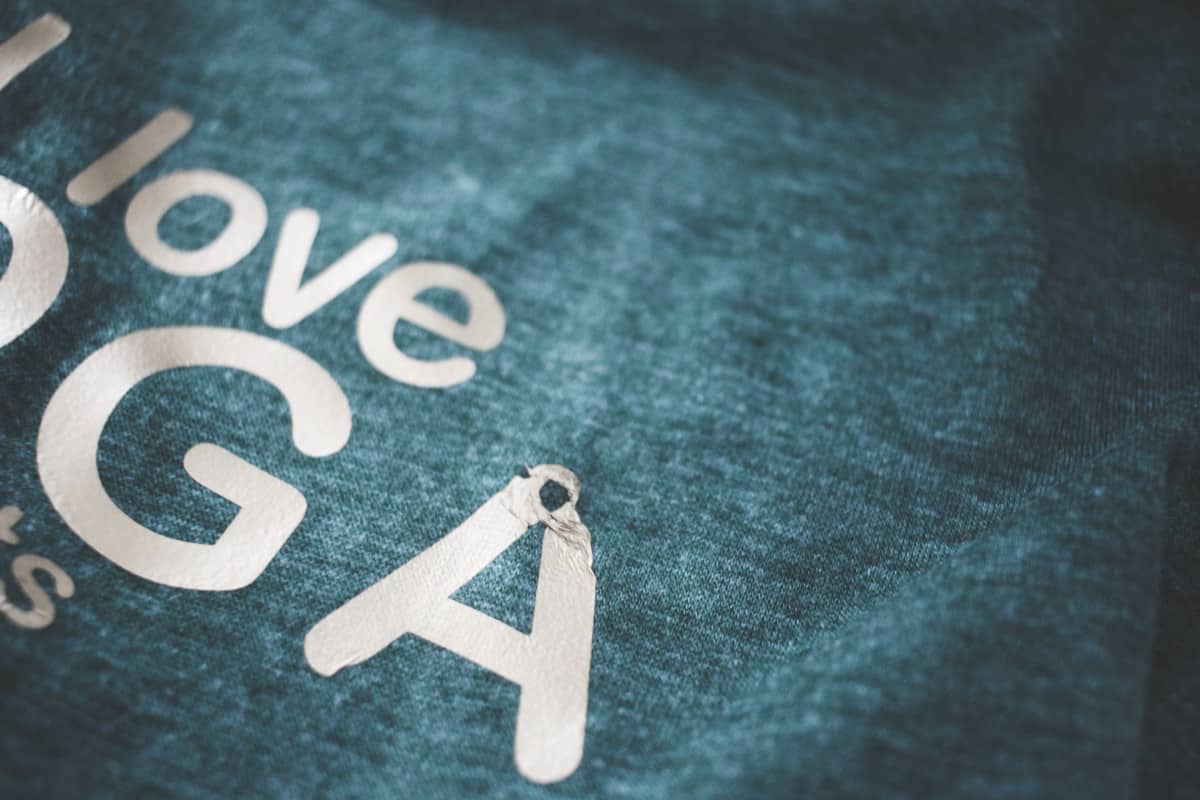
There are lots of ways to make mistakes when placing iron on vinyl. This particular mistake was caused by accidentally touching the iron straight on the vinyl. I have also lifted the plastic too fast or too late and caused issues. This way of fixing iron-on won’t completely remove bumps so just a heads up that it won’t look perfect!

If your mistake is past the point of return, this post on how to remove iron on will help you.

If you ever have done iron on you have probably also messed something up! I have a super simple trick to fix lettering that should help fix your mistake.

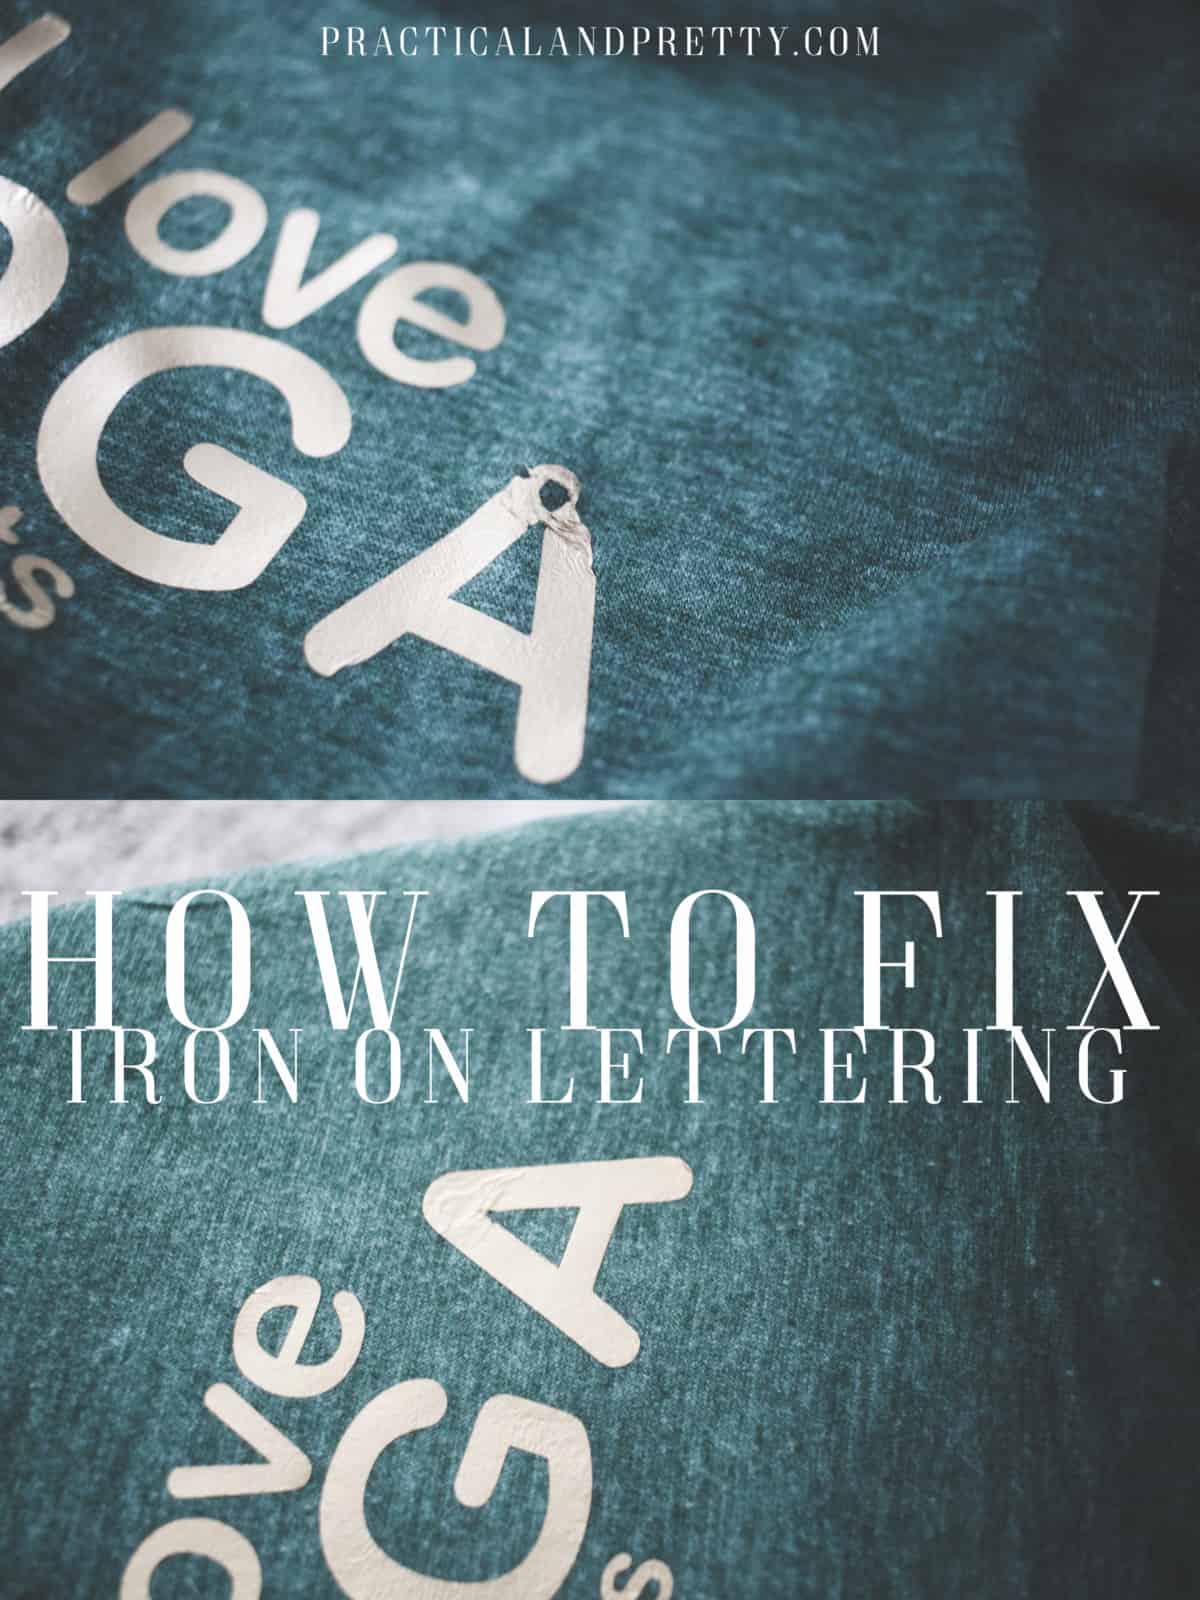
Without further ado, here is my mistake.

How to fix iron on lettering

So the first thing you will do is navigate to your design space immediately so your pattern you just printed is the exact same size.

Next you will type a new layer of text with the letter(s) you messed up. For this example, I typed a single ‘A’ in the same font as my existing design.

Then you will resize this A so it perfectly fits over the first design. This is how you will know for sure that this letter matches up.

Now delete your first image leaving only the letter(s) you just put in place. Cut your vinyl! Don’t forget to mirror for iron on again!

correcting iron on mistakes

Now that you have your perfect letter, you will place the letter straight over he ruined letter. Get a cloth napkin (if you have one of my kitchen towels, those work great. Or any thin cotton cloth.) Hold your iron over the area with the letter for at least 30 seconds. Start peeling it up and make sure it is sticking ok. Because there is vinyl already on the shirt, you will want to make sure it is adhering just fine.

Once the plastic is off, place the cloth down again and iron it again for around 15 seconds to make sure it’s really stuck.

fixed iron on lettering

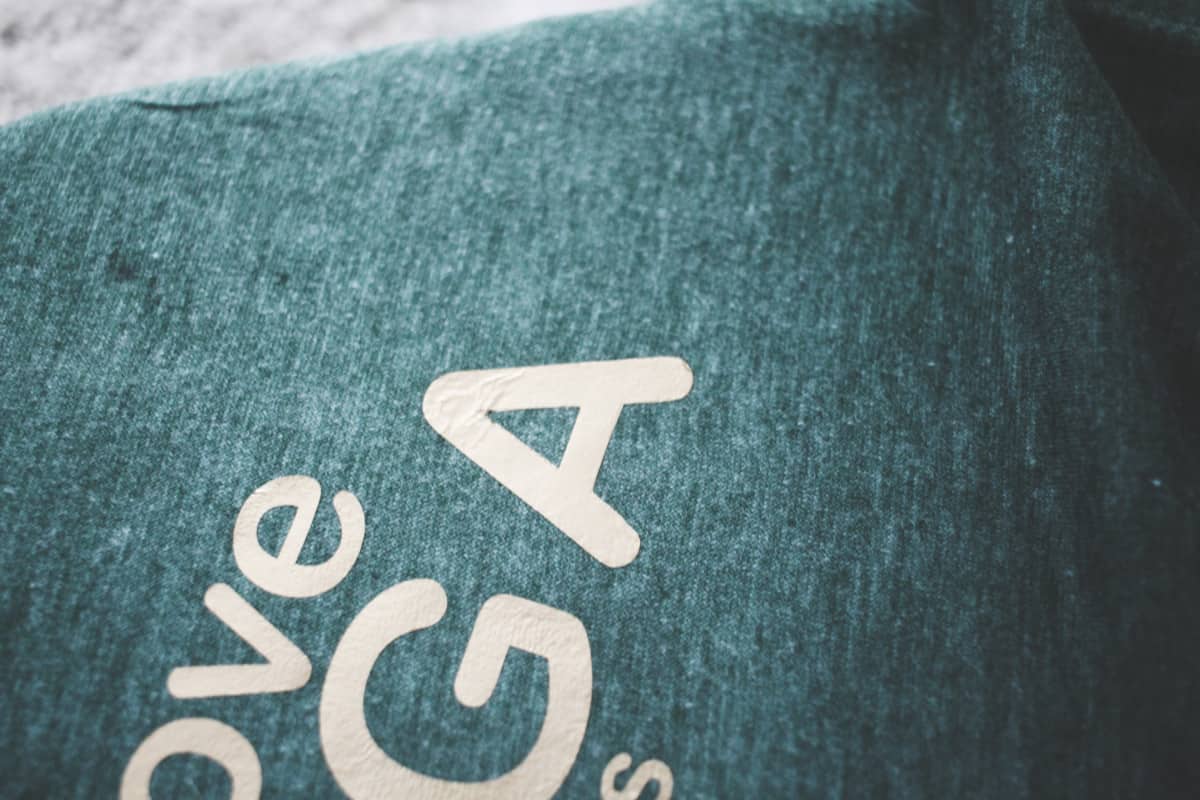
Now your letter is all fixed! You can see the previous layer is still showing through just a little bit when you look close. It’s not ideal, but it works. To see more tips about how to not mess up in the first place, see my post here. But if you’re a human and mess up every now and then, hopefully this helps!

Filed Under: DIY, Tips Tagged With: cricut, quick diy, tips

Reader Interactions

Leave a Reply Cancel reply

Your email address will not be published. Required fields are marked *

Primary Sidebar

SEARCH

I’m Anna!

Welcome!

I’m Anna and love practical and pretty things. You will find DIYs here as well as party ideas and of course, natural dyeing tutorials. I’m so glad you’re here.

FEATURED ON

PARTIES

Birthday Blippi Shirt

This silly Blippi shirt is perfect for the birthday child or you could even make a few for all the guests! They will get a kick out of what it says. 

Free ‘It Is Your Birthday’ Banner

it is your birthday banner

Encanto Party Supplies

You will find lots of Encanto party supplies and even some fun ideas for your next Encanto party! Who doesn't love Encanto after all?

Roblox Party Supplies Ideas

roblox balloons

NATURAL DYEING

Forest Fairy Costume Featuring Tie Dye

How to Dye with Pine Cones

pine cone dye vat

Dye with Quebracho for a Beautiful Red

If you're looking for a beautiful red natural dye, look no further than quebracho! This gave the most beautiful hue and was a simple process.

How to Dye with Turmeric Video Tutorial

Here I will show you how I dye with turmeric to get a rich orange and yellow color. I demonstrate you in real time with a video!

CRICUT PROJECTS

Birthday Blippi Shirt

This silly Blippi shirt is perfect for the birthday child or you could even make a few for all the guests! They will get a kick out of what it says. 

Custom Modern Workout Tank Tops

Customize your workout tanks with this simple tutorial. I've got everything outlined for you from the materials to the finished product. 

Rose Pedal Bath Salts

This is such a beautiful addition to your bath routine. DIY Rose bath salts recipe AND free file to cut with your Cricut!

DIY Christmas Pajamas

Use Cricut Holographic Iron On to customize your favorite set of pajamas and keep yourself nice and warm no matter the season. 

Footer

Copyright © 2023 Practical and Pretty on the Brunch Pro Theme